An exercise in Mexellence (my 86 hatch project)
Posted: Wed Apr 29, 2009 10:38 pm
(right now its kind of my daily driver actually =P)
((this thread was originally on club4ag, but it was moved to 86garage per HondaRue's request))
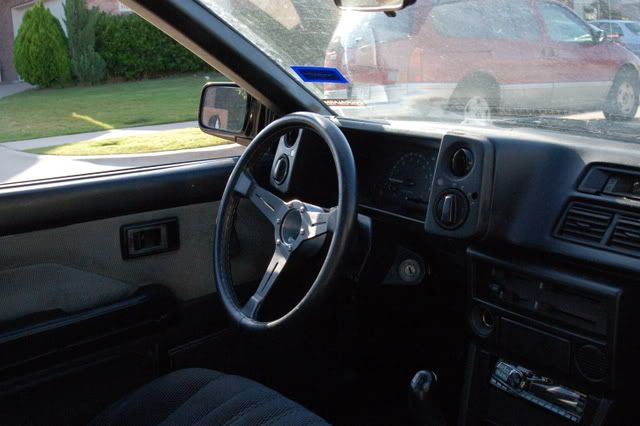
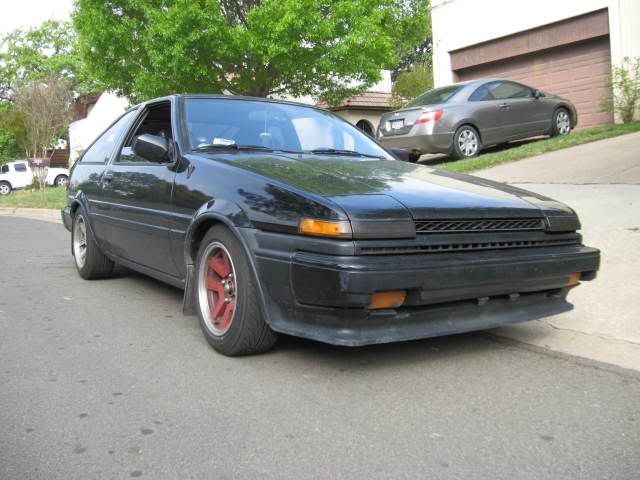
Alright!! So here it is! A genuine AE86 Corolla GT-S (AE88 in the VIN)
My goal for this project is a properly engineered car. A car that handles well and can go over bumps without me caring that I go over bumps. Right now its got ground control coil-overs up front and TRD shocks and springs in the back.


On a scale from one to ten, this car is probably a six. There are many things on the car that could use sprucing up, but the car has alot of things that still work. All the wipers, heater, AC, pop up lights, etc still work pretty good. The only thing that I have noticed that doesnt work is the rear defroster, which sucks.
Of course, the engine works and the tranny work but the tranny should probably get rebuilt. The exhaust was jb welded by the previous owner, and it fell from the hangars so the exhaust was resting on the axle! It annoyed the crap out of me so I safety wired it to the hangar as a (hopefully) temporary solution.
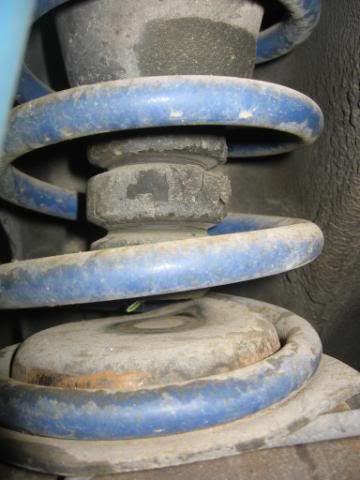
The distance between the bumpstop and the.... bumpstopee?
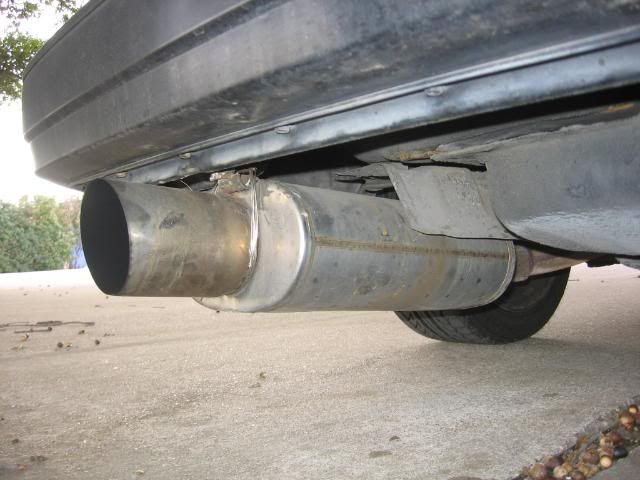
Mmmmm safety wire.
On the plus side, it pulls to 7500 without any hesitation at all! It does stumble a bit on the highway on neutral throttle (just coasting at 60-70) and it throws engine codes sometimes and bogs real good, but a quick blip of the throttle fixes it right up. My guess is the MAF (or MAF equivelant) is probably on the fritz and needs to be replaced. Also, my gas milage is HORRIBLE. Like maybe 16-18mpg. The only modification it has as far as i can tell is the exhaust.
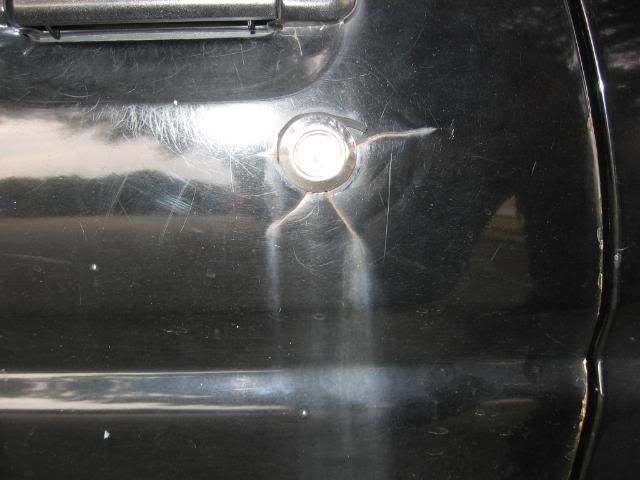
The paint looks ok from far away but it definitely need a new paintjob bad.
One of the first things I did when I bought the car was buy new tires. Tires are the most important part of the car. I see people spending 4-500 dollars per rim and then they run $50 dollar tires. ???!
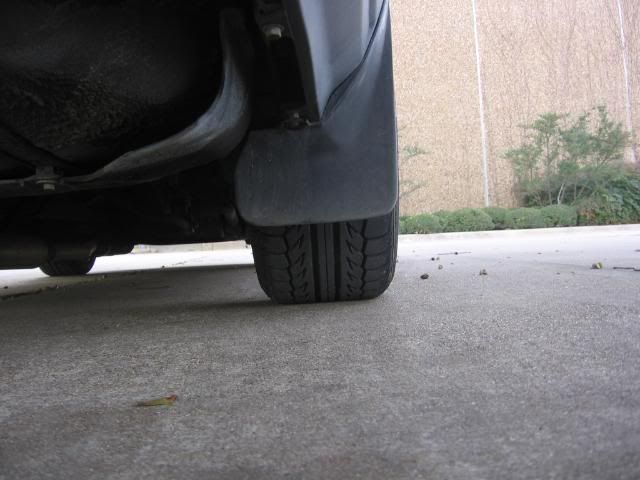
The BF Goodrich G-force tires I installed. Treadwear is like 340.
Also, the previous owner modified the wheels that were originally 4x100 to fit the Corolla, which is 4x114.3 (i forget in which order the numbers go).
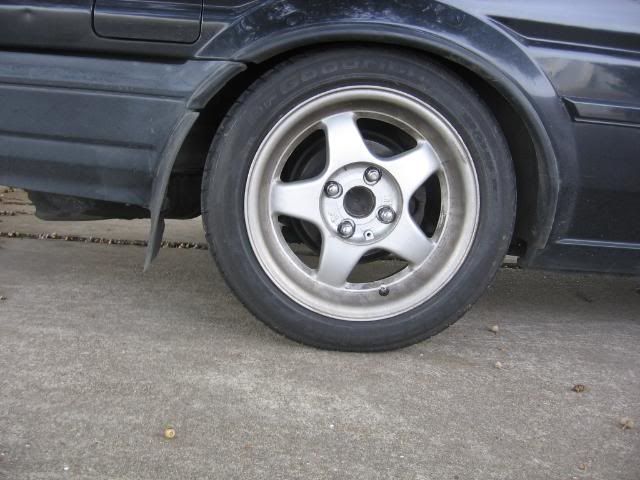
Can you see the milling? I hope the wheels were milled. If they were they used a really crappy endmill because the finish is the worst Ive ever seen.
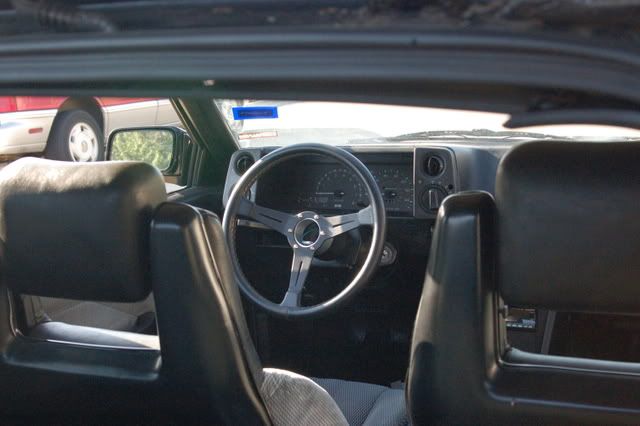
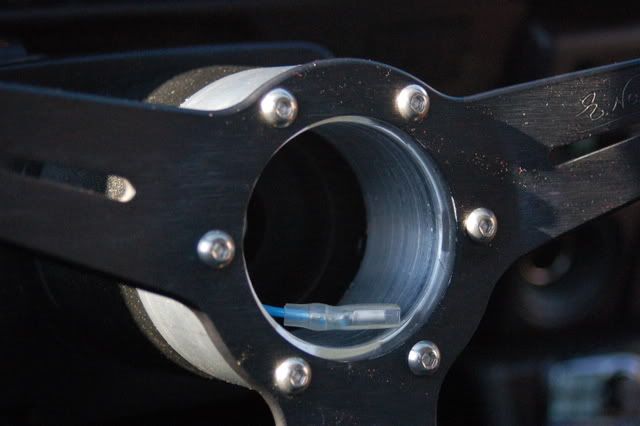
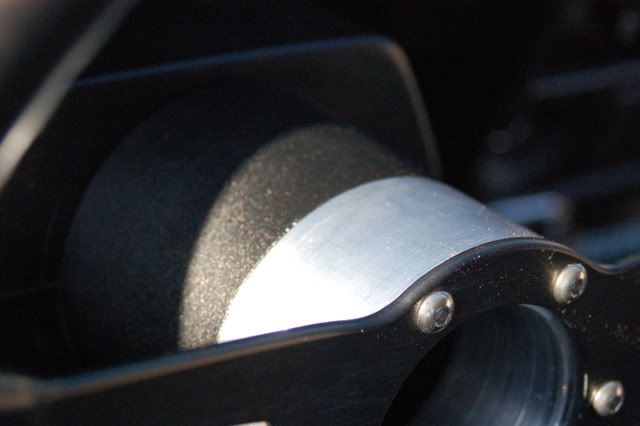
Here are some more picture.

((this thread was originally on club4ag, but it was moved to 86garage per HondaRue's request))
Alright!! So here it is! A genuine AE86 Corolla GT-S (AE88 in the VIN)
My goal for this project is a properly engineered car. A car that handles well and can go over bumps without me caring that I go over bumps. Right now its got ground control coil-overs up front and TRD shocks and springs in the back.


On a scale from one to ten, this car is probably a six. There are many things on the car that could use sprucing up, but the car has alot of things that still work. All the wipers, heater, AC, pop up lights, etc still work pretty good. The only thing that I have noticed that doesnt work is the rear defroster, which sucks.
Of course, the engine works and the tranny work but the tranny should probably get rebuilt. The exhaust was jb welded by the previous owner, and it fell from the hangars so the exhaust was resting on the axle! It annoyed the crap out of me so I safety wired it to the hangar as a (hopefully) temporary solution.

The distance between the bumpstop and the.... bumpstopee?

Mmmmm safety wire.
On the plus side, it pulls to 7500 without any hesitation at all! It does stumble a bit on the highway on neutral throttle (just coasting at 60-70) and it throws engine codes sometimes and bogs real good, but a quick blip of the throttle fixes it right up. My guess is the MAF (or MAF equivelant) is probably on the fritz and needs to be replaced. Also, my gas milage is HORRIBLE. Like maybe 16-18mpg. The only modification it has as far as i can tell is the exhaust.

The paint looks ok from far away but it definitely need a new paintjob bad.
One of the first things I did when I bought the car was buy new tires. Tires are the most important part of the car. I see people spending 4-500 dollars per rim and then they run $50 dollar tires. ???!

The BF Goodrich G-force tires I installed. Treadwear is like 340.
Also, the previous owner modified the wheels that were originally 4x100 to fit the Corolla, which is 4x114.3 (i forget in which order the numbers go).

Can you see the milling? I hope the wheels were milled. If they were they used a really crappy endmill because the finish is the worst Ive ever seen.
Here are some more picture.

