Let me start off by saying that this took me like 3 hours to finish because my mechanically knowledge isnt the greatest, but if I could do it...SO CAN YOU!!!
During those 3 hours a bunch of stuff went wrong.
1. Couldnt get the wheel on stright the 1st time.
2. Had to grind the hub
3. Some of the wires came off and it took forever to open up the crimp and put them back in
4. I thought I had to take this off to do the job...took an hour trying to realign it perfectly
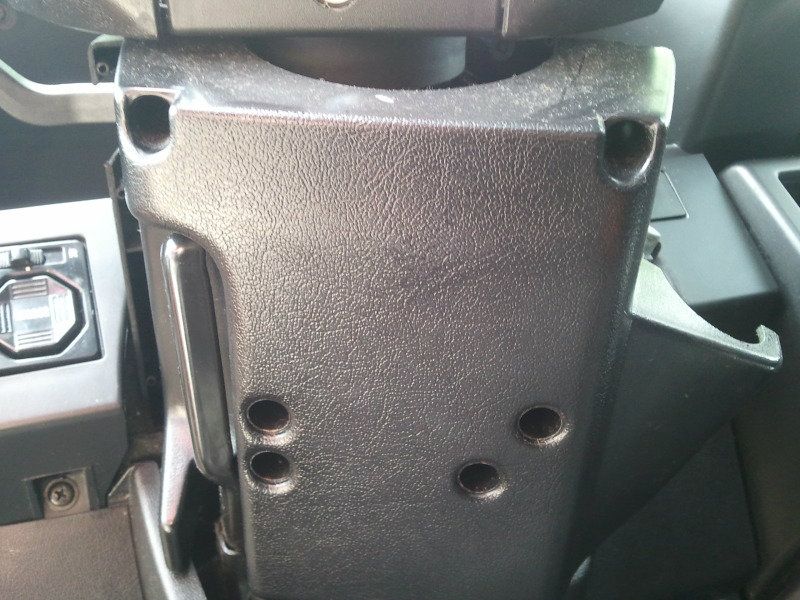
DONT TAKE THIS OFF!!! LOL
Things youll need
1. Screw driver
2. Socket wrench size 19
3. Allen wrench (comes with QR)
4. PATIENCE LOL
Things you might need
1. Needle noise plyers
2. Electrical tape
This is in case the wires come off the crimps
So lets start,
1. Under the steering wheel there is a screw you have to unscrew.

when you pull of the center a small piece might fall out so be careful. This is what it looks like without the center.
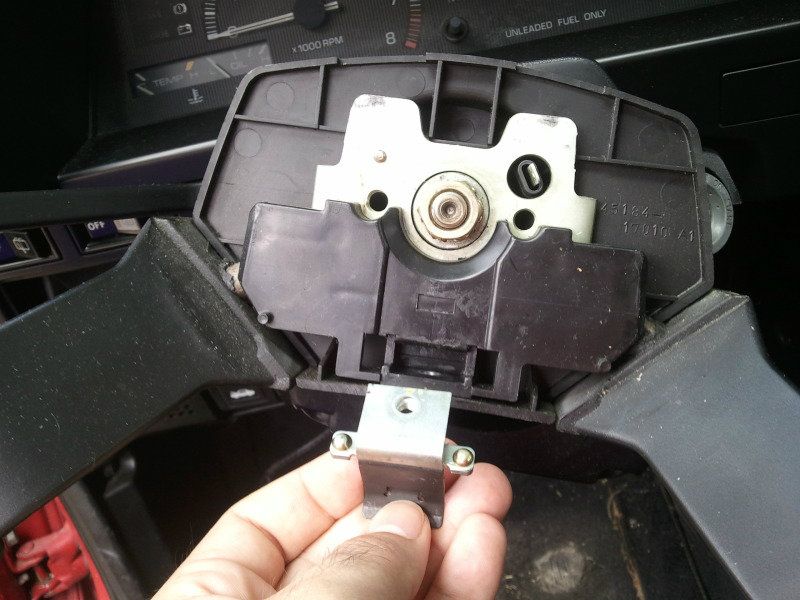
2. Unscrew the size 19 nut.
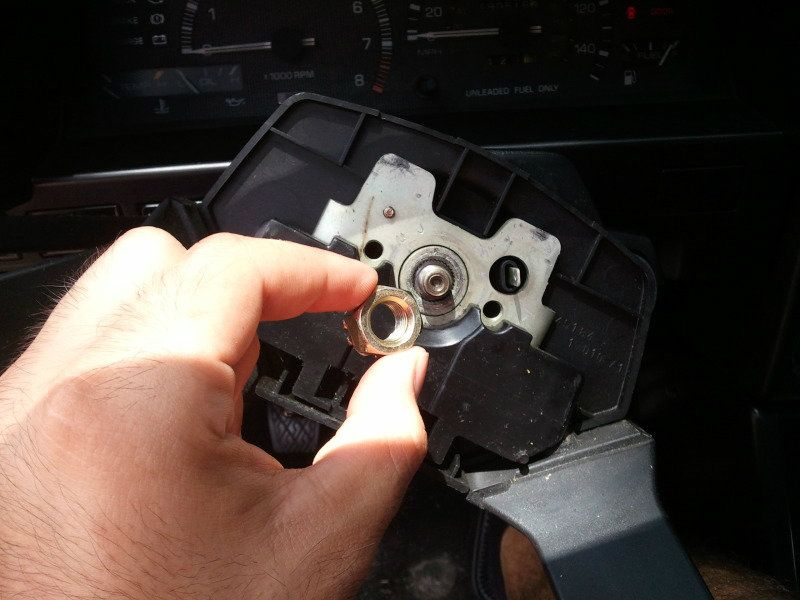
3. After youve done that wiggle the wheel off but be careful I smacked myself the second time taking it off while the hub was installed lol. This is what you get.
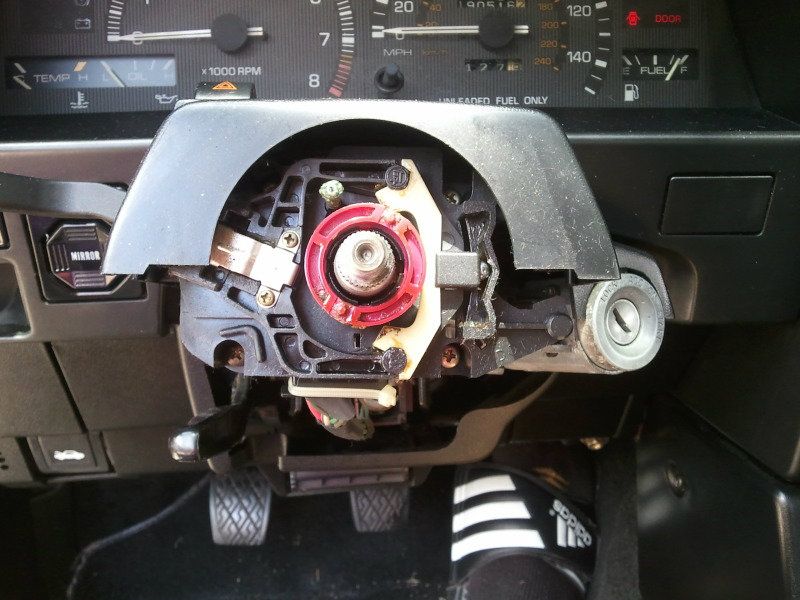
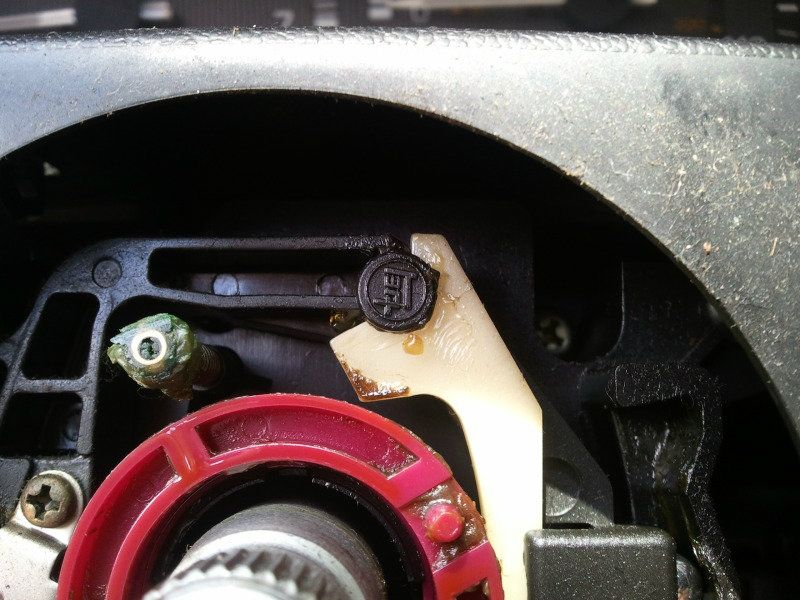
Now for the "FUN" stuff. The hub has 4 grooves in it...I thought there was a certain way that it had to go on but i just twisted it and was able to put it on. WARNING IF YOU DONT GRIND YOUR HUB THE HORN WILL GO OFF EVERYTIME THE WHEEL TURNS. Thanks to daveskatesallday for the heads up! I went ahead and put it on without grinding it to see if I could finish the job myself.
FUN PIC! Notice the TEQ??? Thought it was cool so i took a pic
Ok back to business...
I used my dads industrial knife sharpener to grind my hub
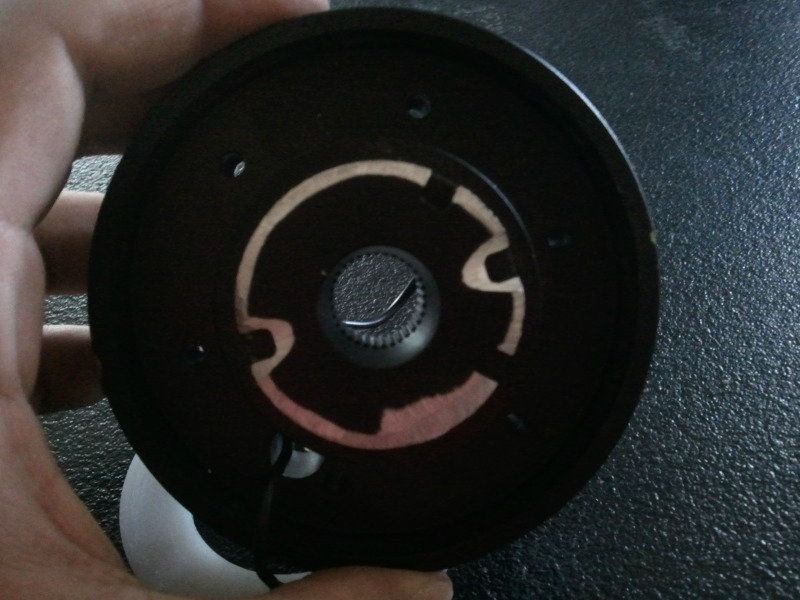
4. Put the hub on and hook up the wires. Also there is a silver ring that comes with the hub I didnt know where it went but this was the only place it fit...sorry forgot pics :/ but once you line it up with the NRG logo on top and center it bolt on the size 19 nut. hold the hub in place because if you dont itll move around.
5. Attach the 1st part of the QR. Line it up and screw it in!
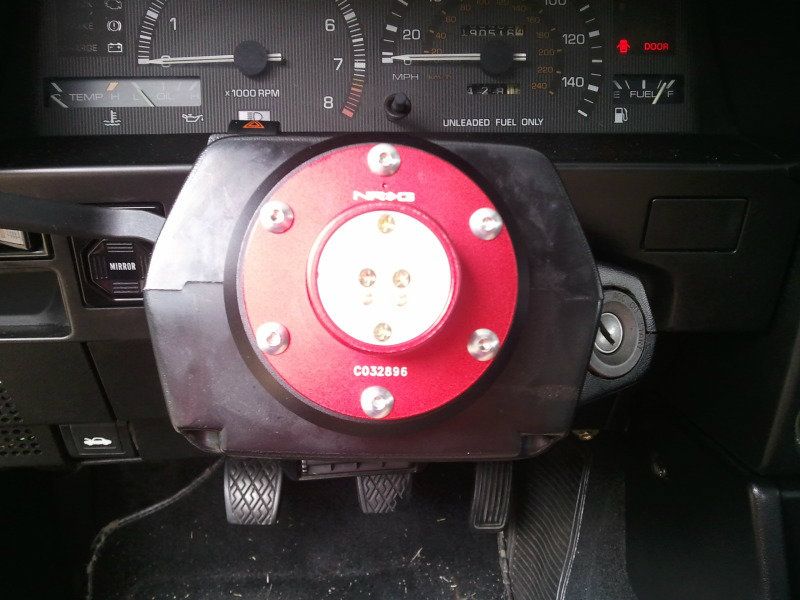
OK so side note...I decide to snap on the 2nd part of the QR before installing the wheel on it...for me this was a bad idea. I ended up with an uncentered wheel and i had to redo it like 3 or 4 times hence the 3 hour install.
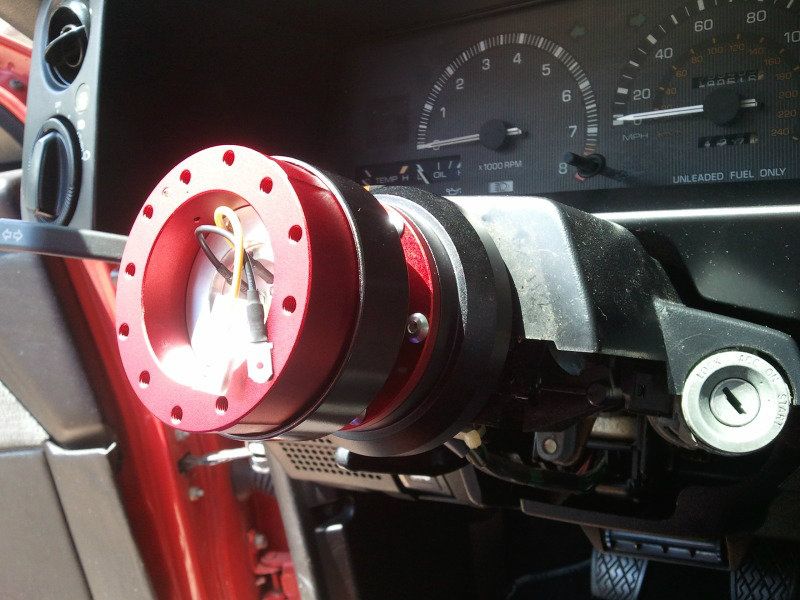
6.- 8. I found it was easiest to take the QR that attaches to the wheel and part in on a flat surface...then line up the wheel and plug in the horn button. After the horn button and wheel are lined up place the center cap on top of the wheel and screw it to the QR. Again forgot pics really sorry :/
9. Snap the wheel on!
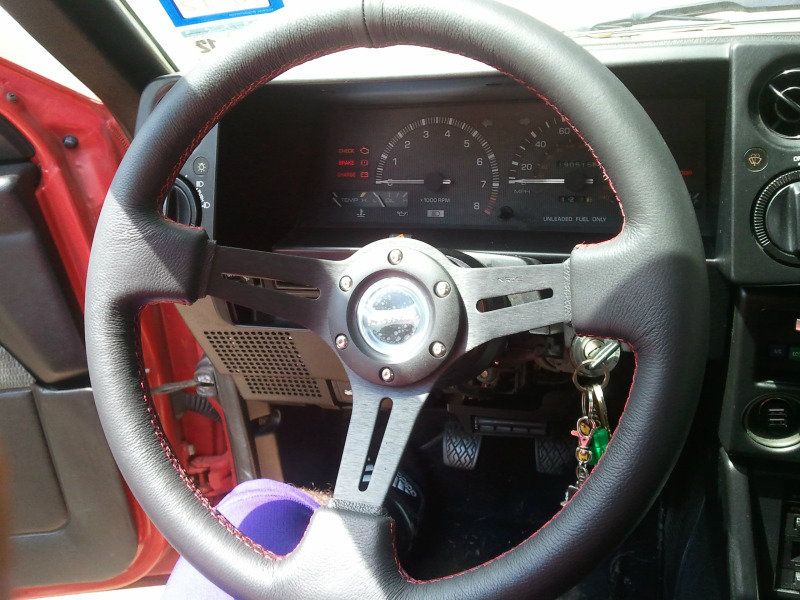
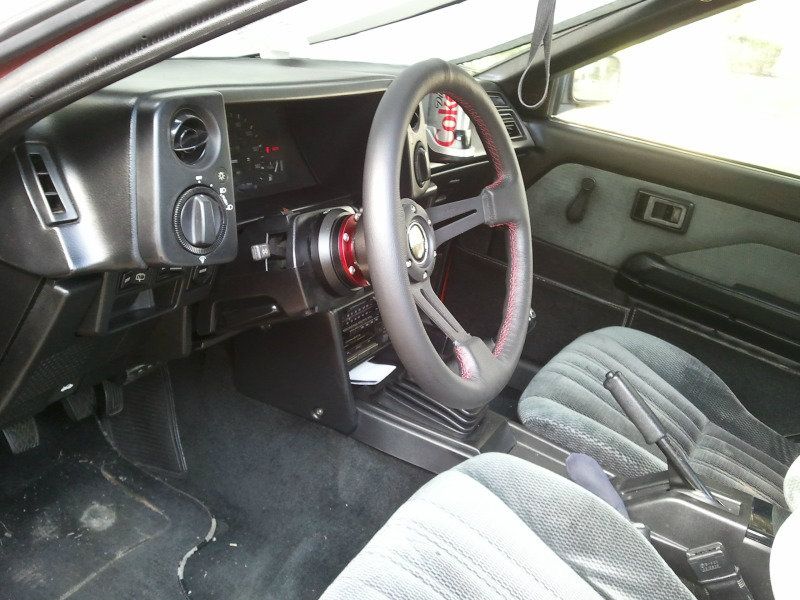
So thats it! Enjoy your nice QR and Wheel!!! I hope this write up helps you if you need it!
With all this said and done it wasnt perfect. The horn doesnt work trying to figure out why...if you know what could be the problem please let me know LOL