Megasquirt DIYPNP 56k stay away!

Technical Reference

Moderators: dr.occa, CBR_TOY

Post Reply
User avatar
MadeInThe80s
Member
Posts: 688
Joined: Wed Apr 15, 2009 3:45 am
Location: Keller, Texas
Contact:

Megasquirt DIYPNP 56k stay away!

Post by MadeInThe80s »

So I got the package in and started assembling all the parts and thought Id do a write up on it. Nothing was very tricky on it, just make sure you know exactly what you need to hookup for your application.

1986 Corolla GTS 4AGE Hookup.
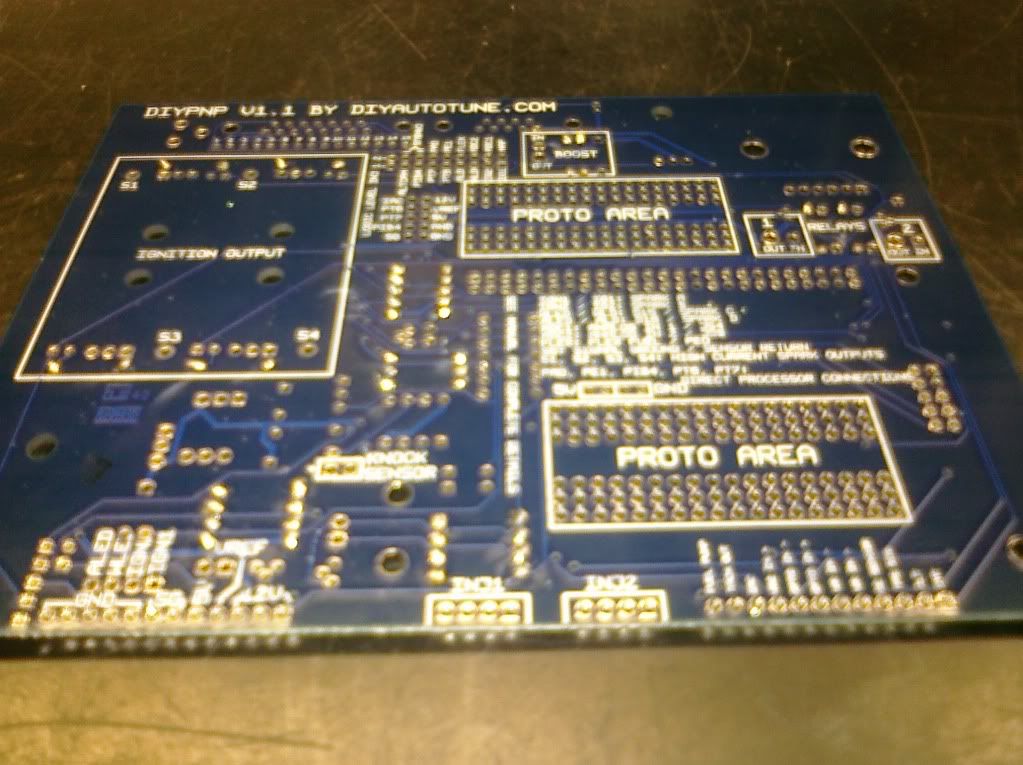
This is the main board that’s shipped with the kit. You can see everything is silkscreen labeled for easy identifications. Both sides are like this.
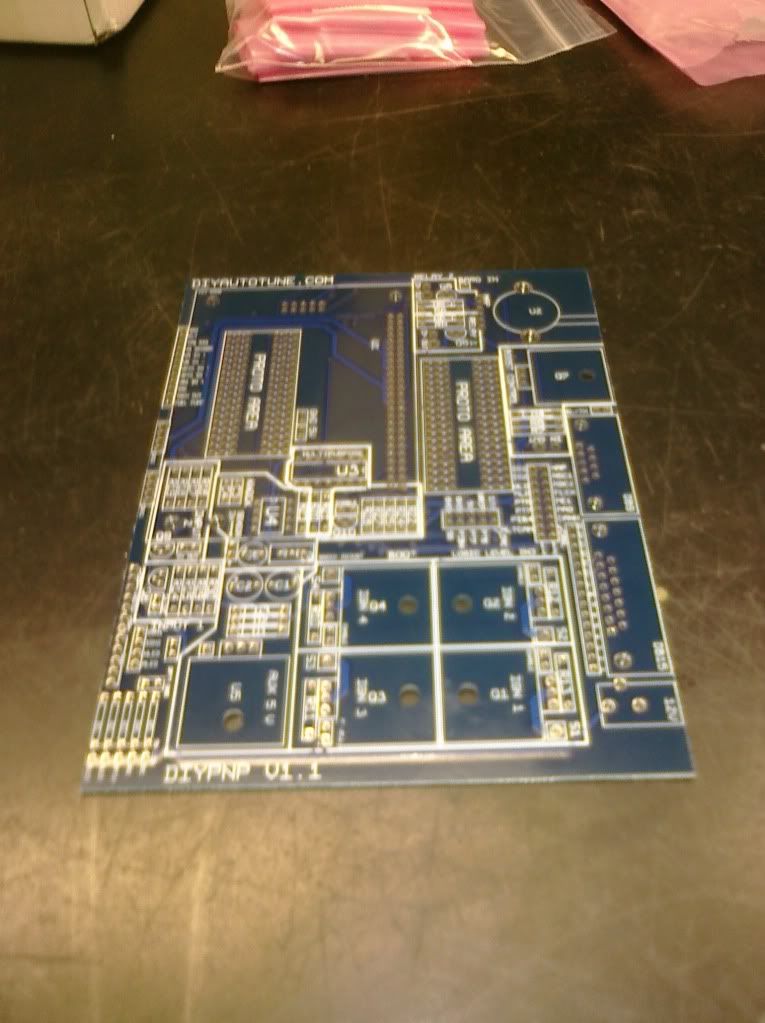
Image

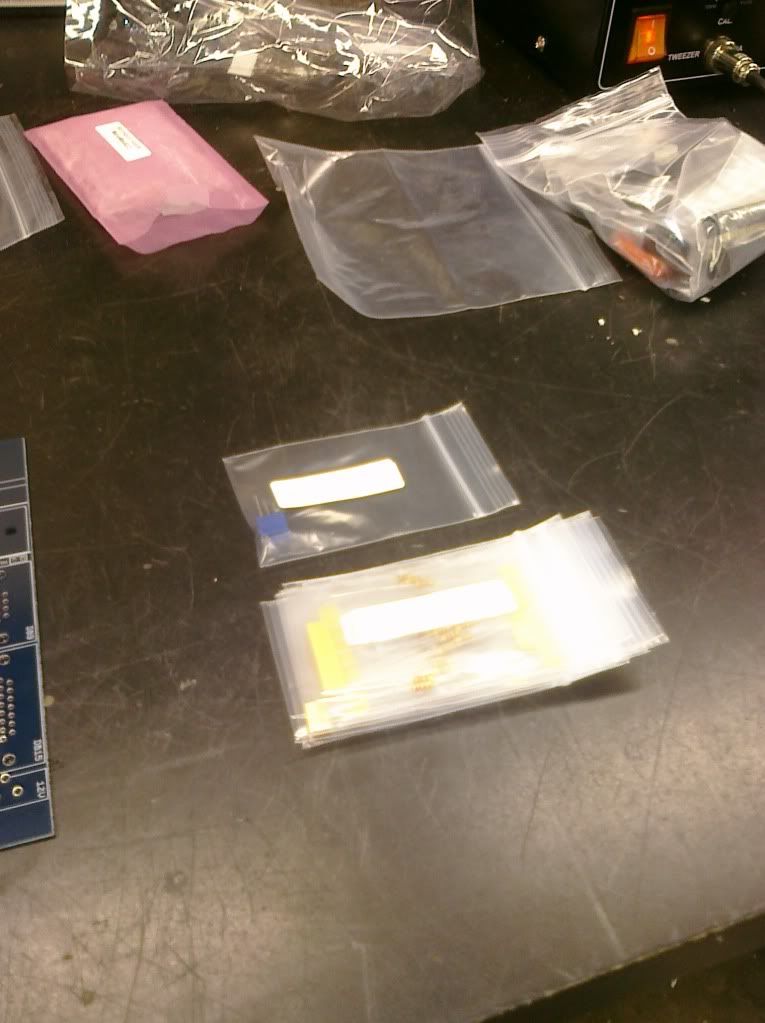
Various parts in baggies all neatly labeled!
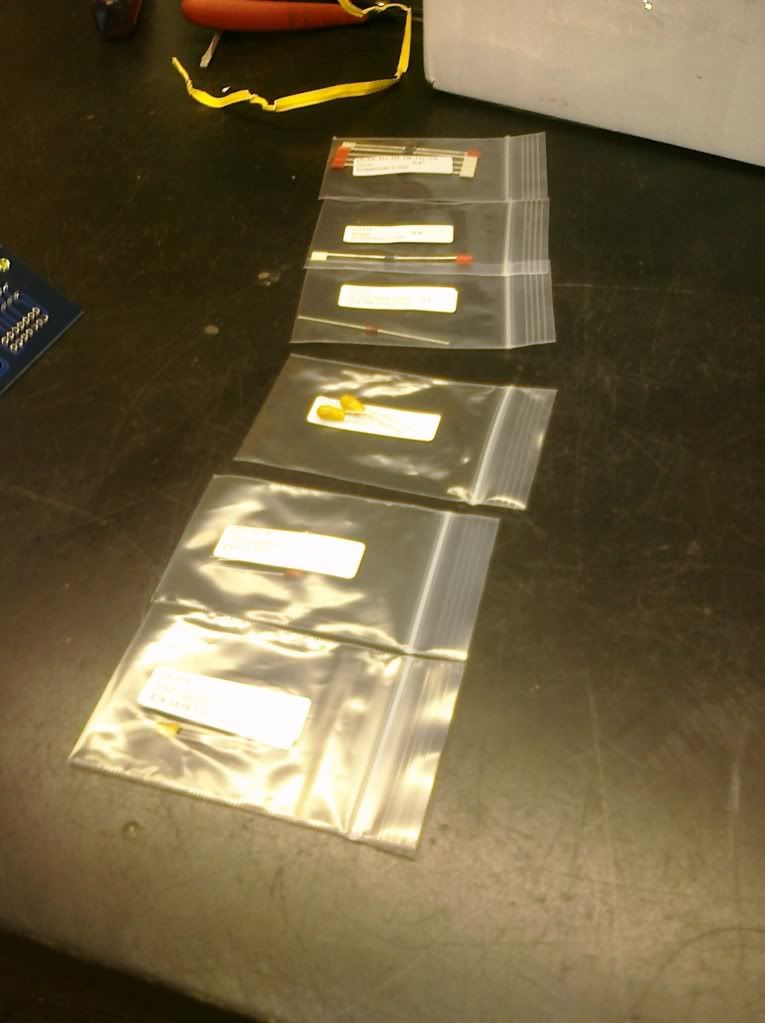
Image
Image

Solder! I chose the fluxed variety for easy adhesion.
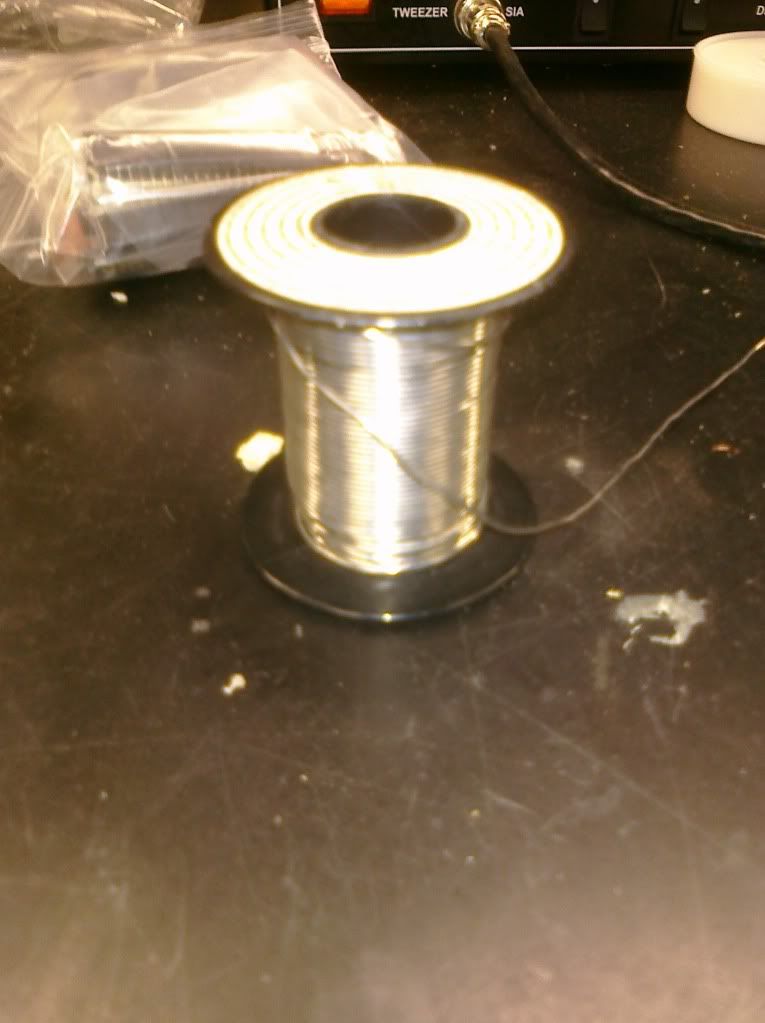
Image

Soldering iron and sucker (if you mess anything up)
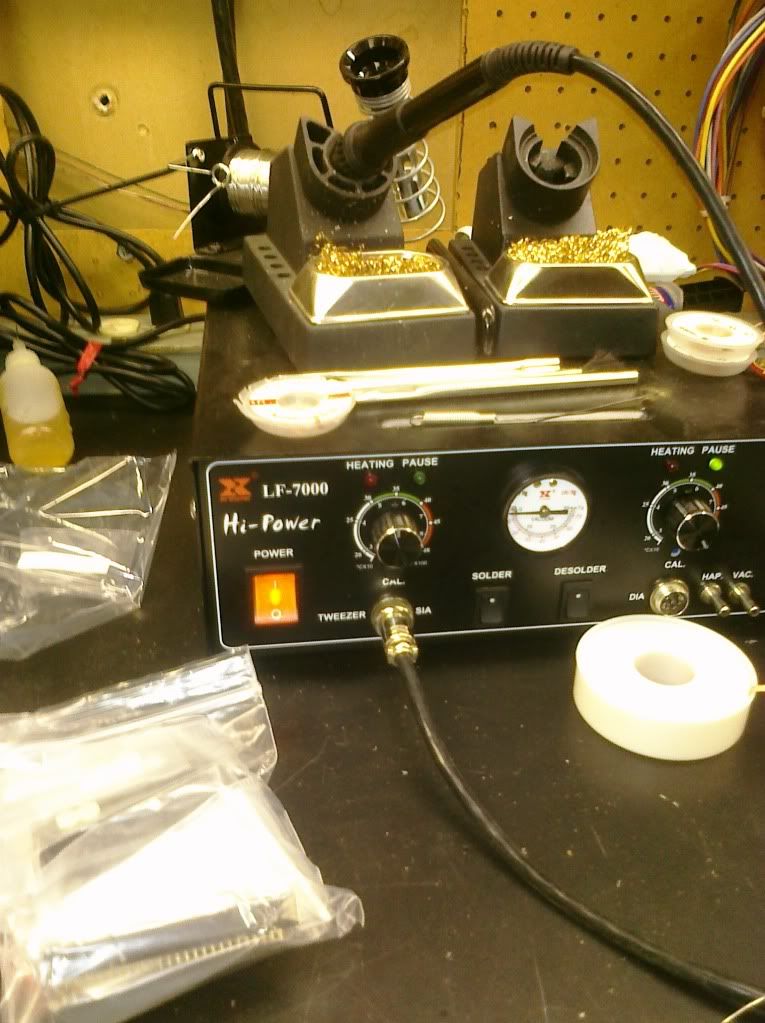
Image

Connector board with 42 pin factory matchup connector.
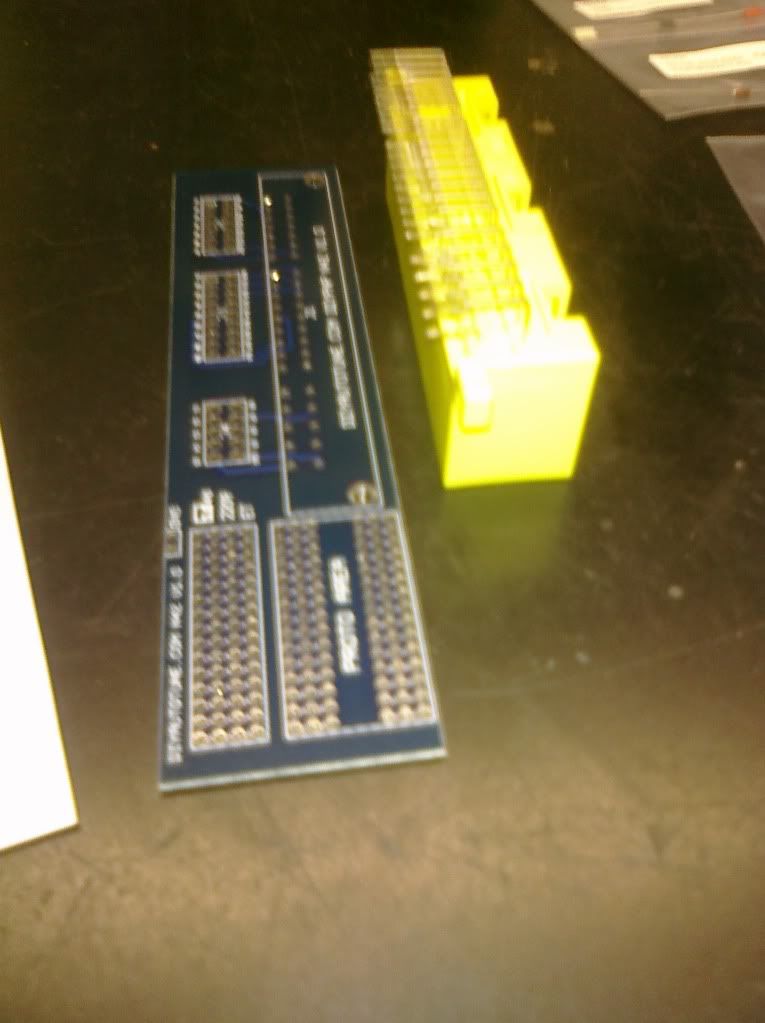
Image

I simply flipped the connector upside down and soldered away!
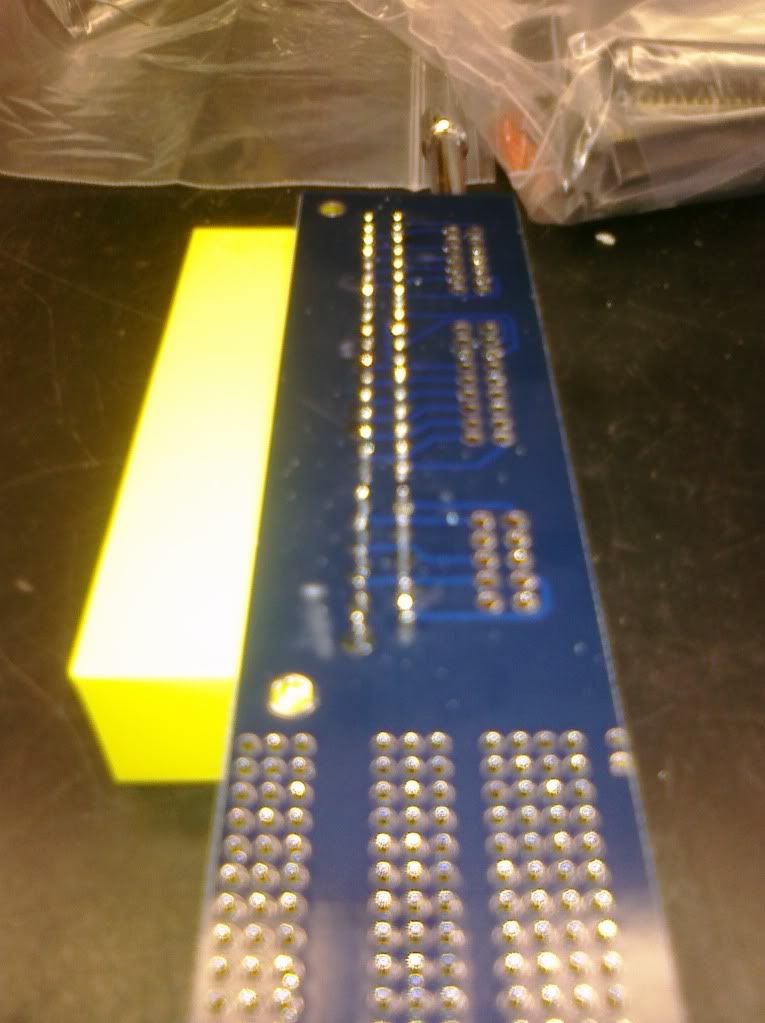
Image

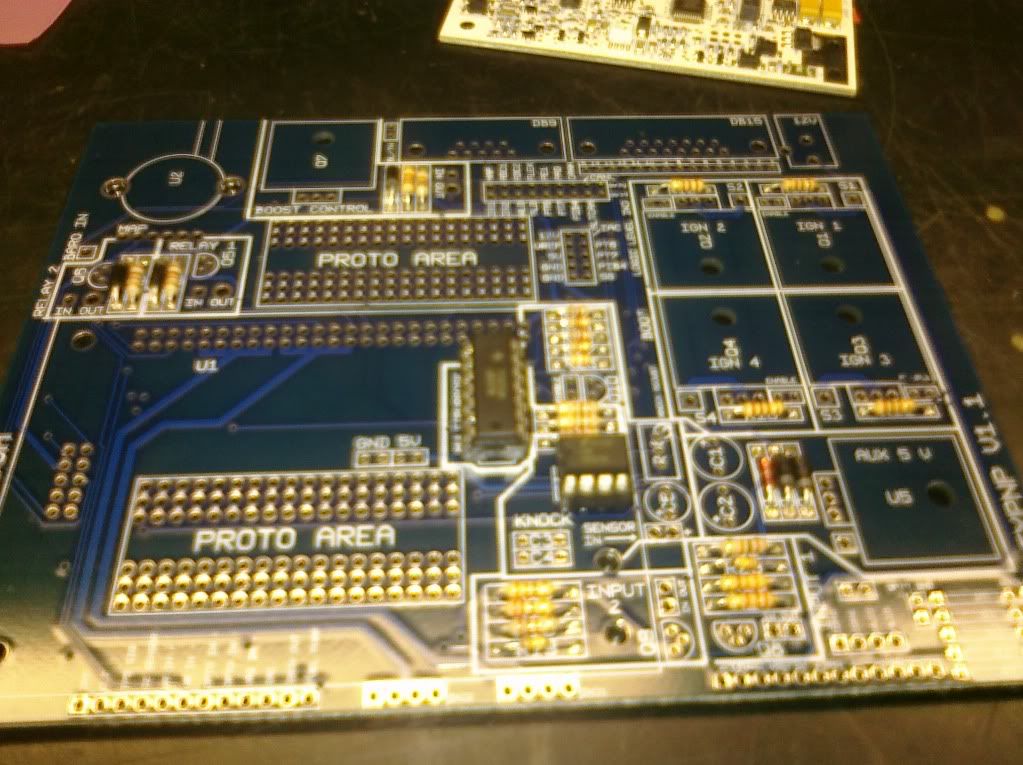
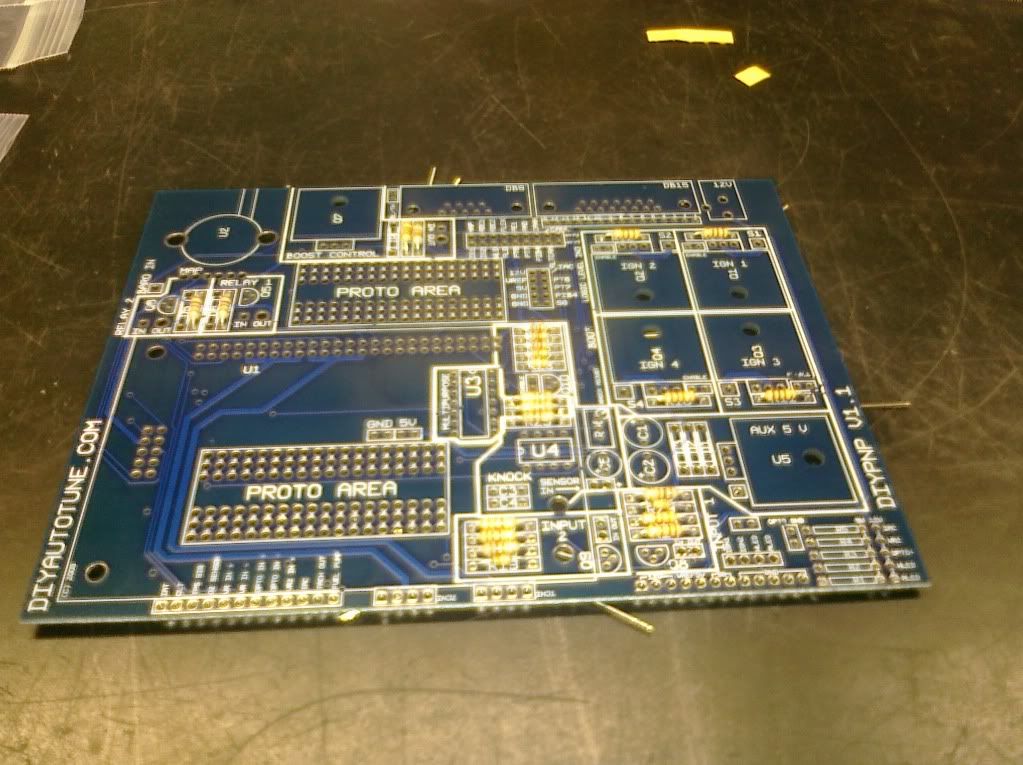
Started on the main board with resistor installs. I’ll get into some of the finer details later but for now these are the main labeled resistors.
Image

Backside view, you can see I placed them all at once instead of soldering in one at a time.
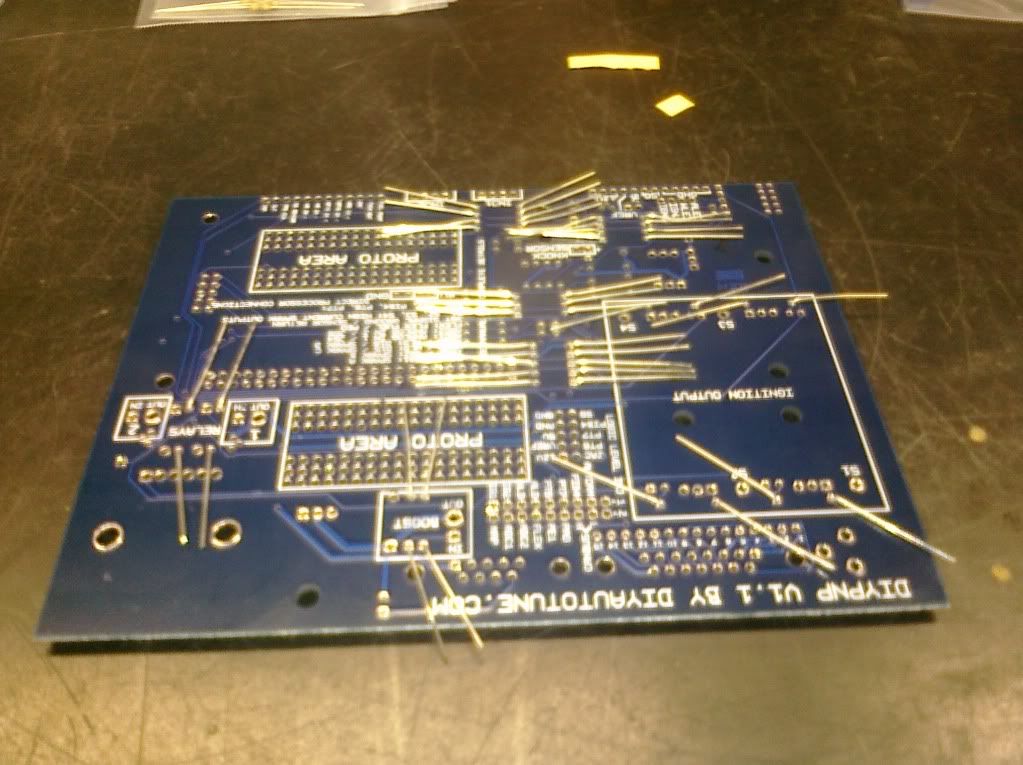
ImageTada! All soldered and trimmed in.
Image

Now for the diodes.
Image

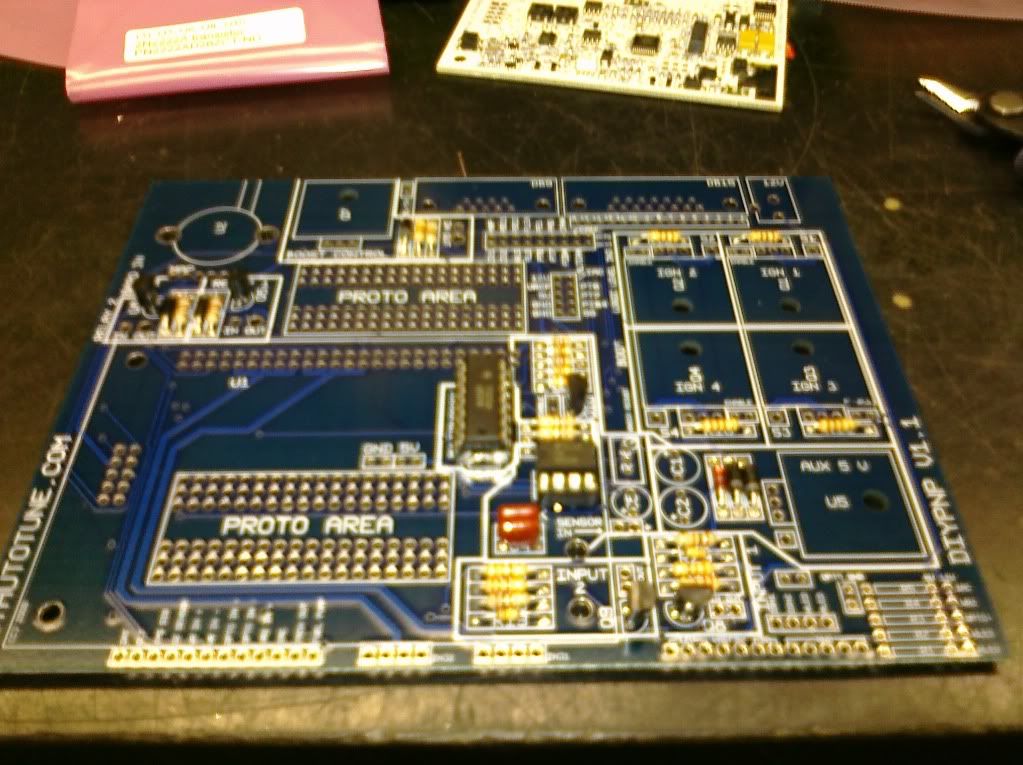
You’ll notice the IC’s in this picture have been put in sockets. These are NOT included in the kit. I chose to install them for easier changing later down the line if they needed to be.
Image

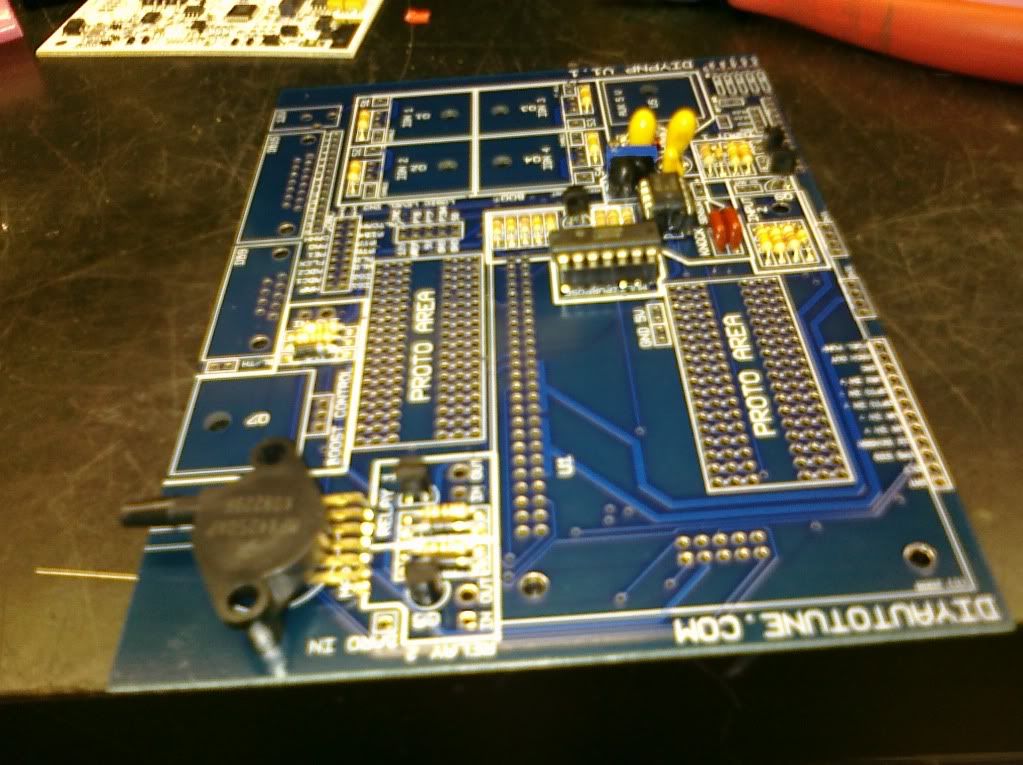
Now all capacitors, adjustable resistor box, MAP sensor and transistors are installed.
Image

Both DB connectors and 12V connector are on now.
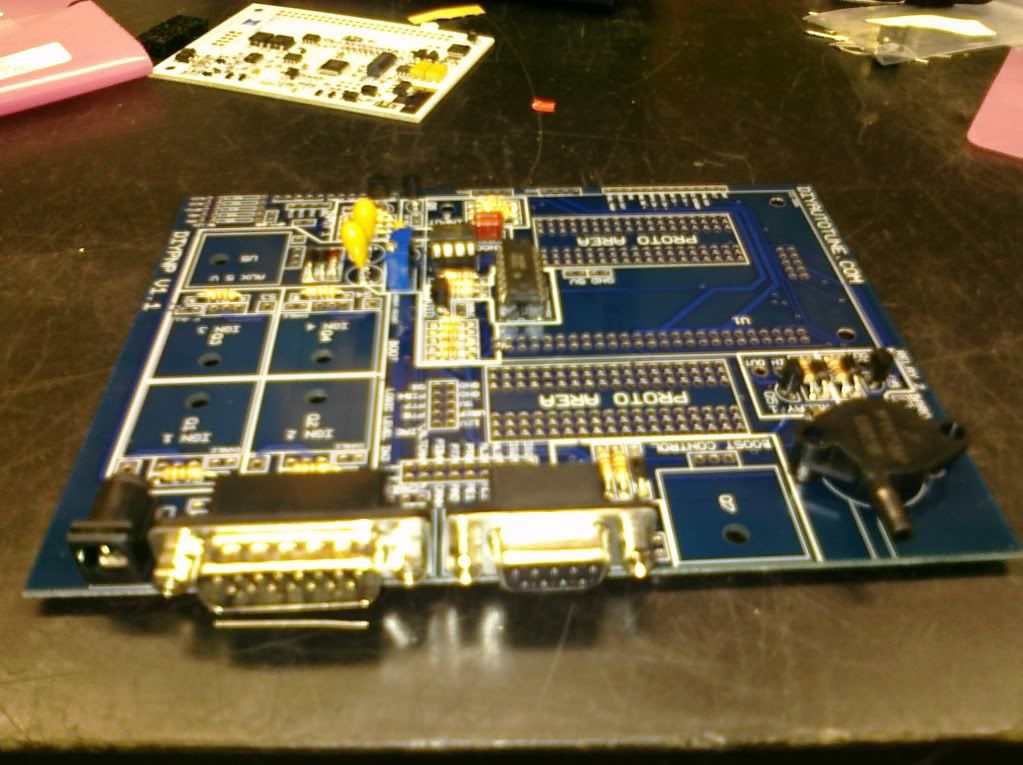
Image

Power time! All heatsinks and ignition modules installed, boost goes on Q7 up in the corner. My application doesn’t use it, but it will be installed anyways for later functionality.
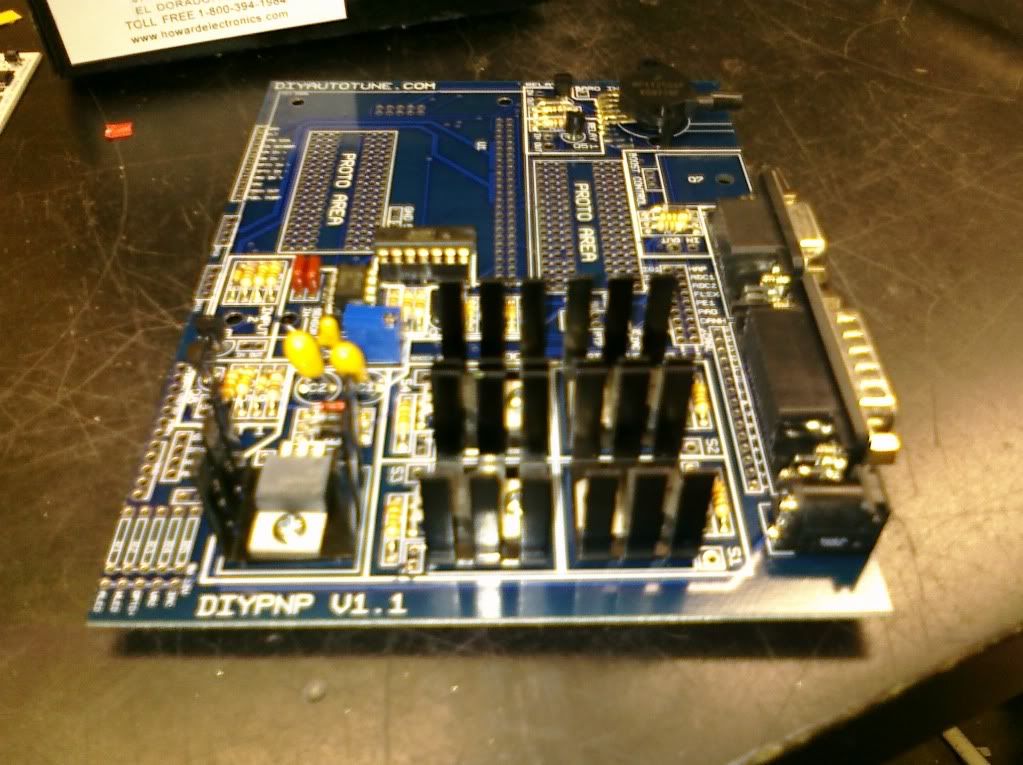
Image

Test fitting the MS2/Extra module. Pretty straight forward, standoffs screws, two sets of connectors.
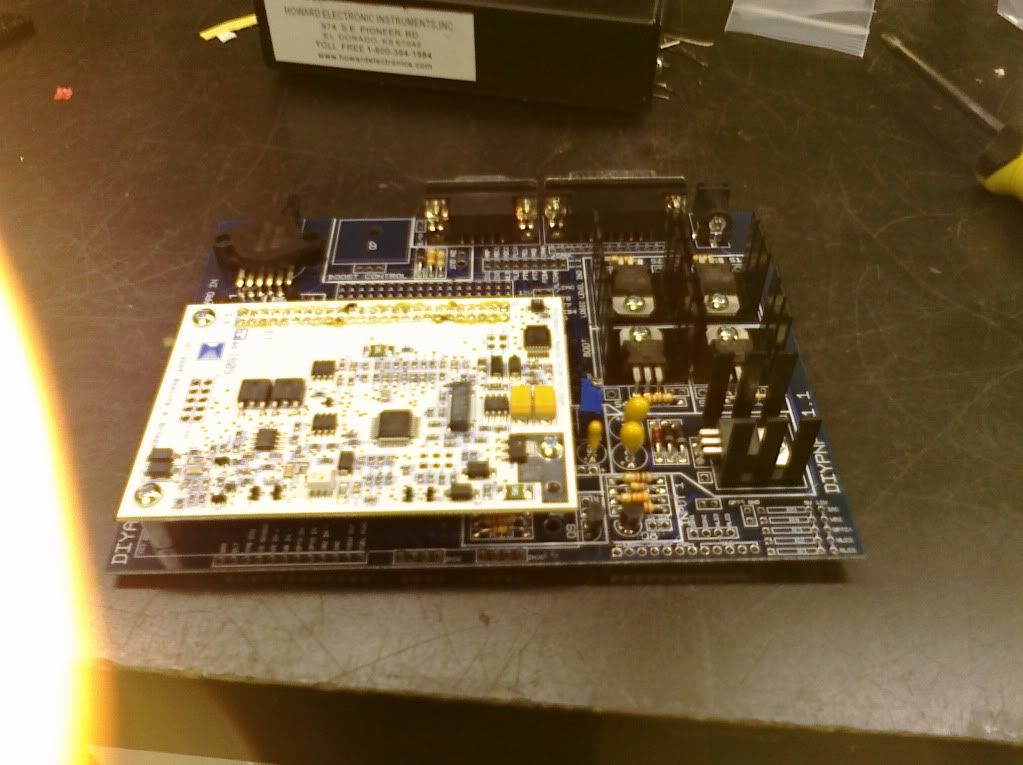
Image

Newer bottom view.
Image

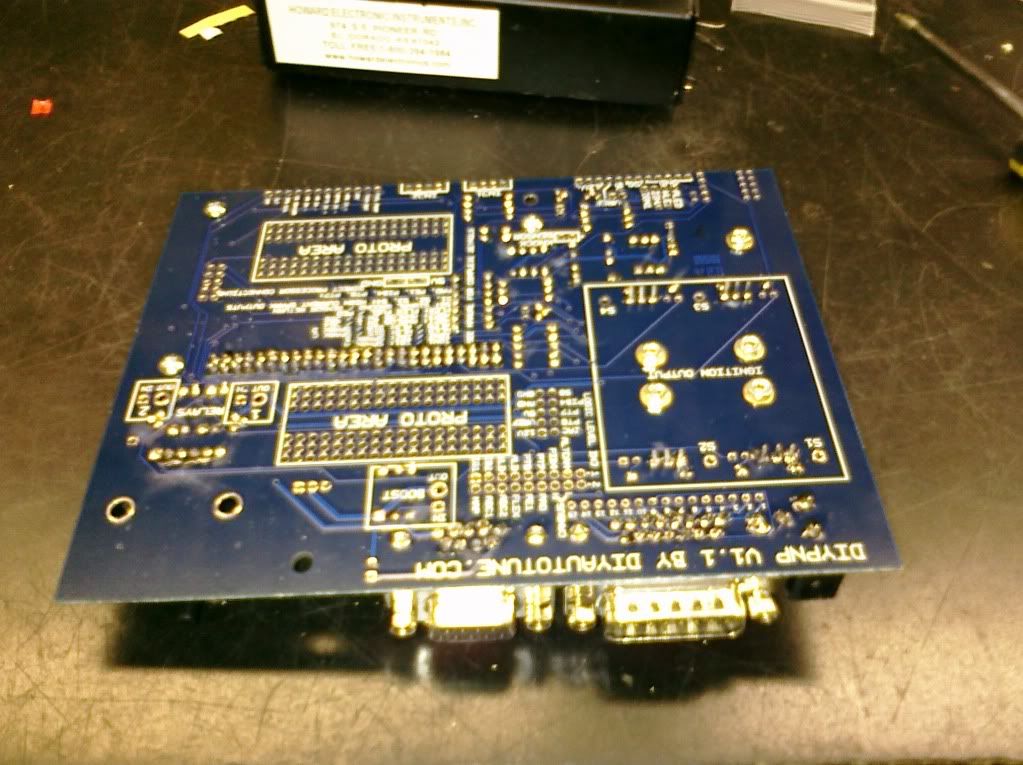
As you can see I took off the screw down points on both of the DB connectors and attached the outside plate with them. If not the connectors sit back inside the case and are difficult to get to. I think it was designed with this in mind.
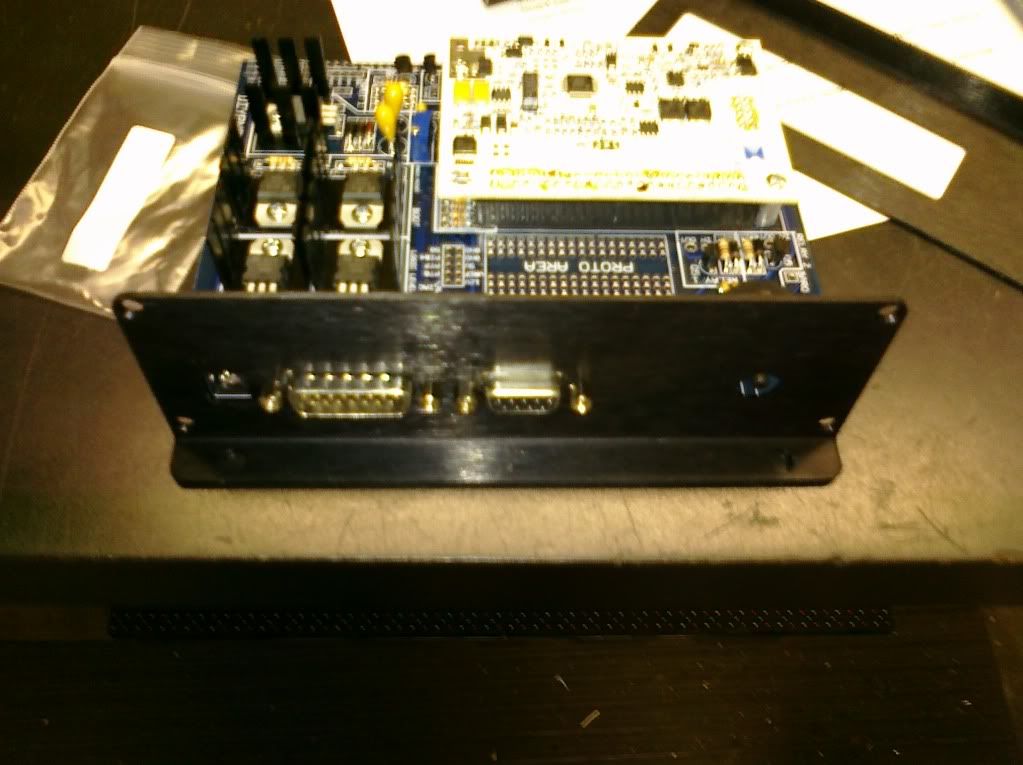
Image

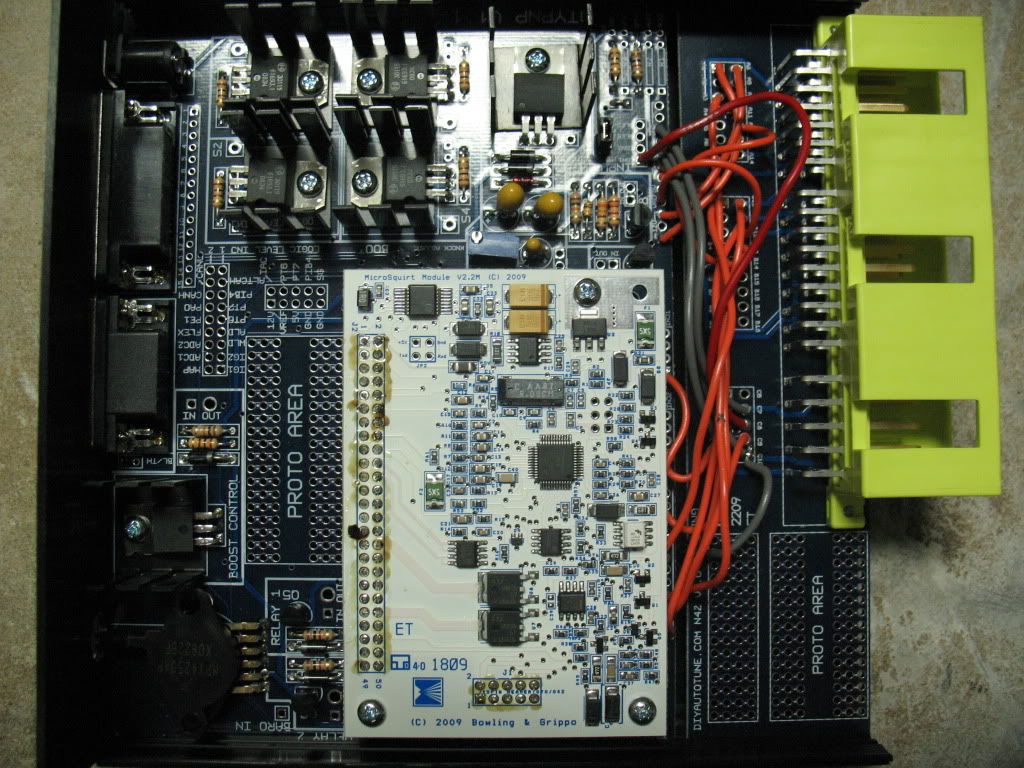
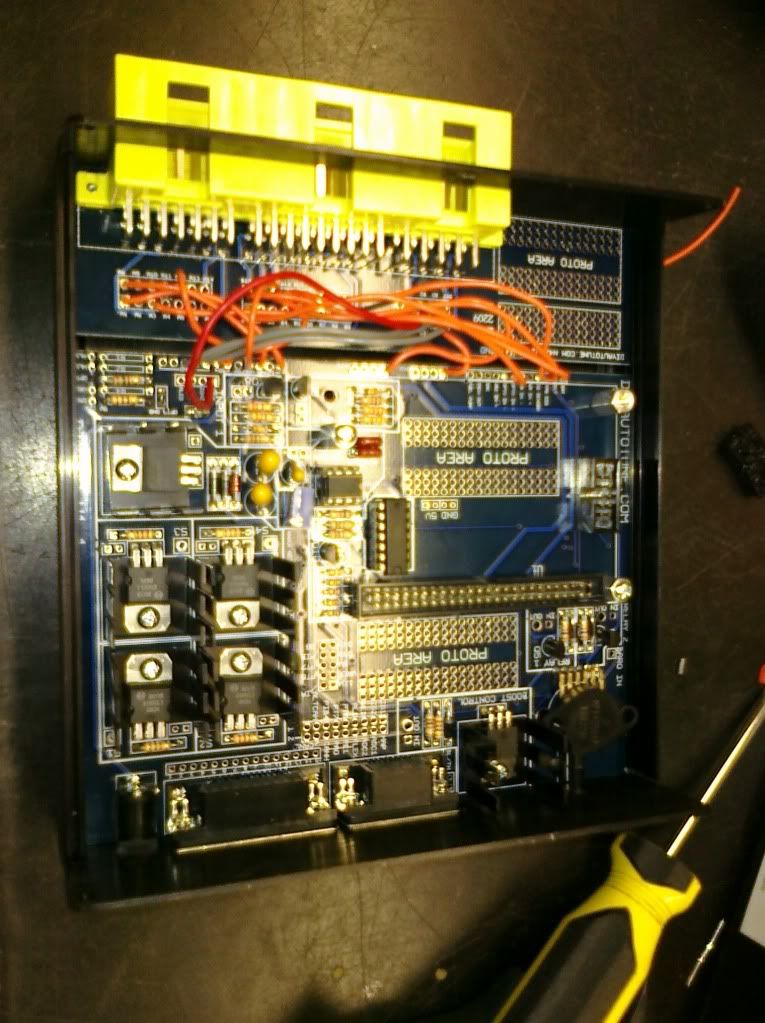
Wired in my connector board to the main unit. See the boost controller installed now?
Image

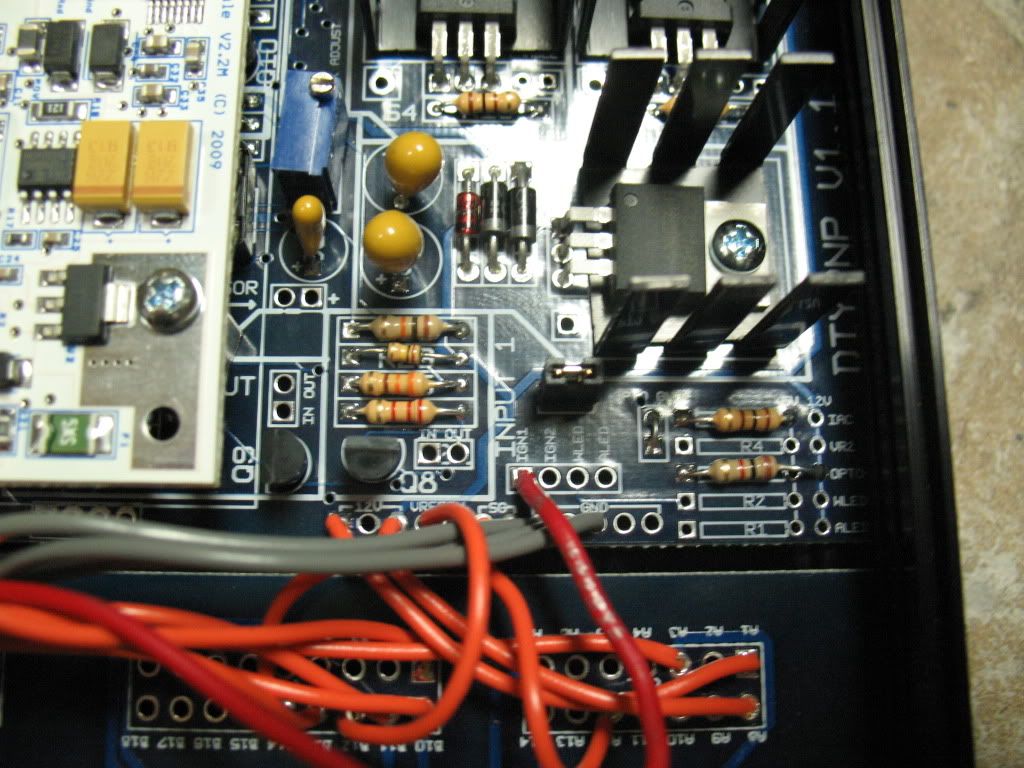
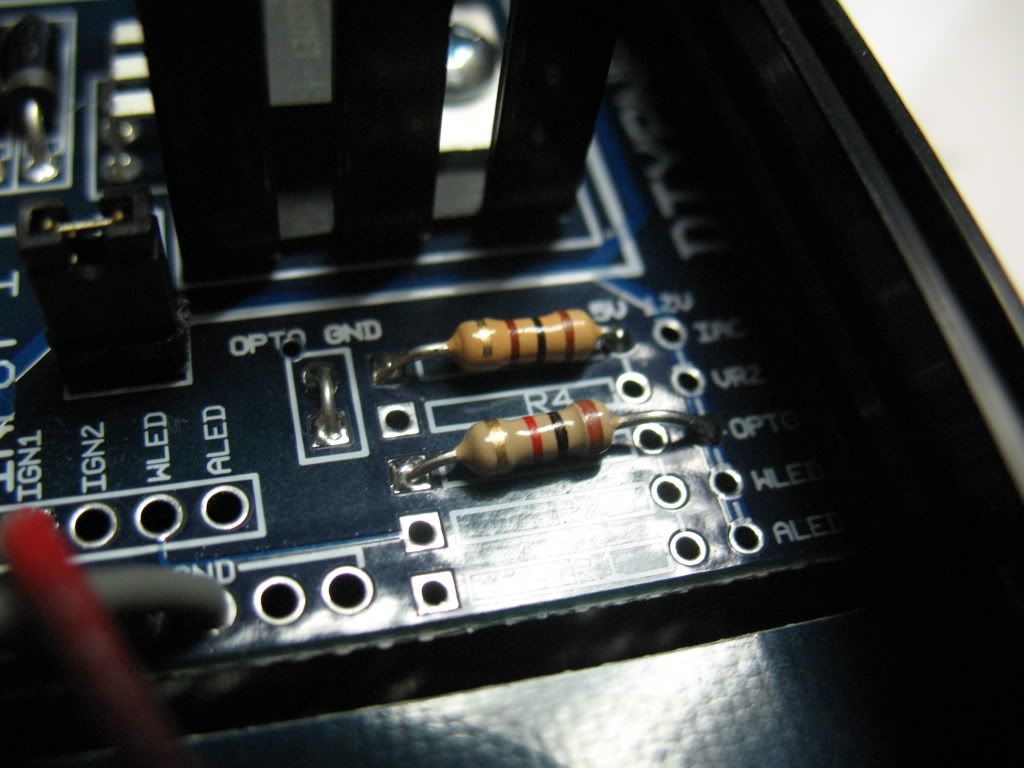
You’ll notice the two resistors in the pullup area. These must be installed for my application. Notice the OPTO+ gets a 1k ohm in the 12v hole and the IAC gets a 100 ohm in the 5v hole. Make sure the OPTO+ doesn’t touch the 5v hole as it has to pass over it.
Image
Image

Next step, Flashing the map!
Image
Well, as soon as I get it finished and double checked!

More to come……..
86 GTS 4AGTE
Image

User avatar
MadeInThe80s
Member
Posts: 688
Joined: Wed Apr 15, 2009 3:45 am
Location: Keller, Texas
Contact:

Post by MadeInThe80s »

Got it all done and setup/calibrated and ready to run the car! Now if only the car would start! DAMN YOU STARTER! DAMN YOU!

More details on the setup later when I get home from work.
86 GTS 4AGTE
Image

dr.occa
Hades - Site Admin
Posts: 7734
Joined: Tue Sep 04, 2007 1:49 pm
Location: On my hiney...in HOU
Contact:

Post by dr.occa »

good job on the assembly 80s.

for the 100ohm (IAC) resistor, to assure clearance for the OPTO side of the lead others may "opt" to angle the resistor up at a 45° angle with the lead doing a straight vertical drop into the OPTO slot.

other than that, awesome job. you must be an old hand at electronics. hmmmm?

User avatar
MadeInThe80s
Member
Posts: 688
Joined: Wed Apr 15, 2009 3:45 am
Location: Keller, Texas
Contact:

Post by MadeInThe80s »

Been doing it awhile thats for sure! Yeah I thought of doing it that way, I just like having everything as flush as possible. As it sits now I know it will run the car just fine, its acting the exact same as the stock ECU.

I need to run down the starter issue and get it running again. Im not 100% its the starter, might be the relay. It only clicks once when I try to turn it over. Up until now if I didnt start it once a week it would do this, but eventually turn over for me.
86 GTS 4AGTE
Image

mooreofit
VIP Member
Posts: 3694
Joined: Tue May 12, 2009 8:38 pm
Location: spring tx
Contact:

Post by mooreofit »

awesomejob mate! fantastic assembly! and badass solder gun. but use rosin core.
[img]http://i300.photobucket.com/albums/nn17/mooreofalan/attachment-2-1-1-1-1.jpg[/img]

User avatar
MadeInThe80s
Member
Posts: 688
Joined: Wed Apr 15, 2009 3:45 am
Location: Keller, Texas
Contact:

Post by MadeInThe80s »

mooreofit wrote:awesomejob mate! fantastic assembly! and badass solder gun. but use rosin core.
I actually dont like the Xytronic stuff myself. Only reason we got it was because its the cheapest rework station on the market. For some reason they just dont hold up to the Pace stuff. Both my solder sucker units have crapped out on me several times. The 15 year old Weller solder sucker unit we had lasted a long time.

The unit in the picture was about $500. A similar Pace would cost upward of $1000+, but even with that Xytronic you can do surface mount work.

I'll have to give rosin core a try, we have been using flux core for as long as I can remember. It solders sooooo easy compared to having to put down flux/rosin first then add solid solder. We do have some smaller solder I had ordered awhile back that might be rosin core. Im not 100% sure I just remember not liking it because it didnt adhere as easy as I was used to.
86 GTS 4AGTE
Image

mooreofit
VIP Member
Posts: 3694
Joined: Tue May 12, 2009 8:38 pm
Location: spring tx
Contact:

Post by mooreofit »

i'm no soldering pro. looks like your skills way out do mine. as for removing solder i just use a solder wick it works pretty good for removing components.

rosin cor is what i've always been told for auto applications. i forget why but there was a good reason.
[img]http://i300.photobucket.com/albums/nn17/mooreofalan/attachment-2-1-1-1-1.jpg[/img]

dr.occa
Hades - Site Admin
Posts: 7734
Joined: Tue Sep 04, 2007 1:49 pm
Location: On my hiney...in HOU
Contact:

Post by dr.occa »

mooreofit wrote:...

rosin cor is what i've always been told for auto applications. i forget why but there was a good reason.
most likely for corrosion resistance in extreme conditions (heat, cold, humidity, etc...)

mooreofit
VIP Member
Posts: 3694
Joined: Tue May 12, 2009 8:38 pm
Location: spring tx
Contact:

Post by mooreofit »

that was it!!!
[img]http://i300.photobucket.com/albums/nn17/mooreofalan/attachment-2-1-1-1-1.jpg[/img]

User avatar
MadeInThe80s
Member
Posts: 688
Joined: Wed Apr 15, 2009 3:45 am
Location: Keller, Texas
Contact:

Post by MadeInThe80s »

The beast, she runs!!!

Now to adjust the Accel Enrichment, whatever that means lol!
86 GTS 4AGTE
Image

mooreofit
VIP Member
Posts: 3694
Joined: Tue May 12, 2009 8:38 pm
Location: spring tx
Contact:

Post by mooreofit »

you shouldnt need to.


keep it running through warm up enrichments till it up to operating temp then ve tune away!
[img]http://i300.photobucket.com/albums/nn17/mooreofalan/attachment-2-1-1-1-1.jpg[/img]

User avatar
MadeInThe80s
Member
Posts: 688
Joined: Wed Apr 15, 2009 3:45 am
Location: Keller, Texas
Contact:

Post by MadeInThe80s »

VE tables are set straight from the megasquirt guys. I was told that the AE needs to be adjusted. When I blip the throttle it cuts out for a split second due to over fuel.
86 GTS 4AGTE
Image

mooreofit
VIP Member
Posts: 3694
Joined: Tue May 12, 2009 8:38 pm
Location: spring tx
Contact:

Post by mooreofit »

my bad!! for some reason i saw cold start enrichnments when it really said accell.


but if you are messing with the ve table be sure to turn off the accell enrichments because it will screw you up a bit
[img]http://i300.photobucket.com/albums/nn17/mooreofalan/attachment-2-1-1-1-1.jpg[/img]

User avatar
MadeInThe80s
Member
Posts: 688
Joined: Wed Apr 15, 2009 3:45 am
Location: Keller, Texas
Contact:

Post by MadeInThe80s »

Here is my log file from sitting at idle and blipping the throttle a little. Other than the bog down it ran around the block pretty decent.

http://www.filefactory.com/file/ah33g51 ... p_4age_msl

Here is the MSQ.
http://www.filefactory.com/file/ah33h21 ... cc-inj_msq
86 GTS 4AGTE
Image

nexus4400
Member
Posts: 154
Joined: Mon Aug 20, 2007 11:58 pm
Contact:

Post by nexus4400 »

i'm a newbie to soldering. How hard is this? I've got a cheapo 45W ratshack soldering iron, what do you recommend.

Post Reply