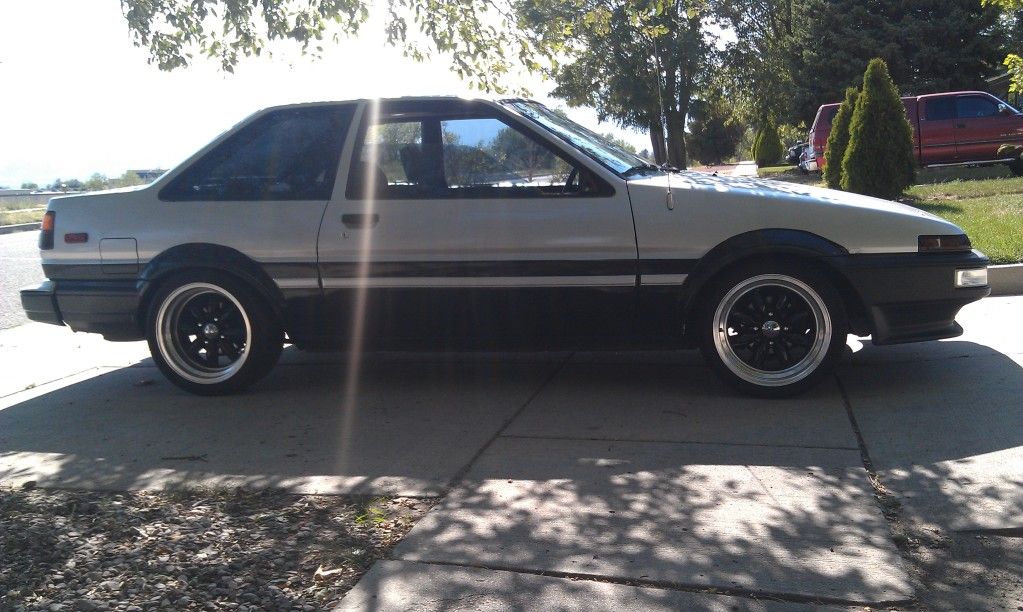
Curtis' 87 BEAMS GTS

Your Toyota

Moderators: dr.occa, CBR_TOY

Post Reply
Grappletech
Tourist
Posts: 6
Joined: Sat Feb 09, 2013 12:34 pm

Curtis' 87 BEAMS GTS

Post by Grappletech »

Whats going 86garage? I'm Curtis, currently stationed in Colorado Springs. I've been around 86's and the forum since 2010. I bought thisAE86 while in Iraq, joined the forum, and read and researched until my eyes bled.

Just before this build started i deployed again to Afghanistan and I want to thank everyone who really helped me sourcing parts and giving me a heads up on certain things. Between my family and the 86 community the support and motivation meant a lot. Thanks everyone!

If you want to know the basis of the car here is my old thread: http://forums.club4ag.com/zerothread?id=97019" onclick="window.open(this.href);return false;


Now I've moved on researched and figured out that I would go BEAMS instead of rebuilding the 16V ( still have a 16V for a future build, or a coffee table)
Inspiration for the beams, favorite builds and set ups:
Jeonsah: http://forums.club4ag.com/zerothread?id=46485&page=1" onclick="window.open(this.href);return false;
23PSI4age: http://forums.club4ag.com/zerothread?id=105671" onclick="window.open(this.href);return false;
Ae86Kai: http://forums.club4ag.com/zerothread?id=82717" onclick="window.open(this.href);return false;
Rue: http://forums.club4ag.com/zerothread?id=83210" onclick="window.open(this.href);return false;


Plan for the car is to daily drive auto-x about One to two events per month. will happen? as much as possible as long as everything is healthy and working.

Beams 3sge Blacktop rated using the stock 6speed trans.

I deployed to Afghanistan and the car sat for about 9 months before this vid...
yes, dont mind my babbling in the beginning i was pretty excited
Image

alright on to the fun stuff,
Image

Image
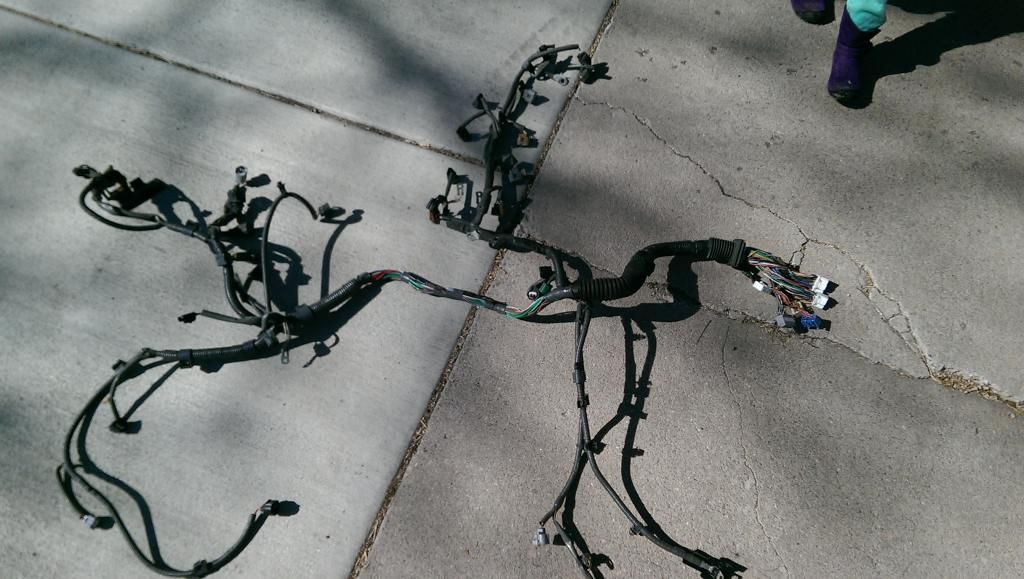
Removed the Engine harness
[url=http://s294.photobucket.com/user/grappletech/media/beams/IMAG0217_BURST001_zps8nptkvzs.jpg.html]Image


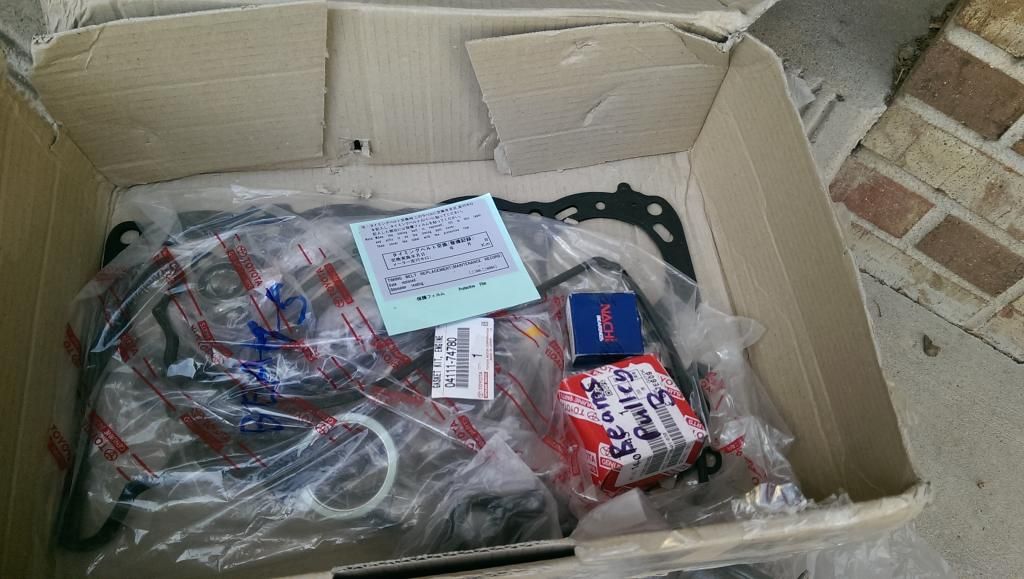
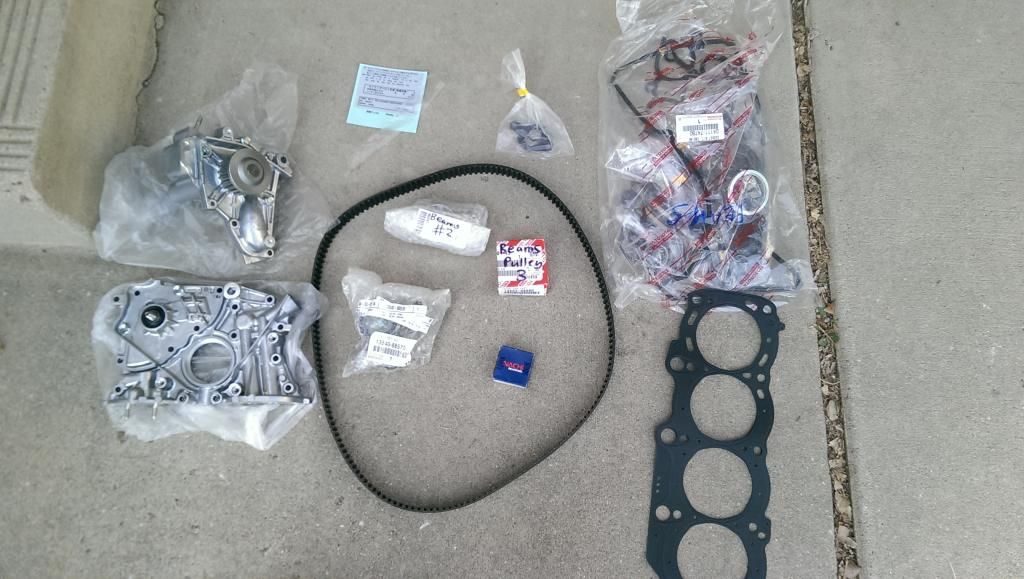
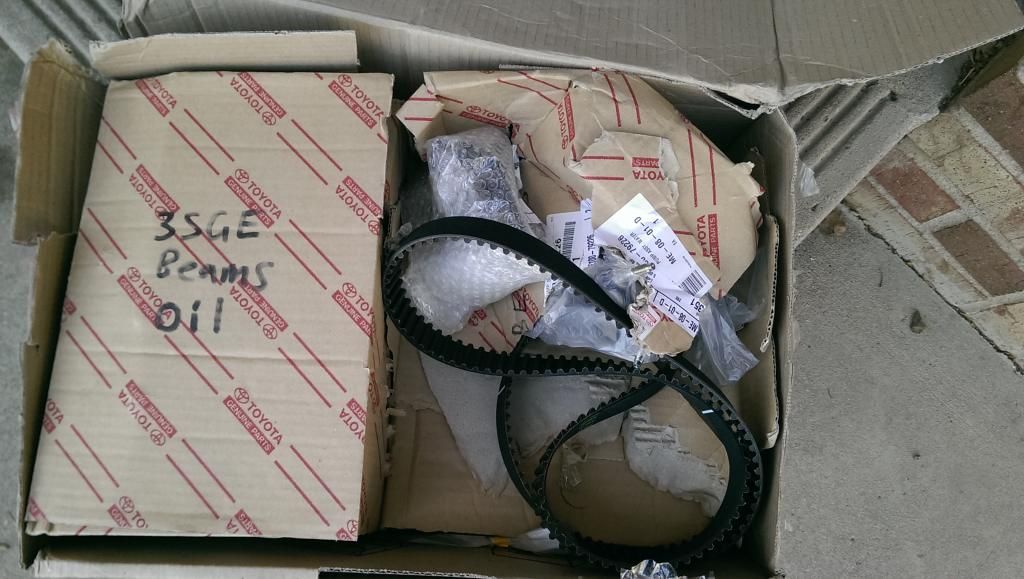
got a nicely packaged box of parts, and gaskets from Sam-Q http://s-86.com/" onclick="window.open(this.href);return false; thanks a ton!
Image
Image
Image
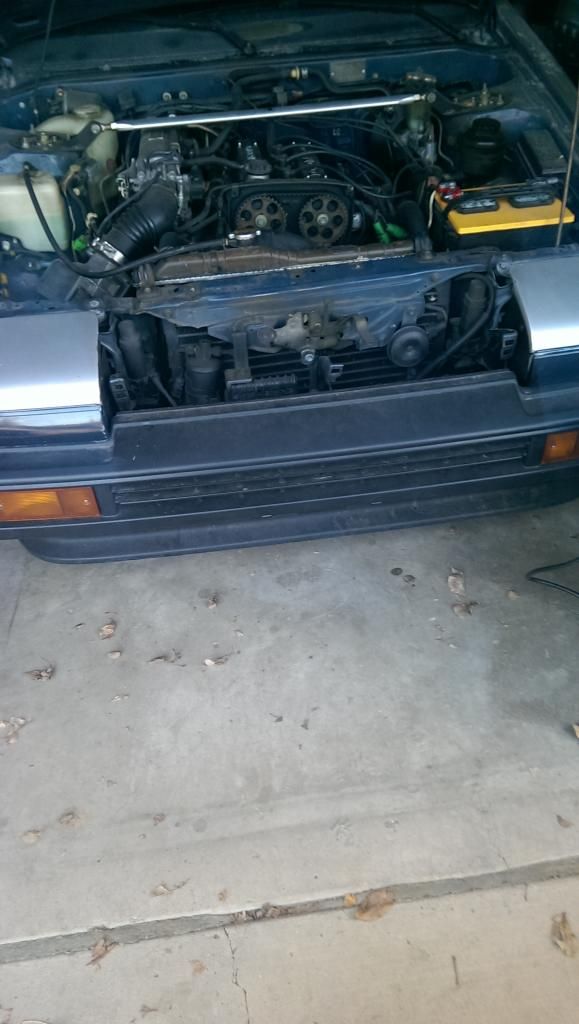
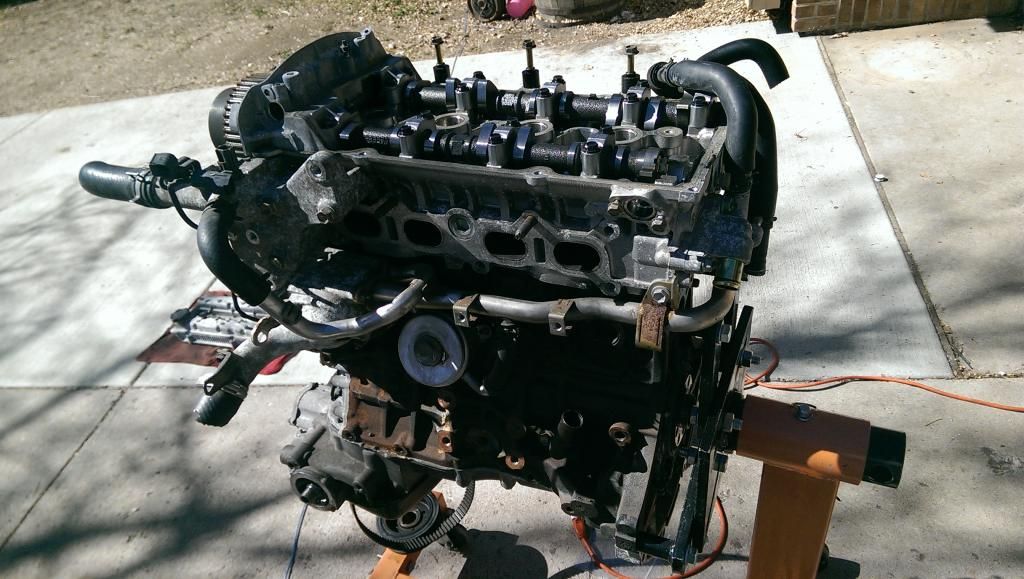
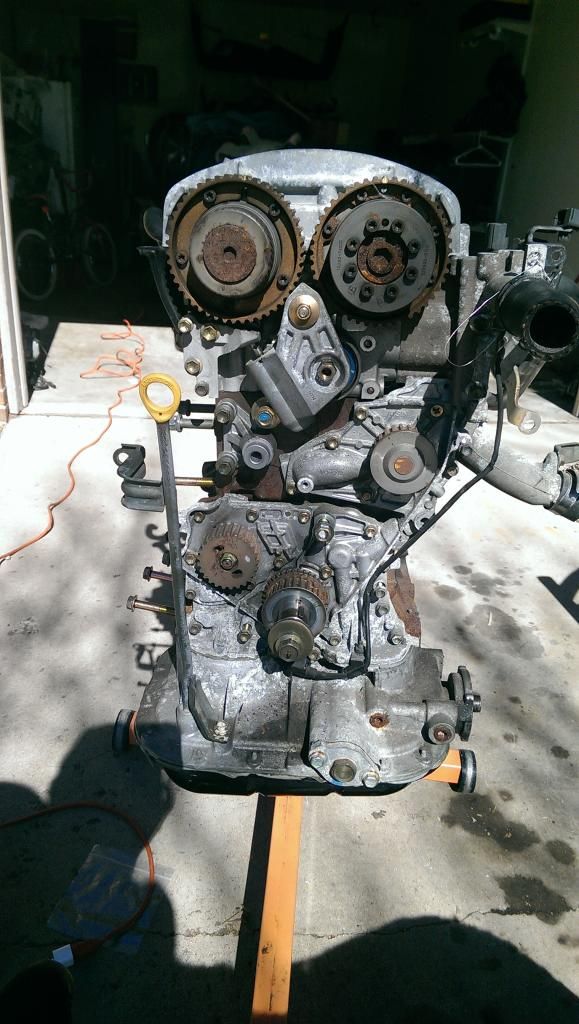
Started dis-assembly
Image
Image


head was pretty clean but I took everything to the machine shop to get seals replaced and valve job done
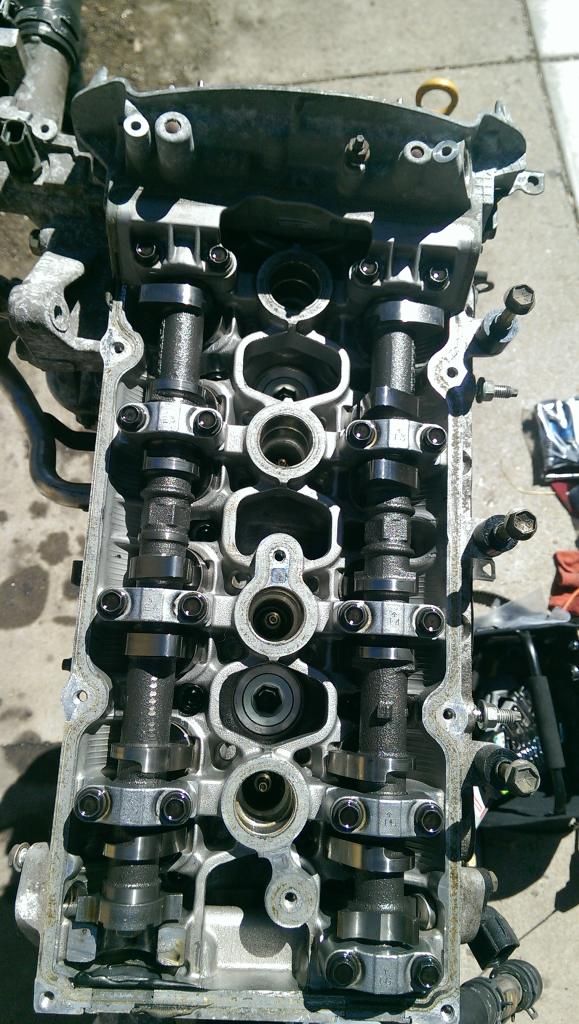
Image
with every car, this is about the same, nasty and dirty!!!
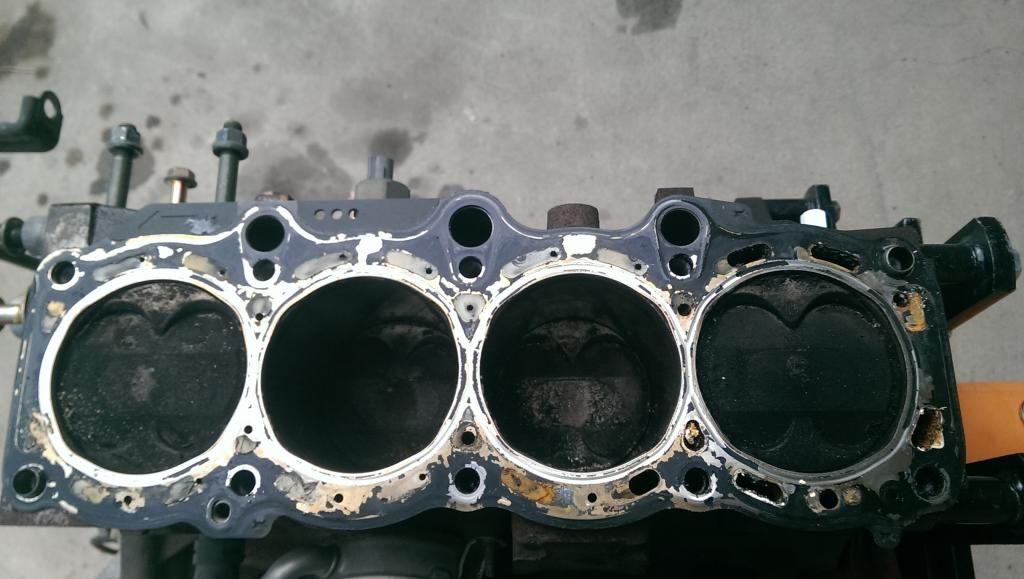
Image
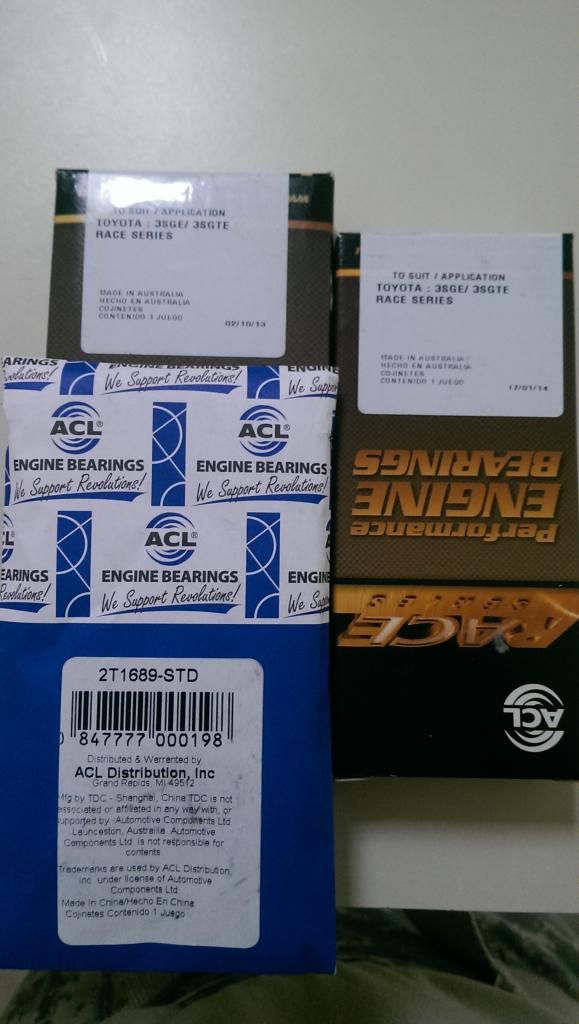
new bottom end bearings
Image

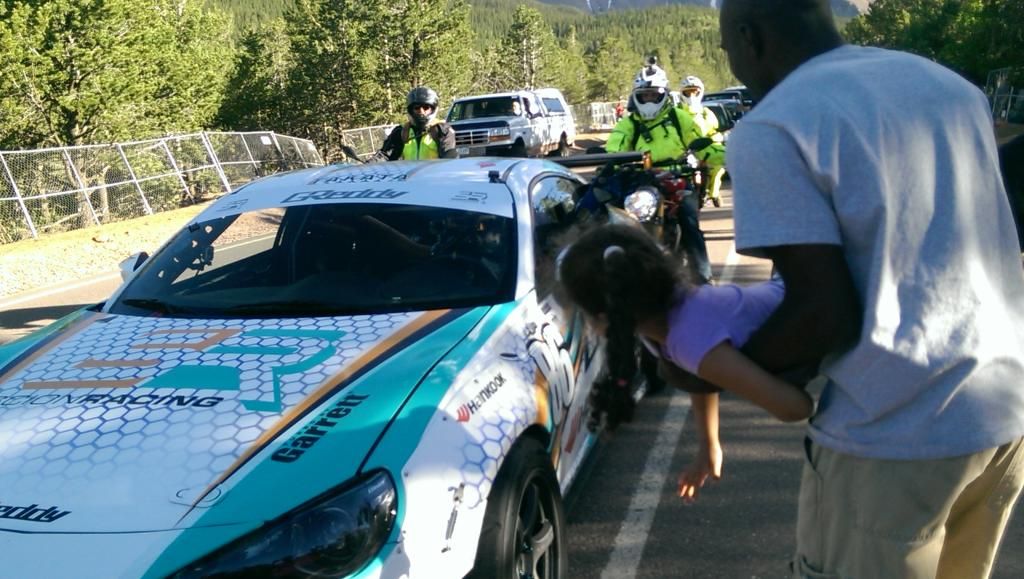
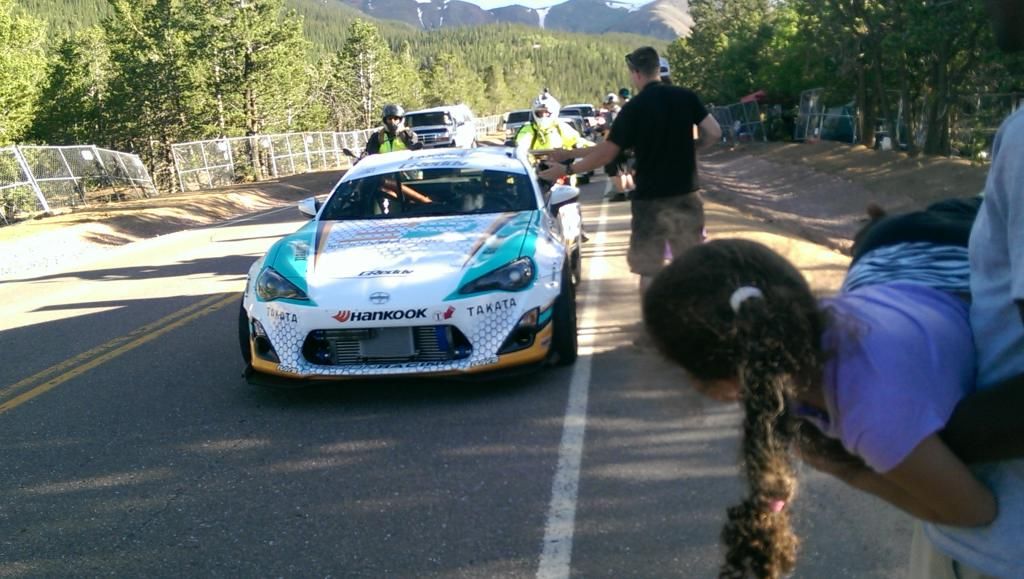
KEN GUSHI! he was a beast at the pikes peak hill climb!! yes thats me holding my daughter to high five during the downhill parade
Image
Image

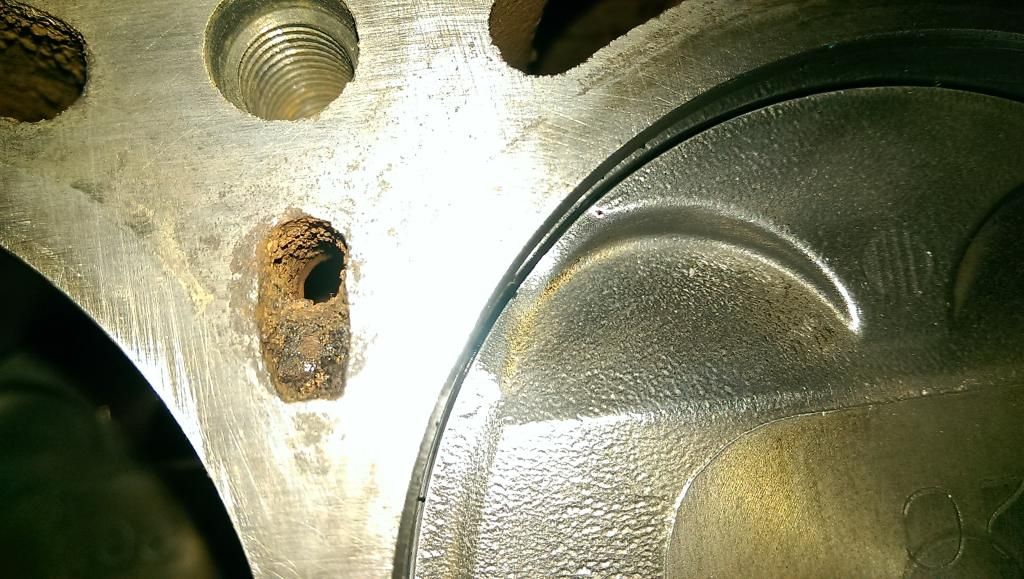
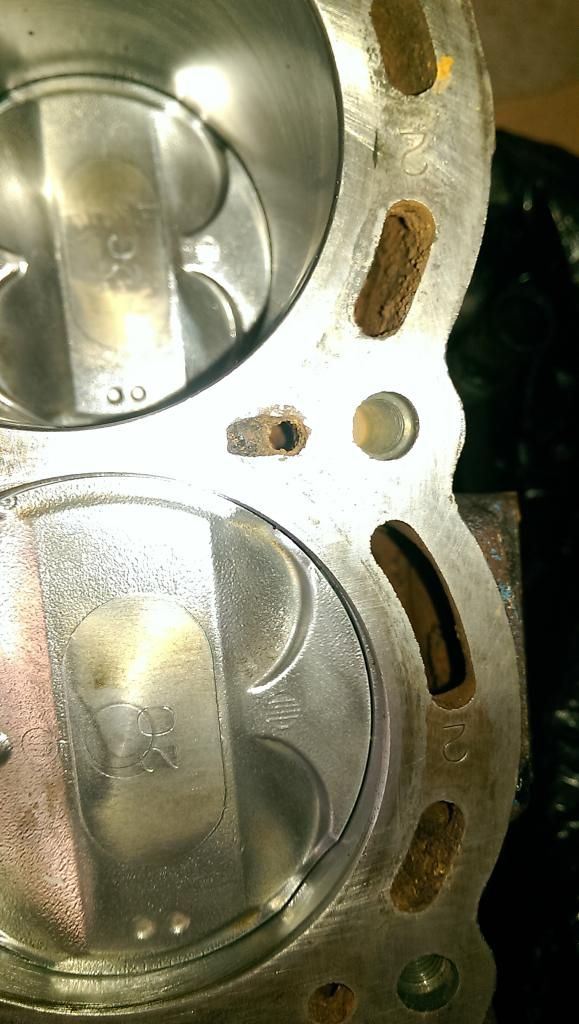
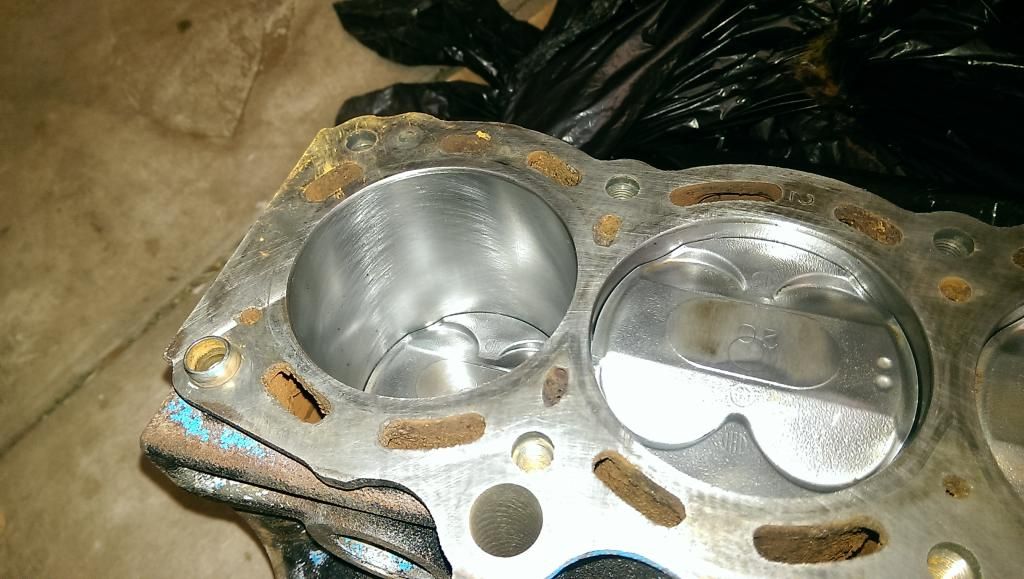
The Machine shop didnt do too great of a job on the Block... they barely even got the paint off during the hot tank. Disgruntled pics:
Image
Image
Image


I trust that they did well with the actual work, but it makes me wonder when they cant clean a simple mess. so I had them get me new rings, dis-assemble and tank and deck the block as little as possible. upset, but they did perfect the second time around

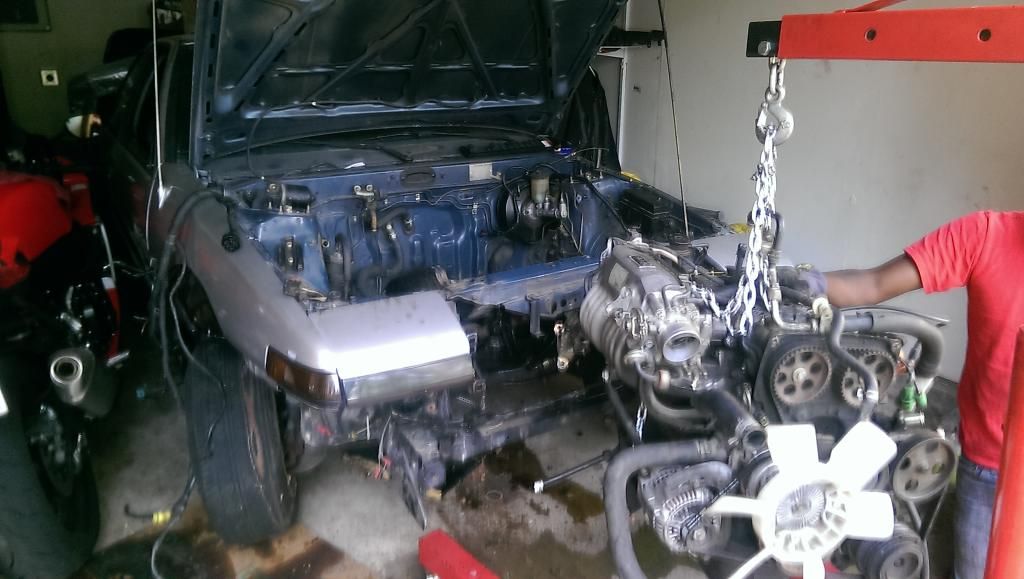
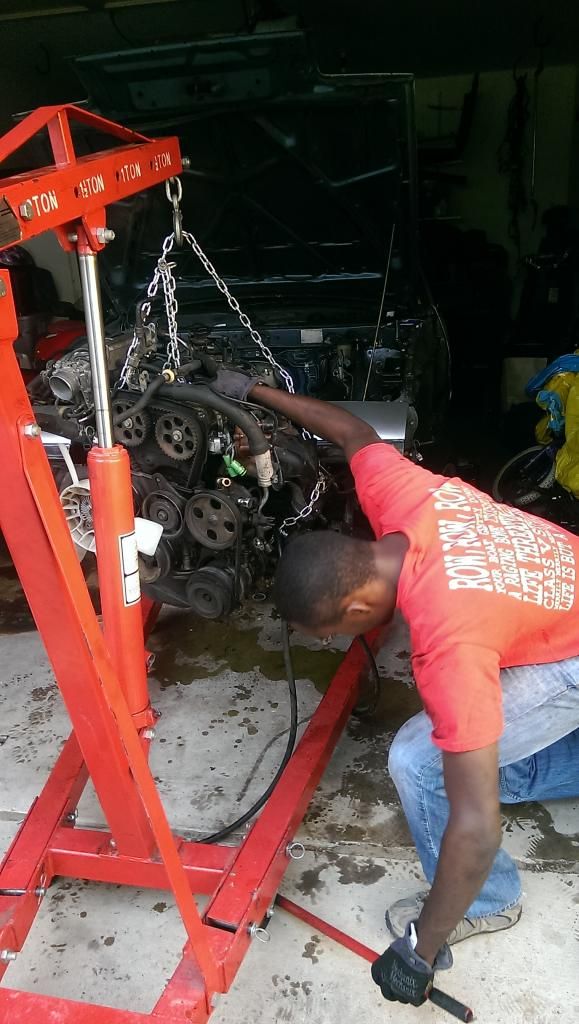
7/19 I pulled the motor after about 234098753 days of pulling wires, power steering and A/C lines
Image
Image


sold the motor about an hour later. so it is all going towards the other Beams parts and pieces.
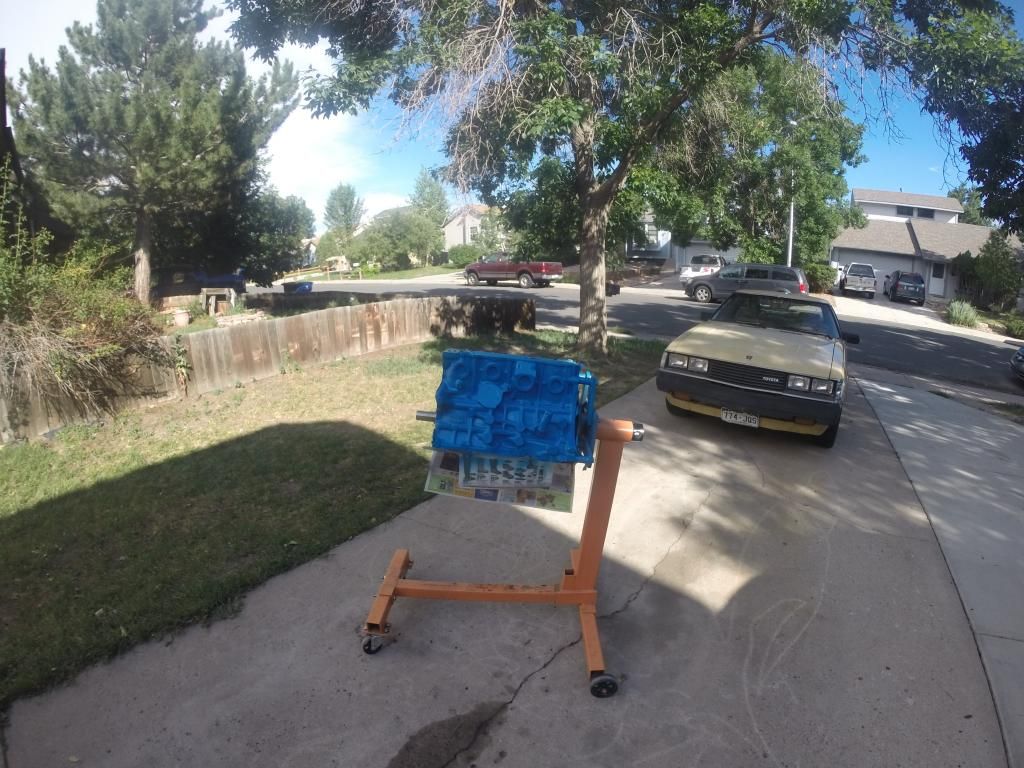
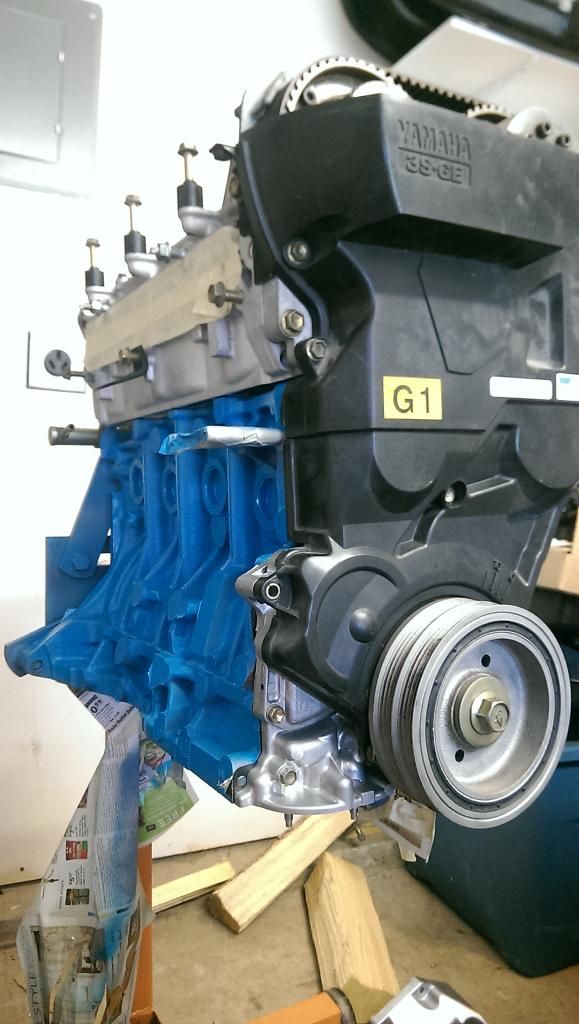
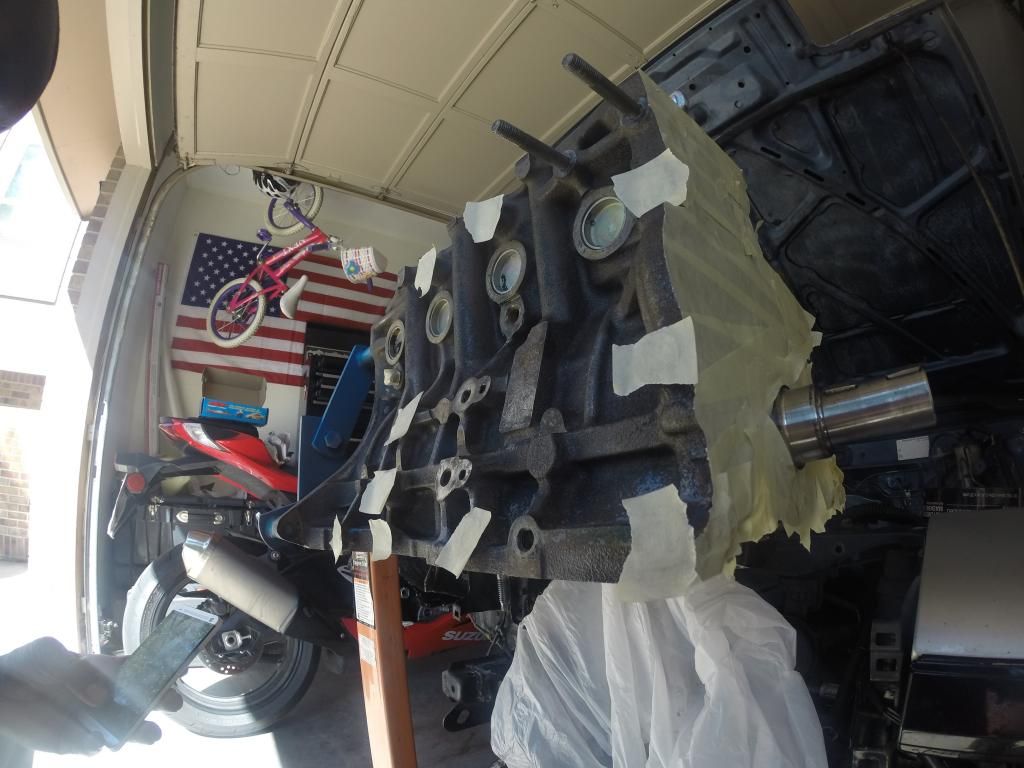
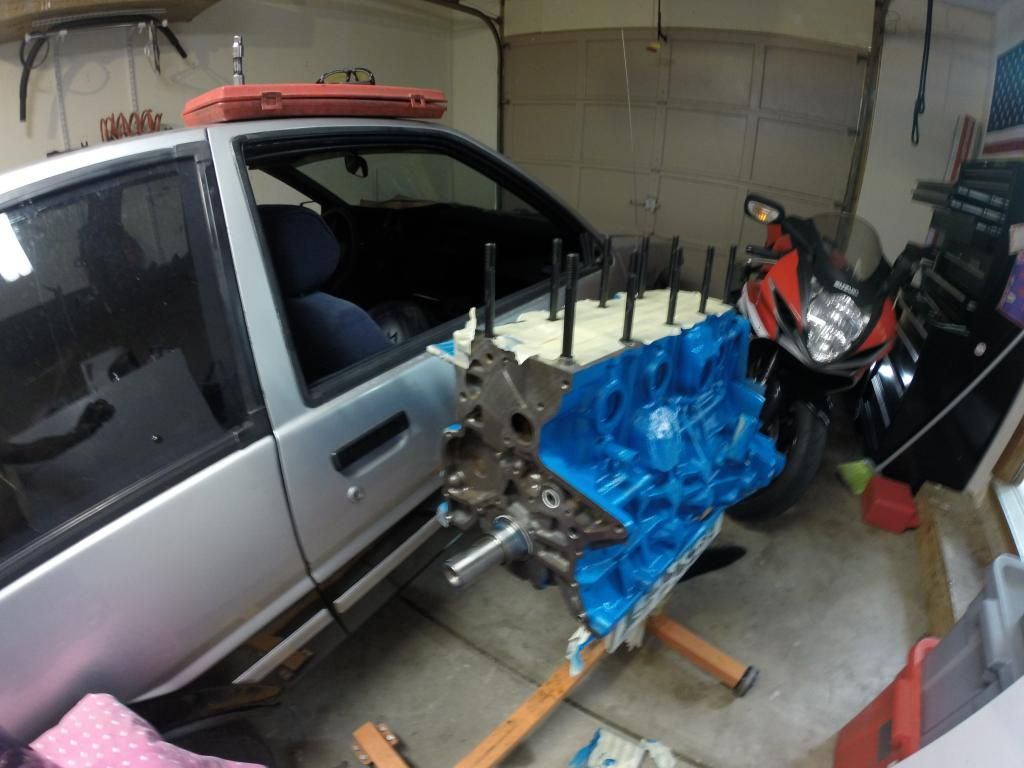
got the block masked/painted
Image
Image

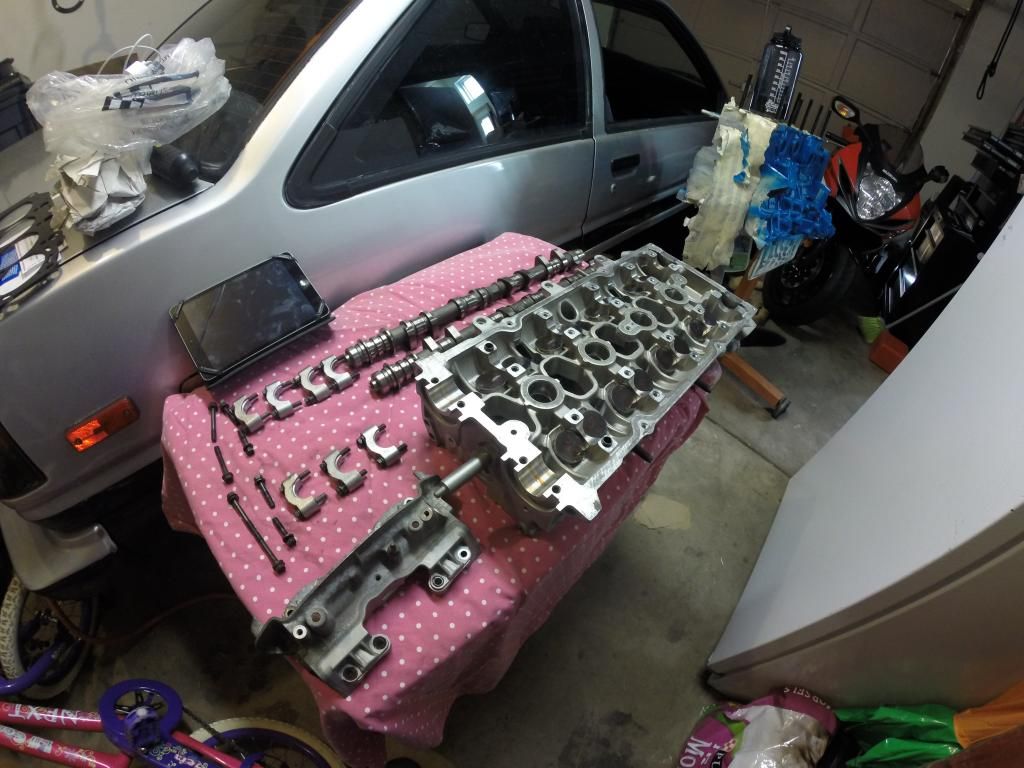
cleaned(tap) the block and installed the ARP bolts.( the head was installed and i had to take the cams out to lube and install the studs)
Image
Image

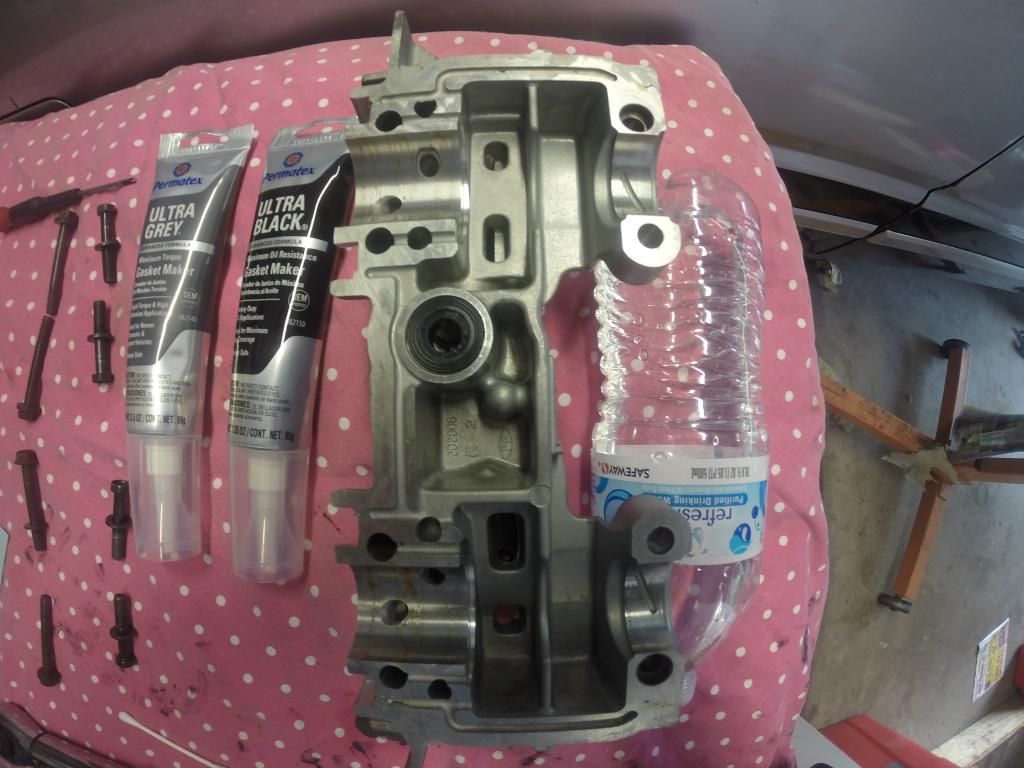
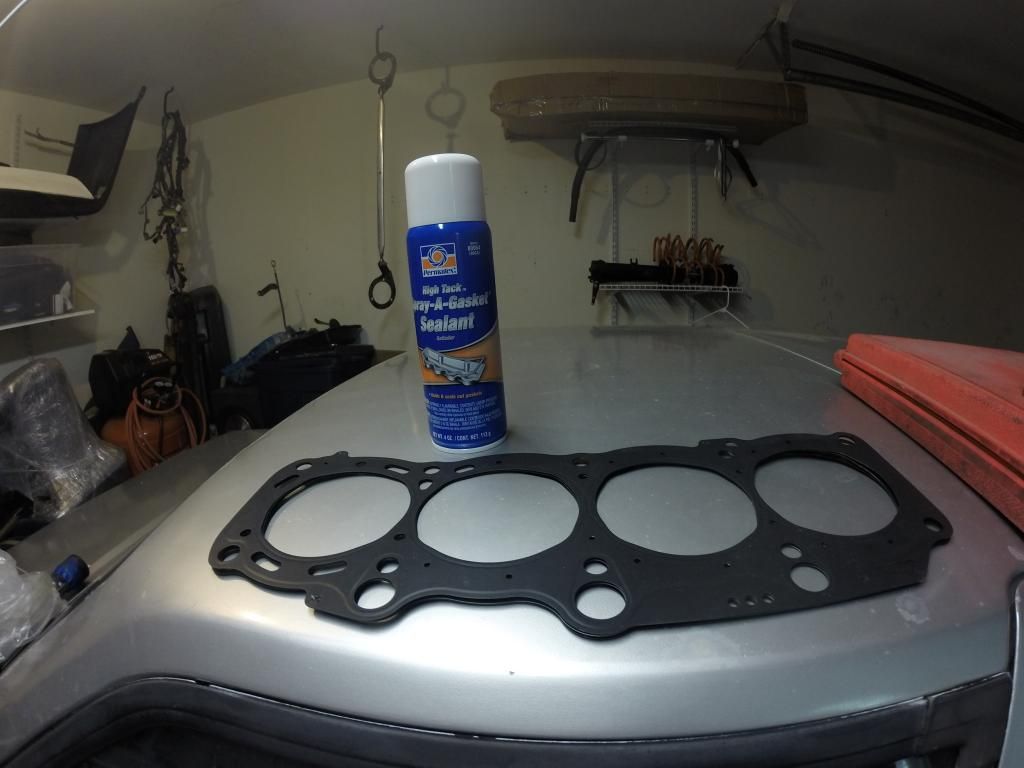
when reinstalling the head ensure you use sealant. when i took it apart (prior to taking it to the machine shop) I noticed that the grey FIPG was used. what was weird is that the FSM says to use black. So I went off of what the FSM said.
Image

used this on the head gasket! its just a sealant to help with head gaskets. (the above HG photo had a similar sealant)
Image

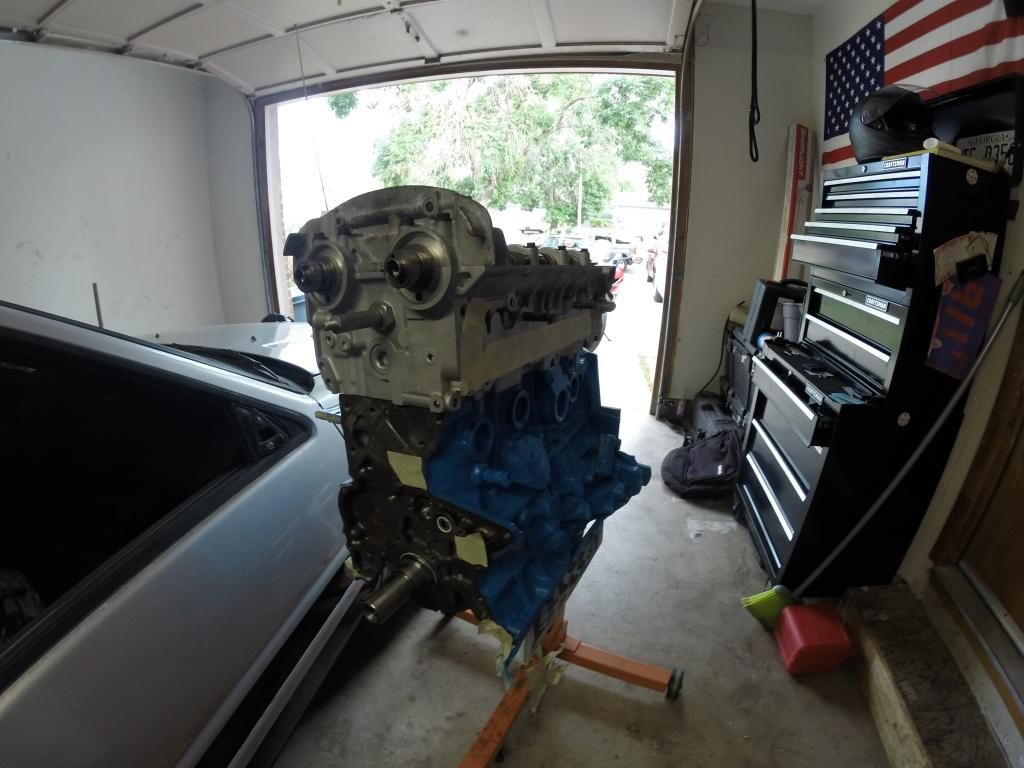
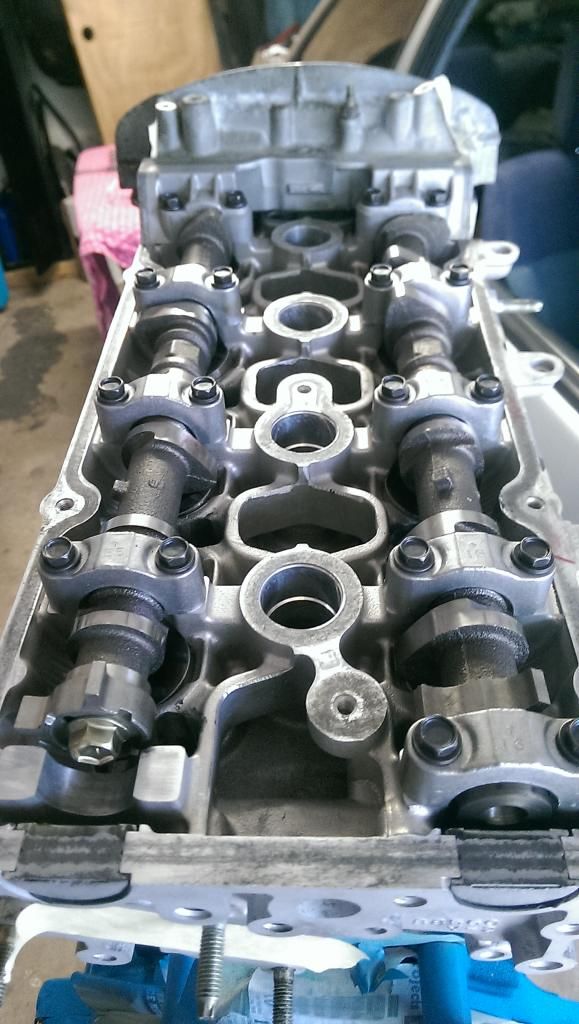
Everything torqued down and installed
Image
Image

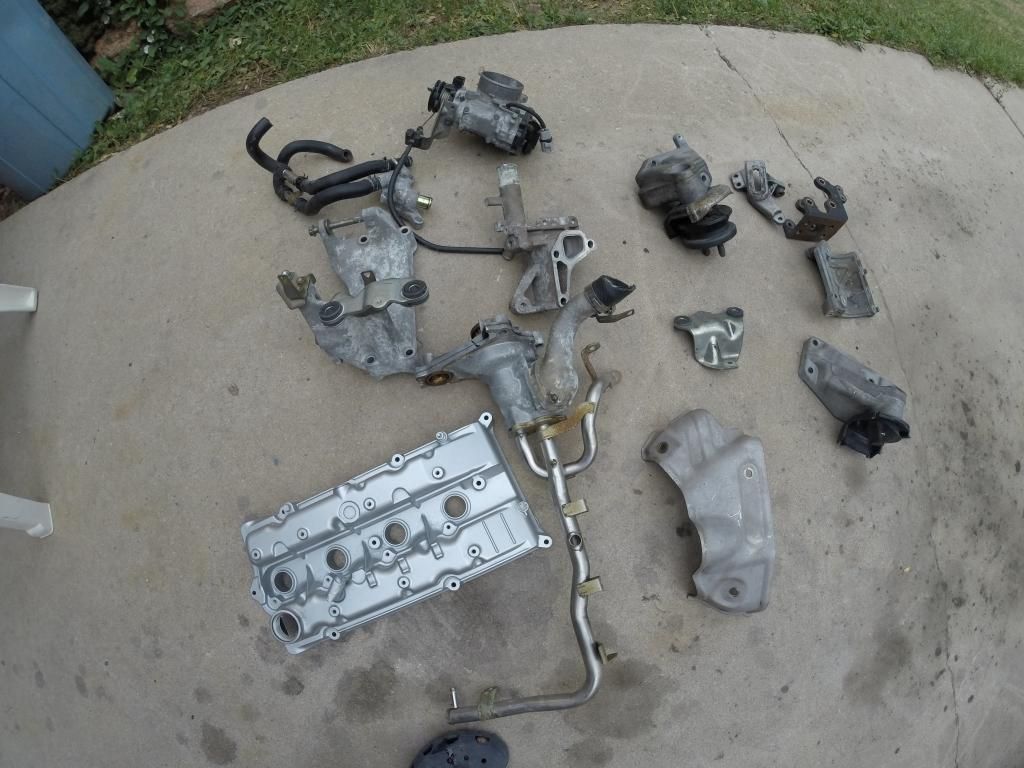
Parts that im sending to a buddy of mine to have blasted and powder coated
Image


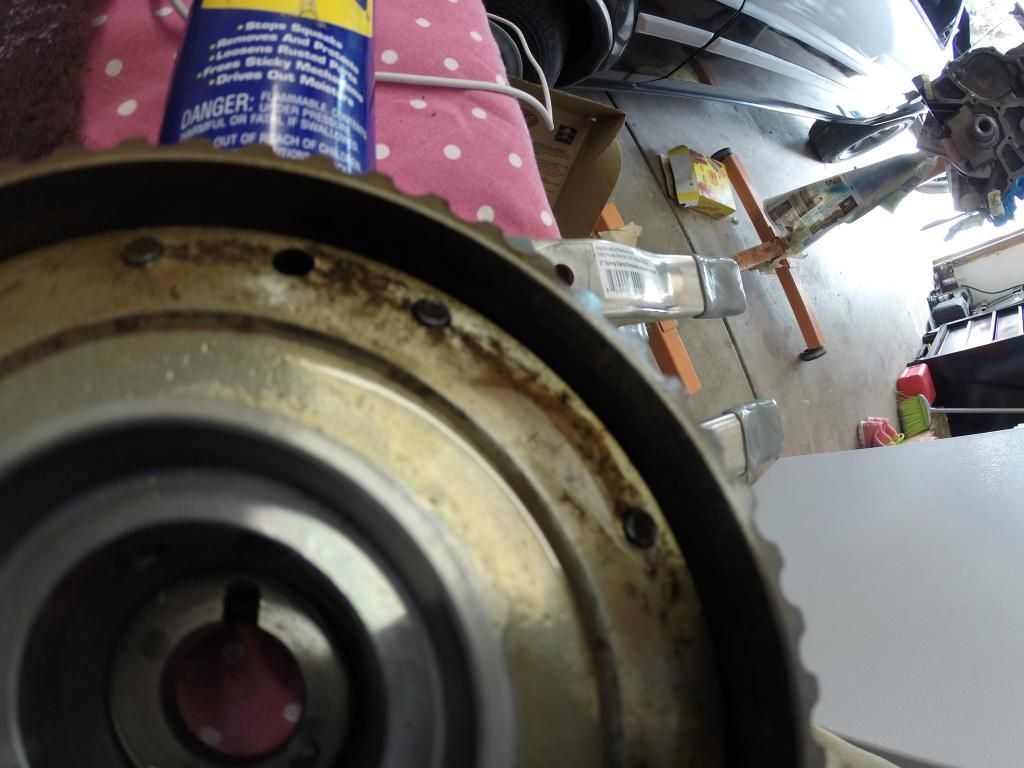
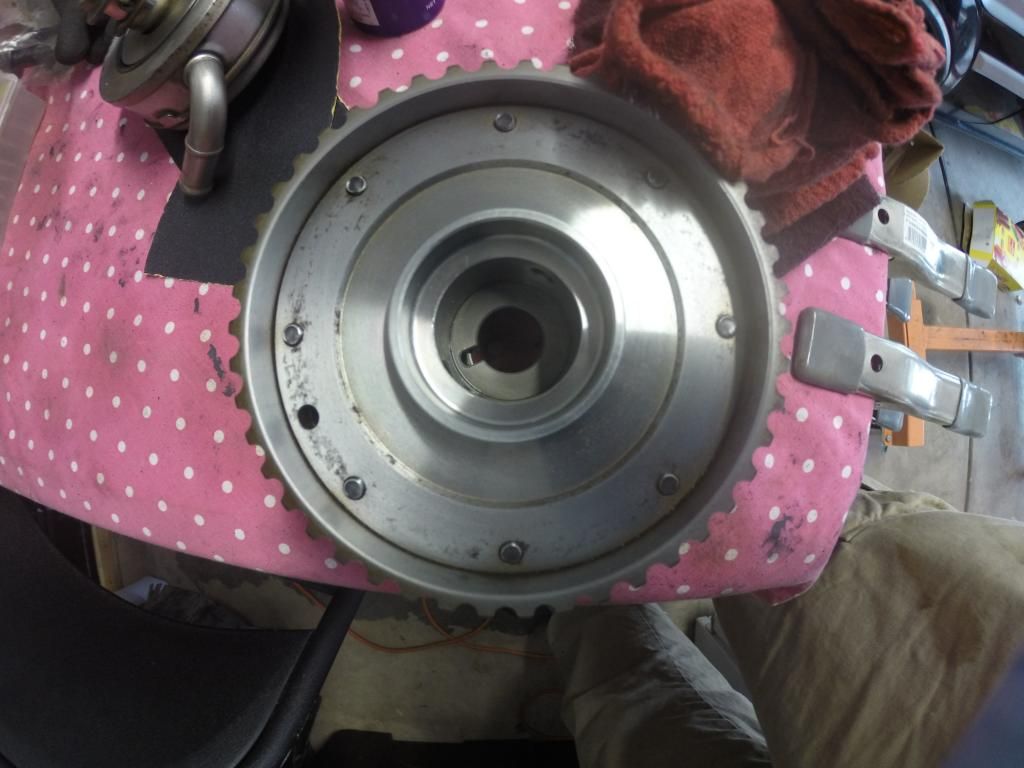
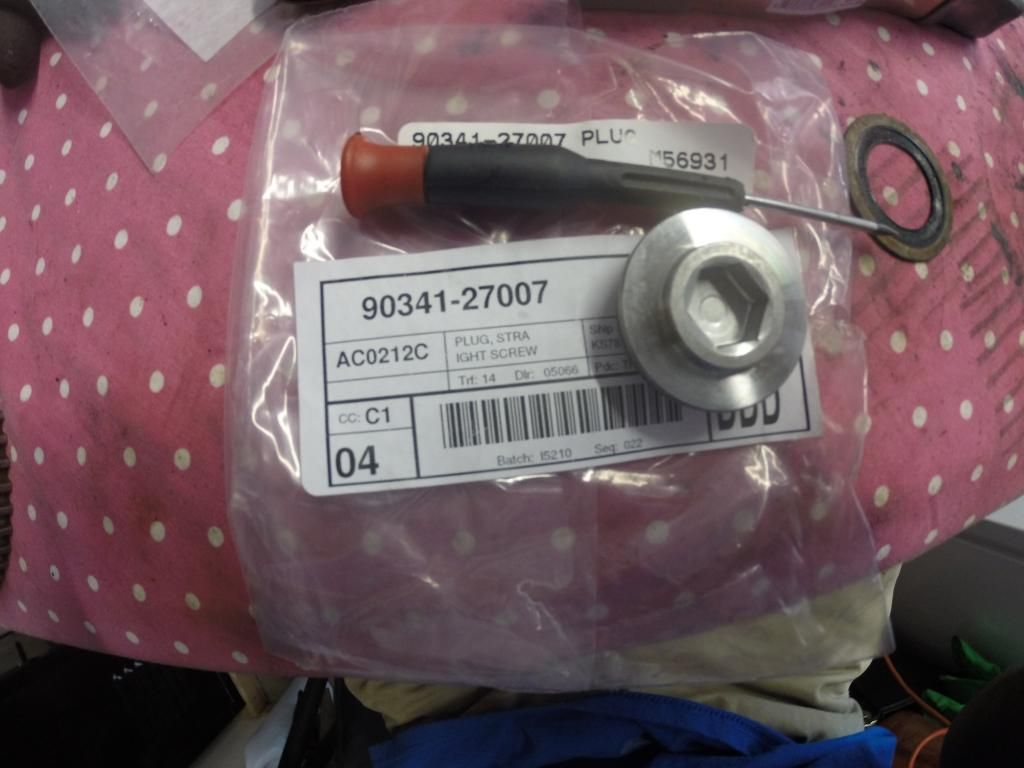
my Cam gears were a little rusty, so I had to clean and find new set screws and the gasket. ( dont worry about ordering the gasket separately the screw will have it in the packaged)
Image
Image
Not perfect, but a lot better
Image
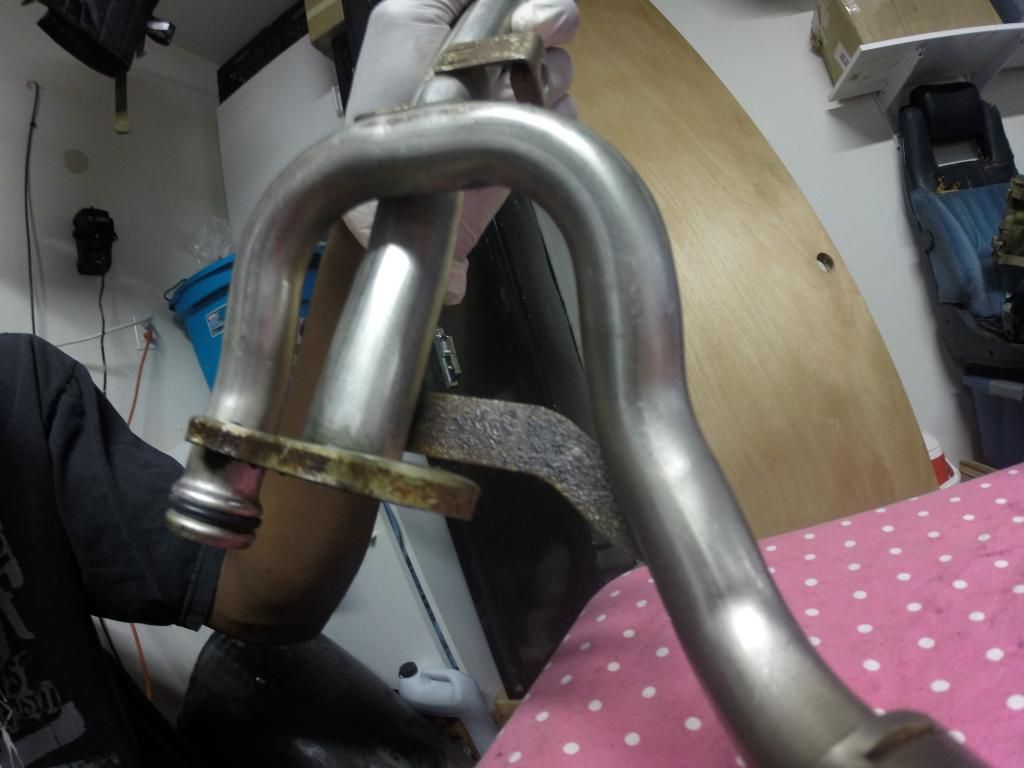
cleaned the water routing parts.
Image
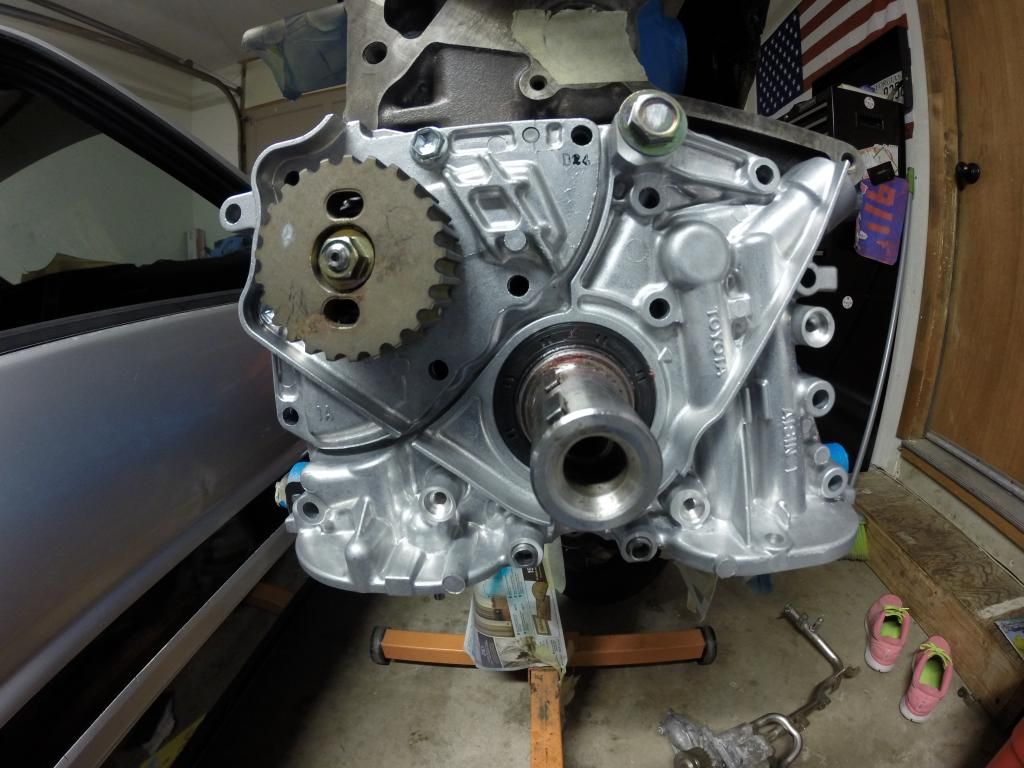
installed water pump, broke three bolts and ordered them from the dealer. nothing like fresh bolts
Image
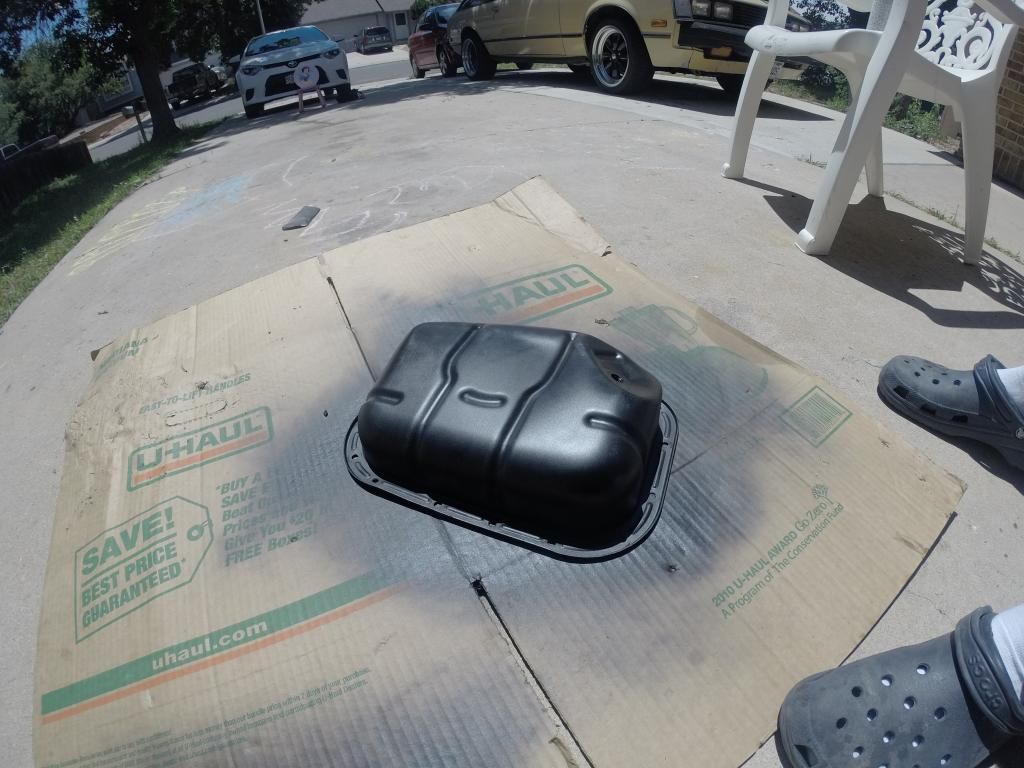
cleaned and painted my oil pan.
Image

Will continue to post pics of any progress.


Things left to do is:
**wiring MR220V(doug) <this guy is a badass
**Supra rear(MA60) Jeonsah ( sourced while I was in Afghanistan and personally brought to my house along with an SR5 rear for brackets)
82-86 LSD being rebuilt by a local shop
** Weir performance MaxxGrip kit, with solid pinion spacer
** Driveshaft Gajin_gorokurunner (however you spell his name hahaha Tony)
** Mishimoto Radiator
**BEAMS to AE86 brackets KE Conversions. (will be modified to fi how i want it.)

Of course all of the small things will add up, but that's all of the major parts and pieces as of now. Suspension/interior/exterior comes later as I'm focused on the powertrain before anything else.
Last edited by Grappletech on Mon Apr 27, 2015 8:47 am, edited 1 time in total.

Grappletech
Tourist
Posts: 6
Joined: Sat Feb 09, 2013 12:34 pm

Re: Curtis' 87 BEAMS GTS

Post by Grappletech »

Alright guys so I was sitting back thinking about how I would source a new starter (hopefully one of you rescue me!). Since the Beams alternator has many of the same insides as other USDM Toyotas, I was thinking I could buy another alternator and swap the insides. Any thoughts?

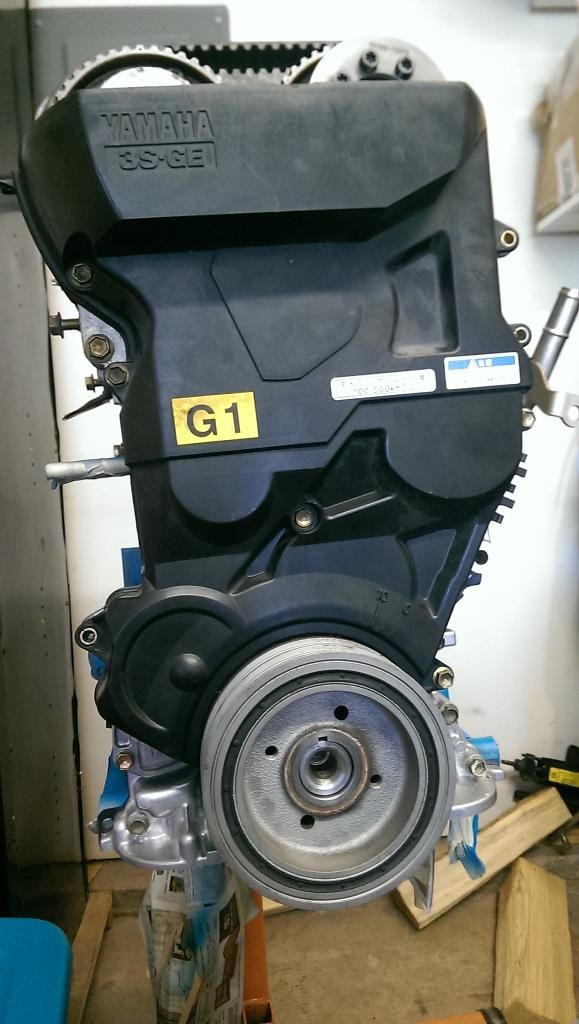
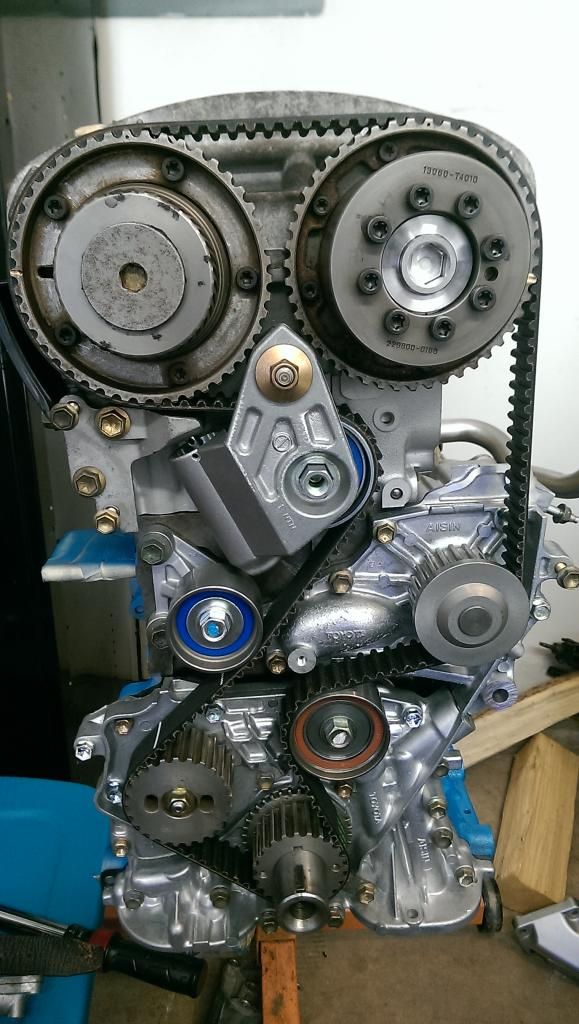
Anywho I put the rest of the front half parts on. I got everything lined up perfectly and pulled the pin. It was rather simple all of the lines initially lined up and then I spun the motor. All the dots lined up with the alignment marks on the block.
The lines on the belt won't line up afterwards correct? Or did I mess up somewhere.

Image
Image
Image


Nothing is permanent right now since I plan on painting the plastic covers, what color do you think I should paint it?

Grappletech
Tourist
Posts: 6
Joined: Sat Feb 09, 2013 12:34 pm

Re: Curtis' 87 BEAMS GTS

Post by Grappletech »

Alright ladies and gents, this is a quick update, I've been a little low on motivation lately.
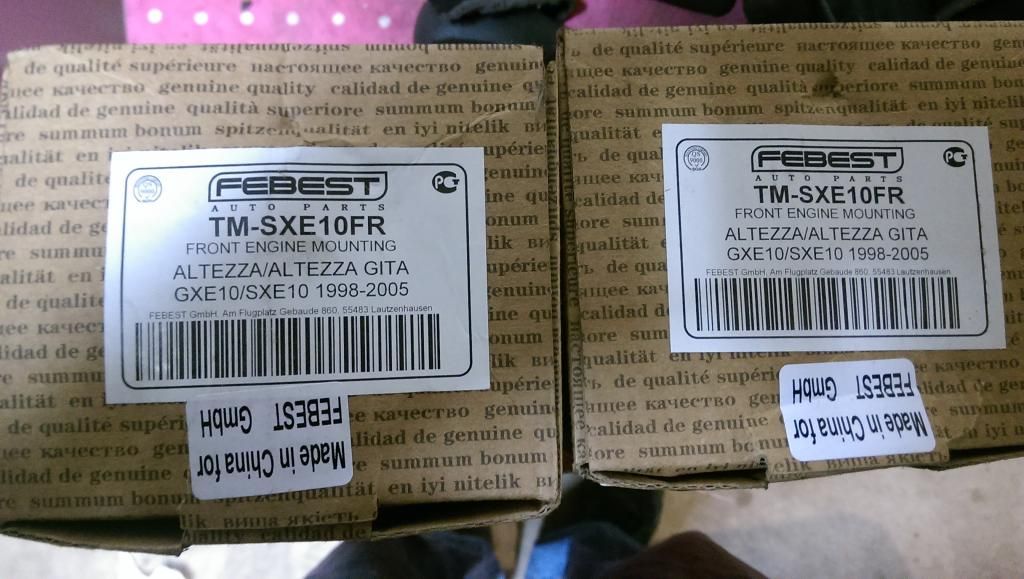
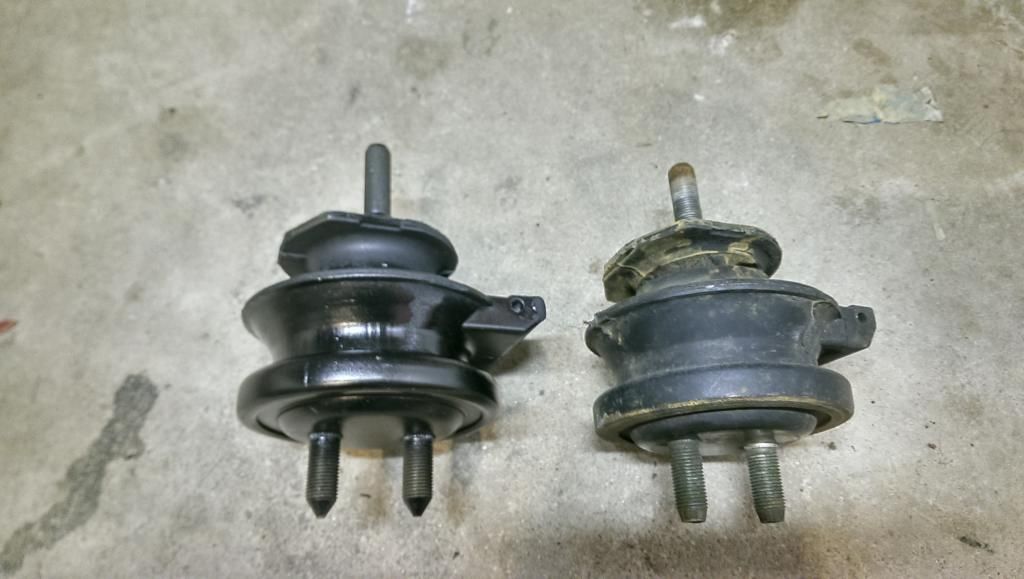
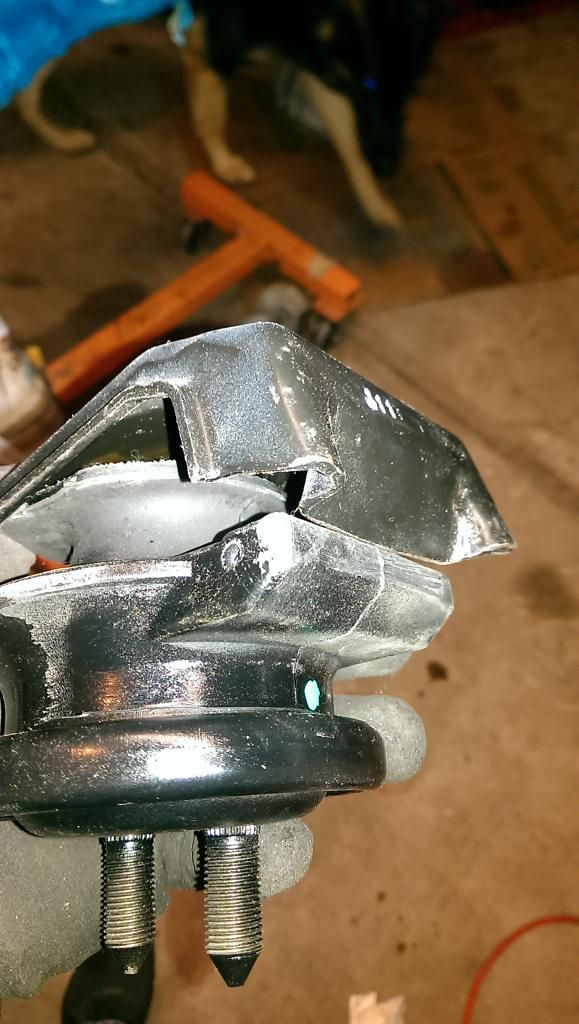
I know a lot of people have problems finding OEM rubber mounts for their cars. But I'm pretty sure I bought one of the last sets. It took a while to find them but if your like me you stick to OEM. As opposed to forking out big money on aftermarket parts.

Found these on Amazon:
Image

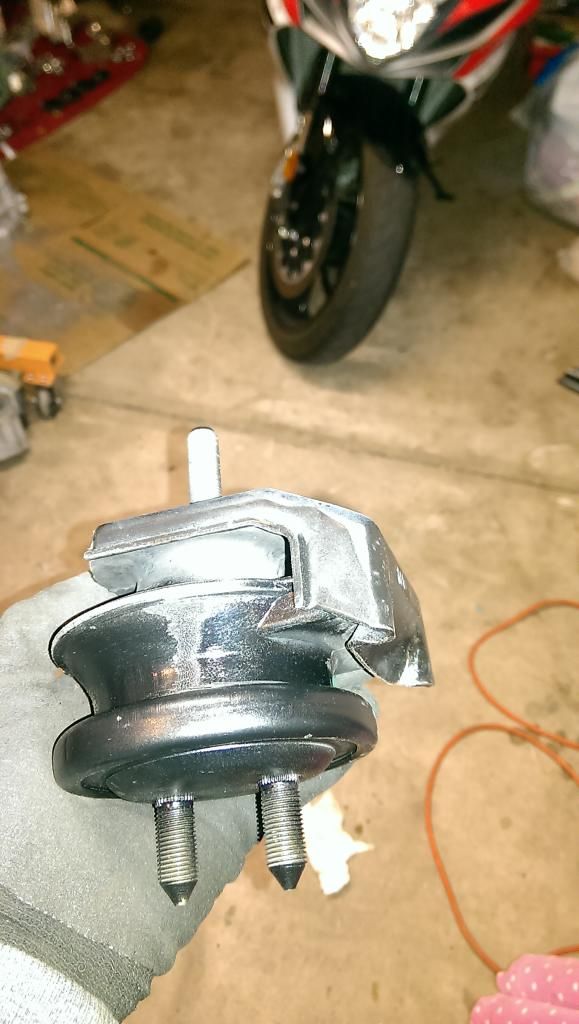
New on the left
Image
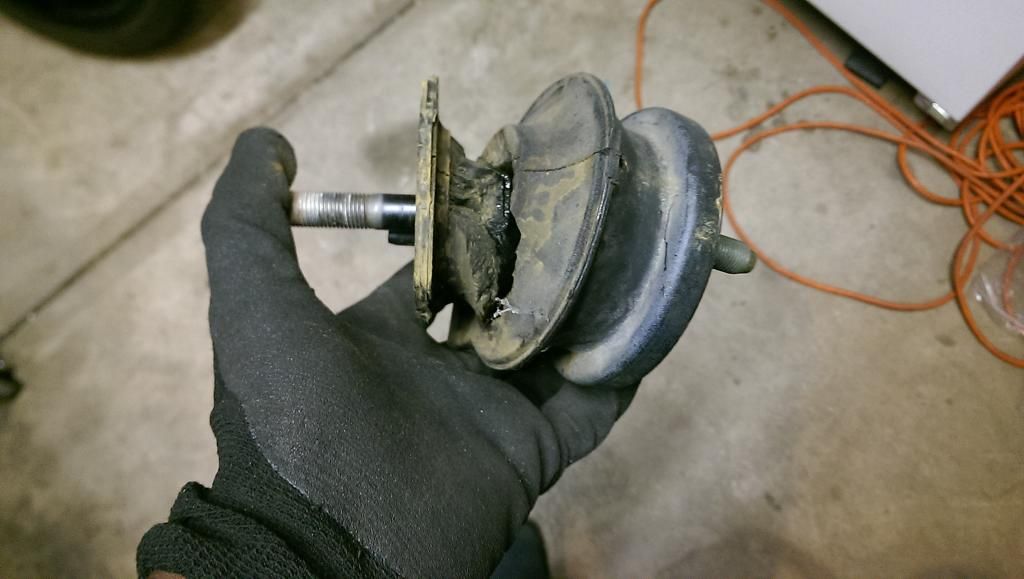
Busted
Image


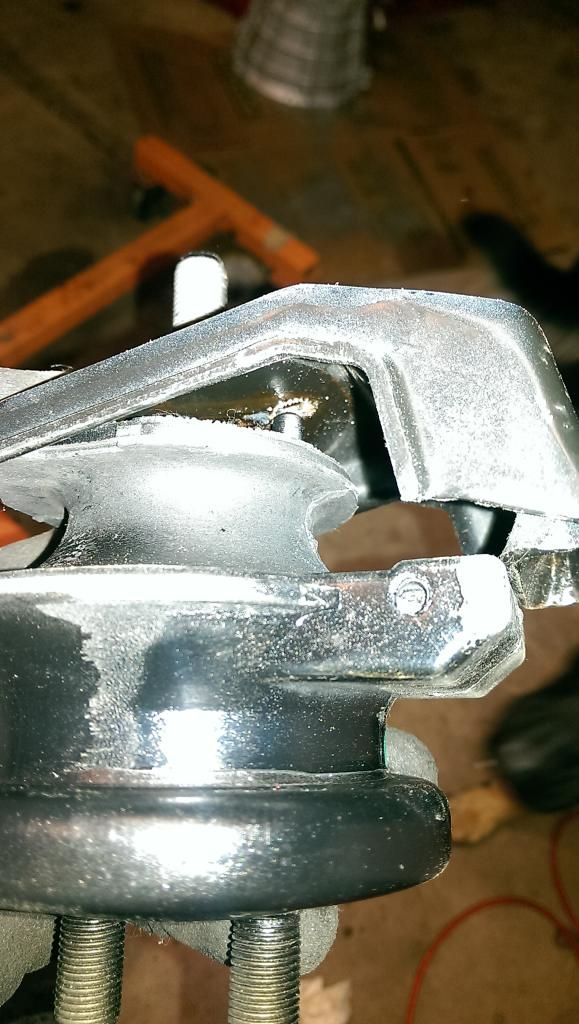
Now here is where it gets tricky. There is a nipple that fits onto the metal cover? But the rubber doesn't bend very well. If you look closely you'll see what I mean
Image
Better pic.
Image

It's frustrating at first but I squeezed the metal and the rubber mount in a vice, a few taps with a hammer and bam I got it in!!!!
Image


Image

dr.occa
Hades - Site Admin
Posts: 7734
Joined: Tue Sep 04, 2007 1:49 pm
Location: On my hiney...in HOU
Contact:

Re: Curtis' 87 BEAMS GTS

Post by dr.occa »

Good deal Curtis. This build thread's off to a good start. :tu:

c4ptiv3
Member
Posts: 601
Joined: Fri Nov 27, 2009 5:10 pm
Location: The Colony
Contact:

Re: Curtis' 87 BEAMS GTS

Post by c4ptiv3 »

Looks pretty sweet, keep it up!
RIP Dustin Fogarty; drift enthusiast, friend
--------------------------
84 GT-S Hatch
14 Fiesta ST

joel26
VIP Member
Posts: 2069
Joined: Wed Jan 23, 2008 10:30 pm
Location: Spring Tx
Contact:

Re: Curtis' 87 BEAMS GTS

Post by joel26 »

great build...................... look good....
Image

EvilCerealBoX
Tourist
Posts: 126
Joined: Mon May 02, 2011 3:03 pm
Location: FortWorth

Re: Curtis' 87 BEAMS GTS

Post by EvilCerealBoX »

So shiny
myspace.com/MasterCylinderMusicX
and
TE72 + 2jzge build

Grappletech
Tourist
Posts: 6
Joined: Sat Feb 09, 2013 12:34 pm

Re: Curtis' 87 BEAMS GTS

Post by Grappletech »

Long time no update. I've been busy with work, and moved to NC. Nevertheless i've been making some progress on the car, Enjoy:

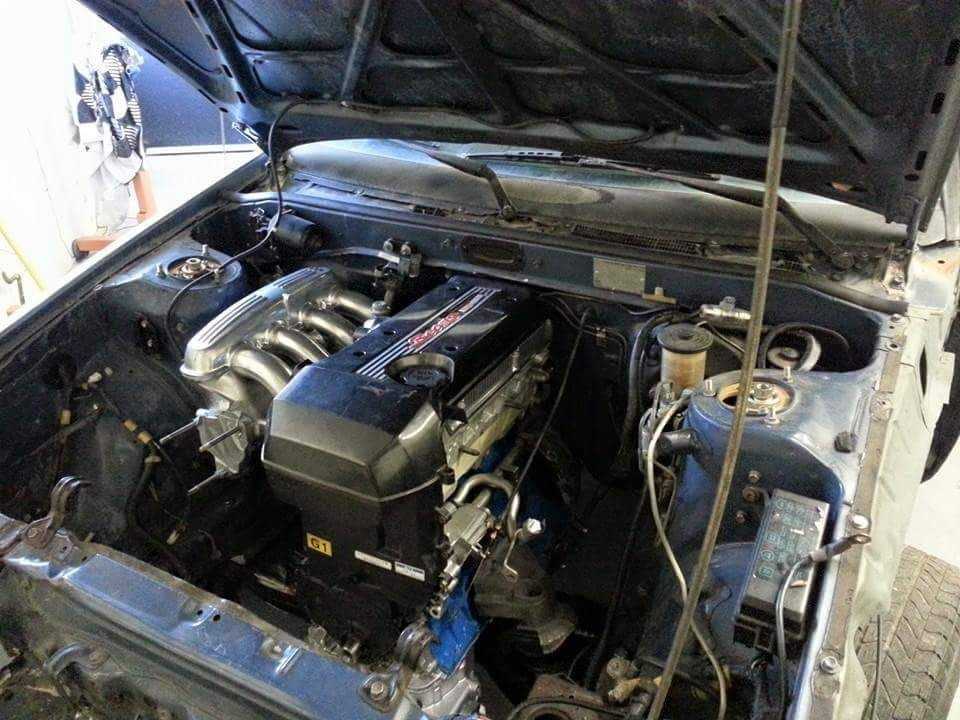
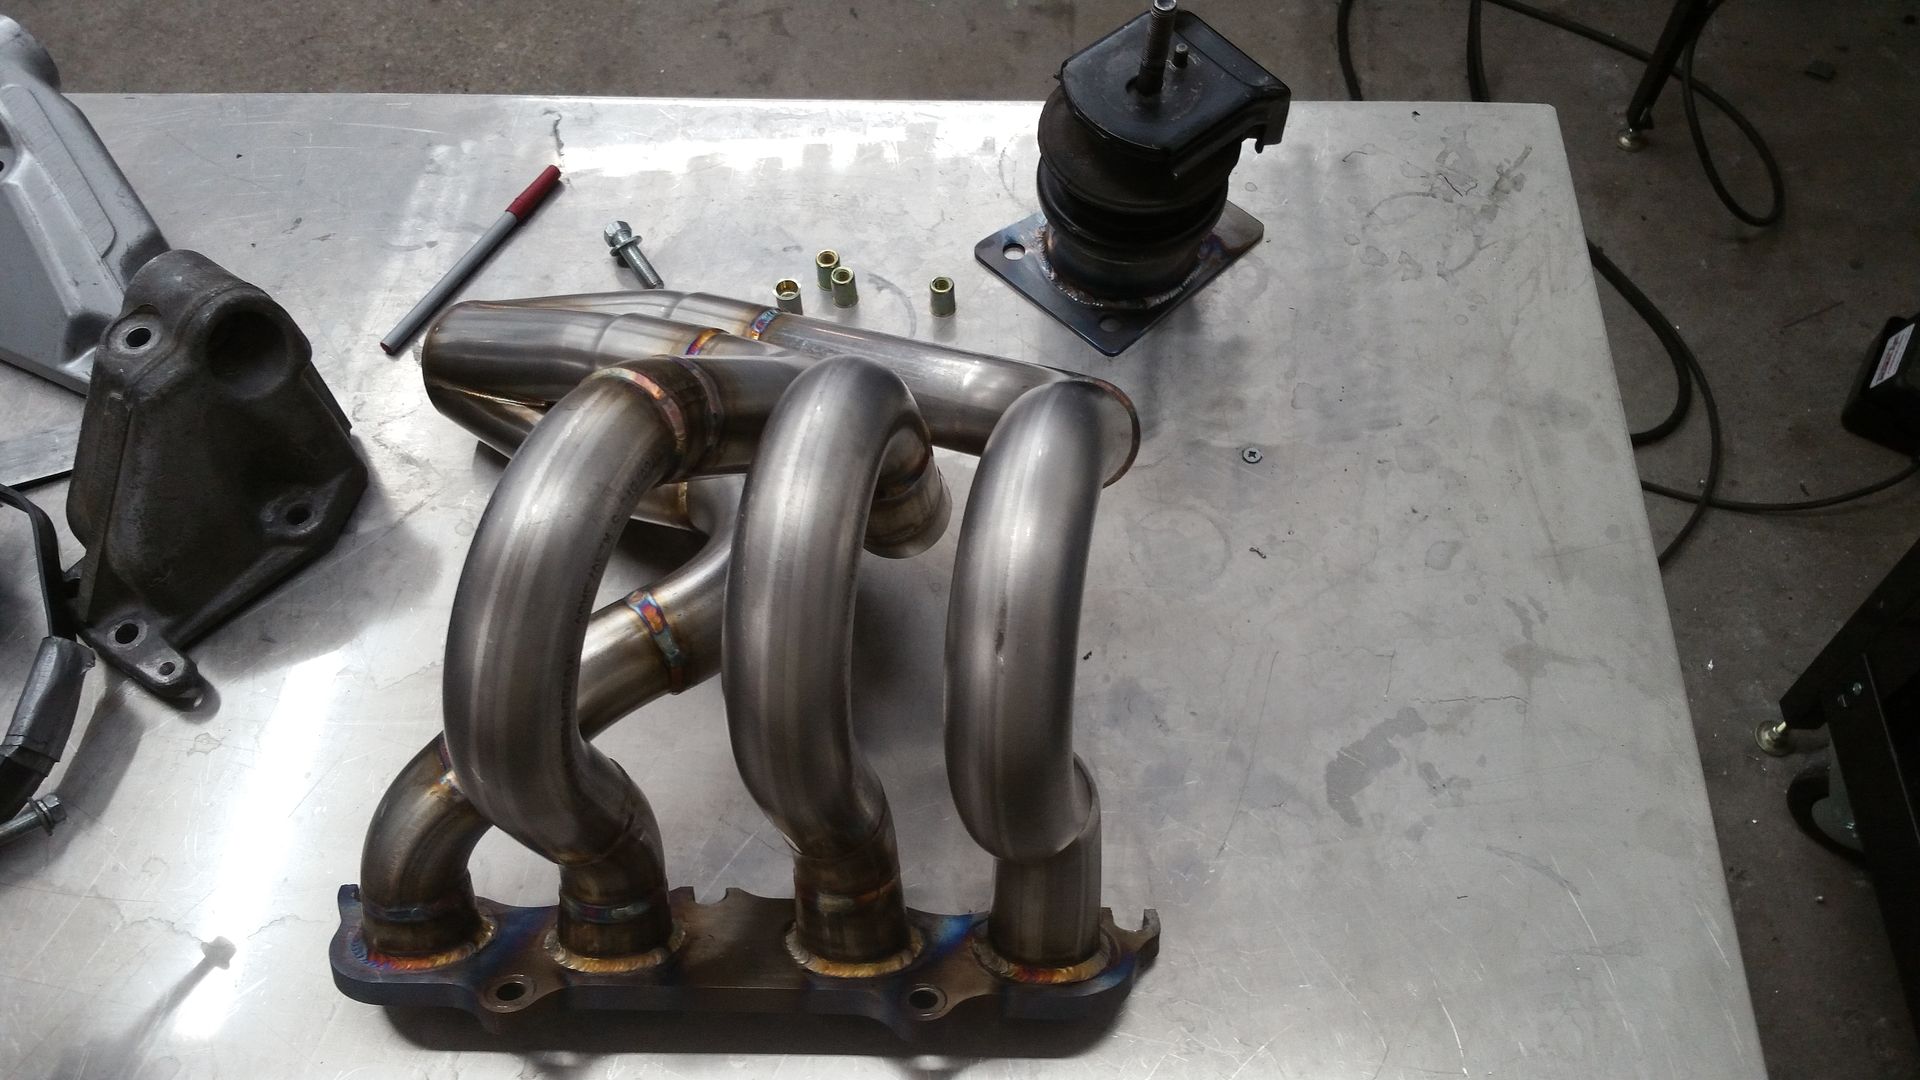
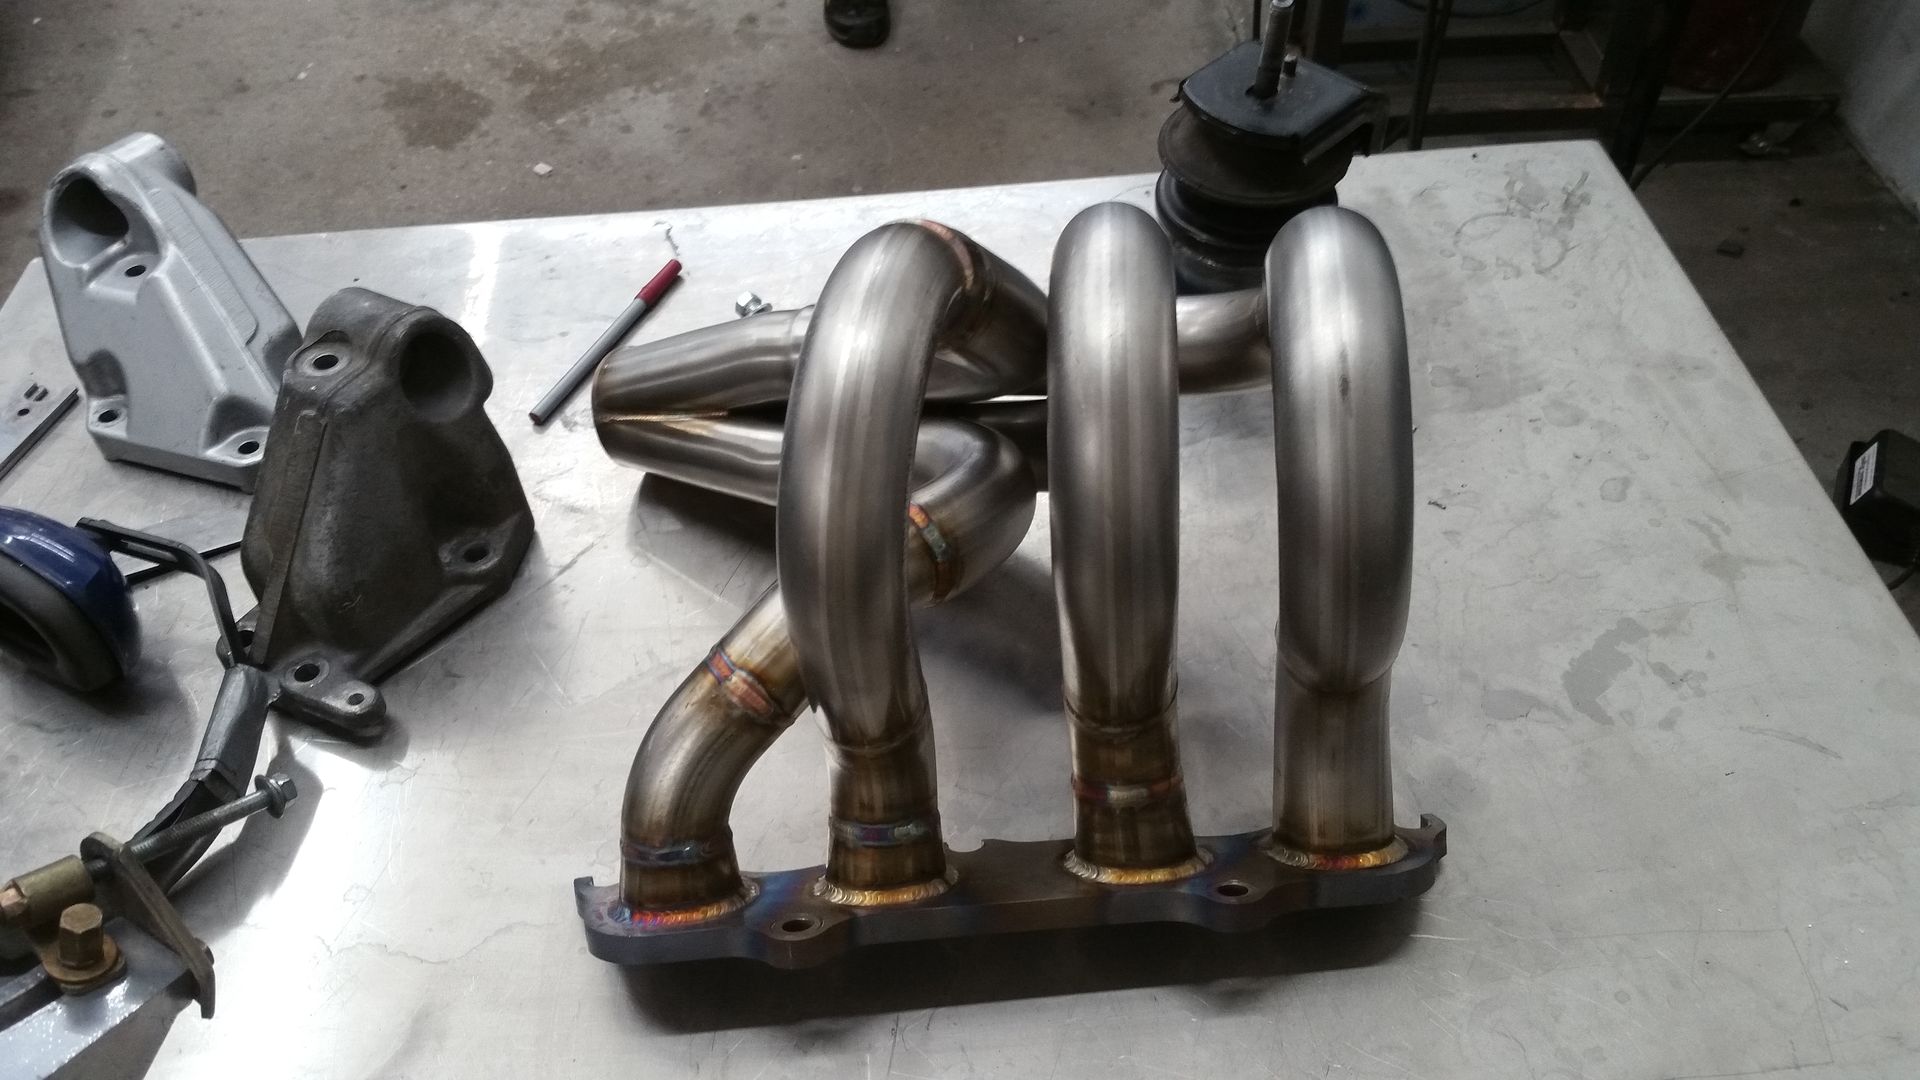
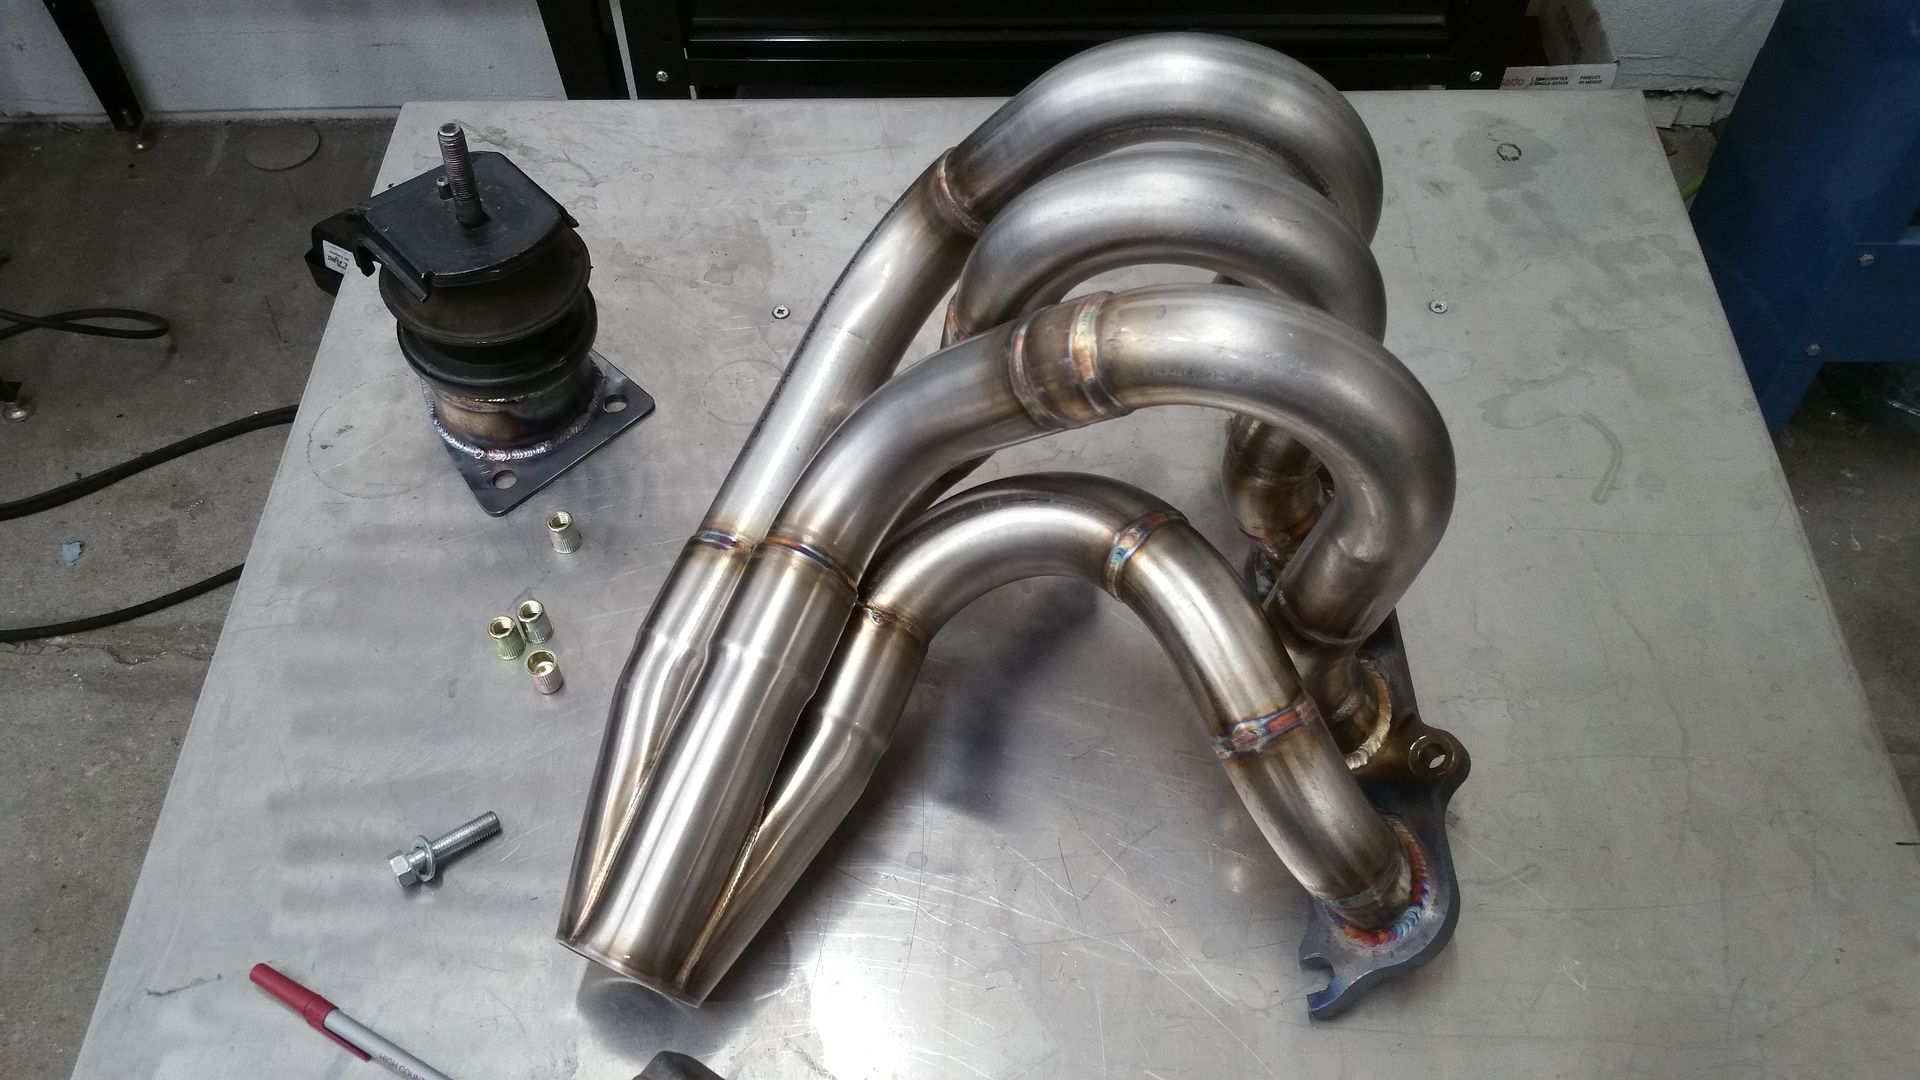
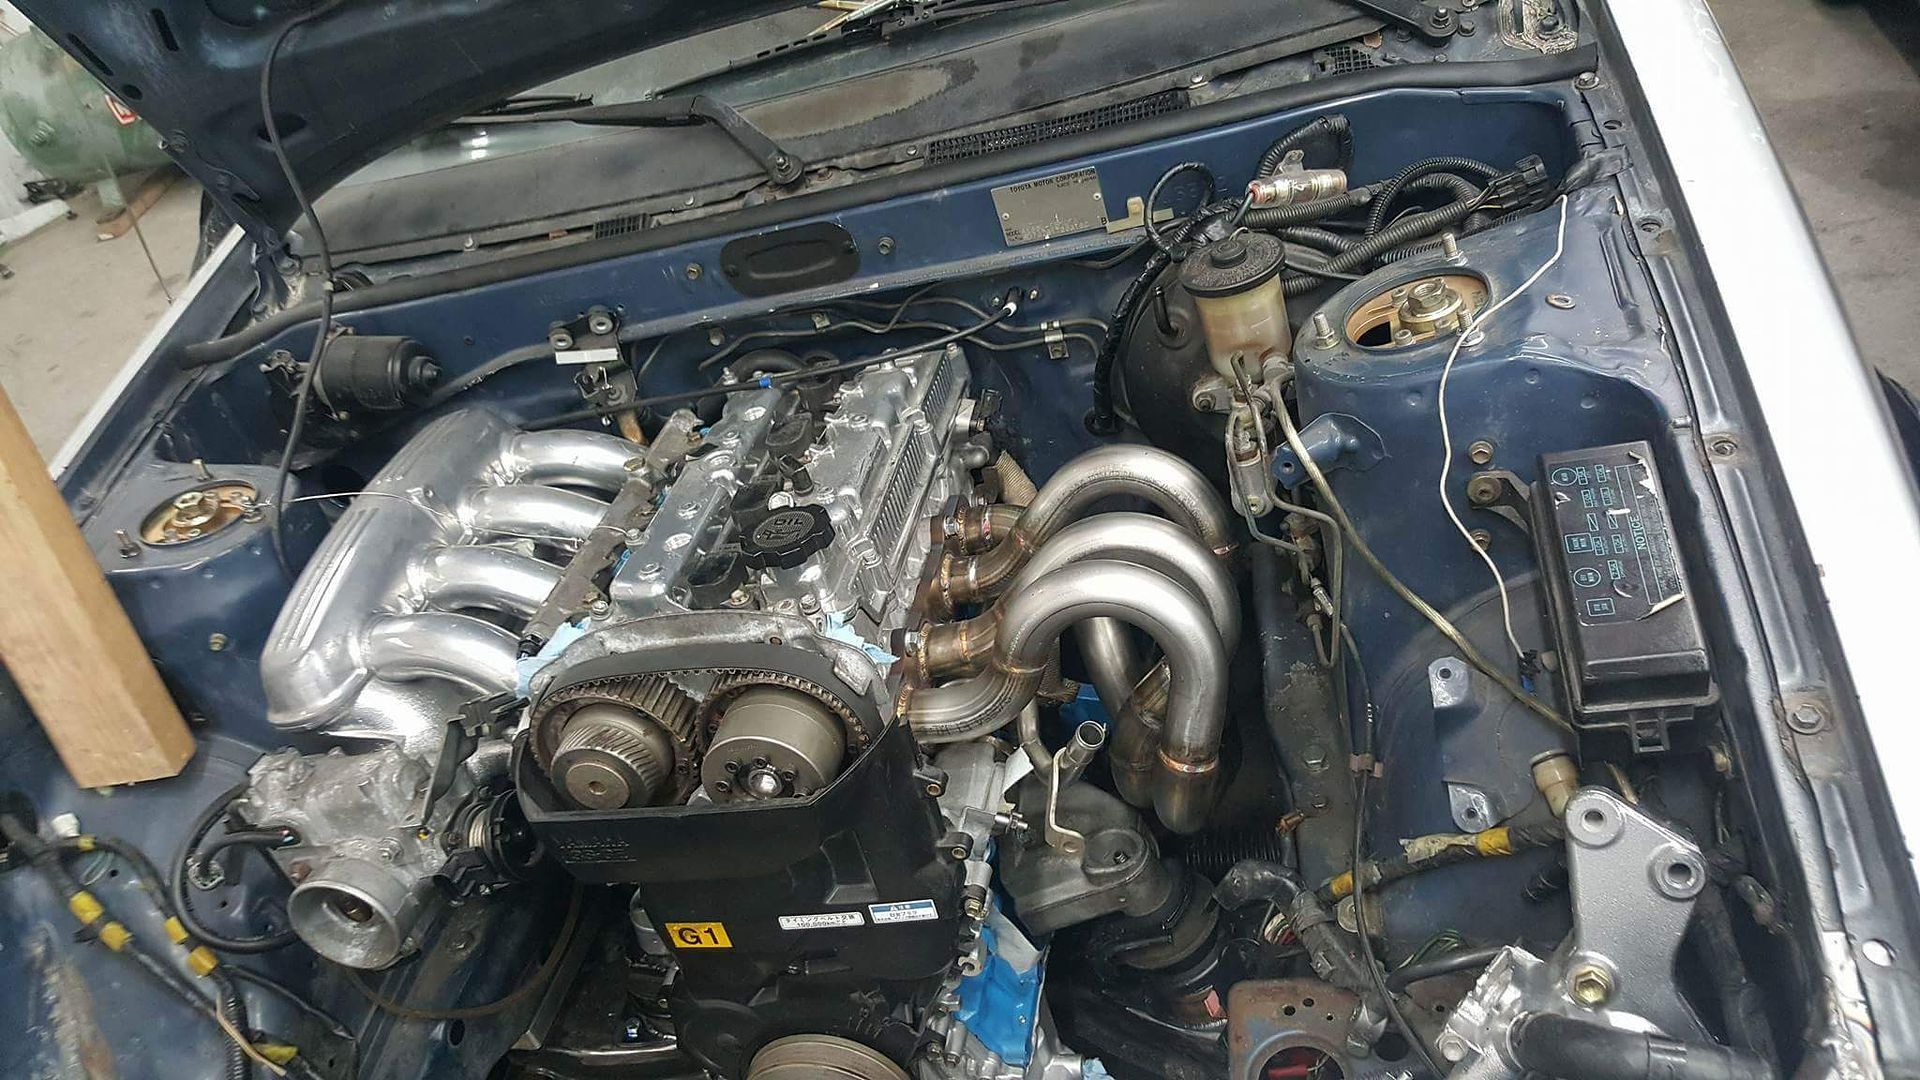
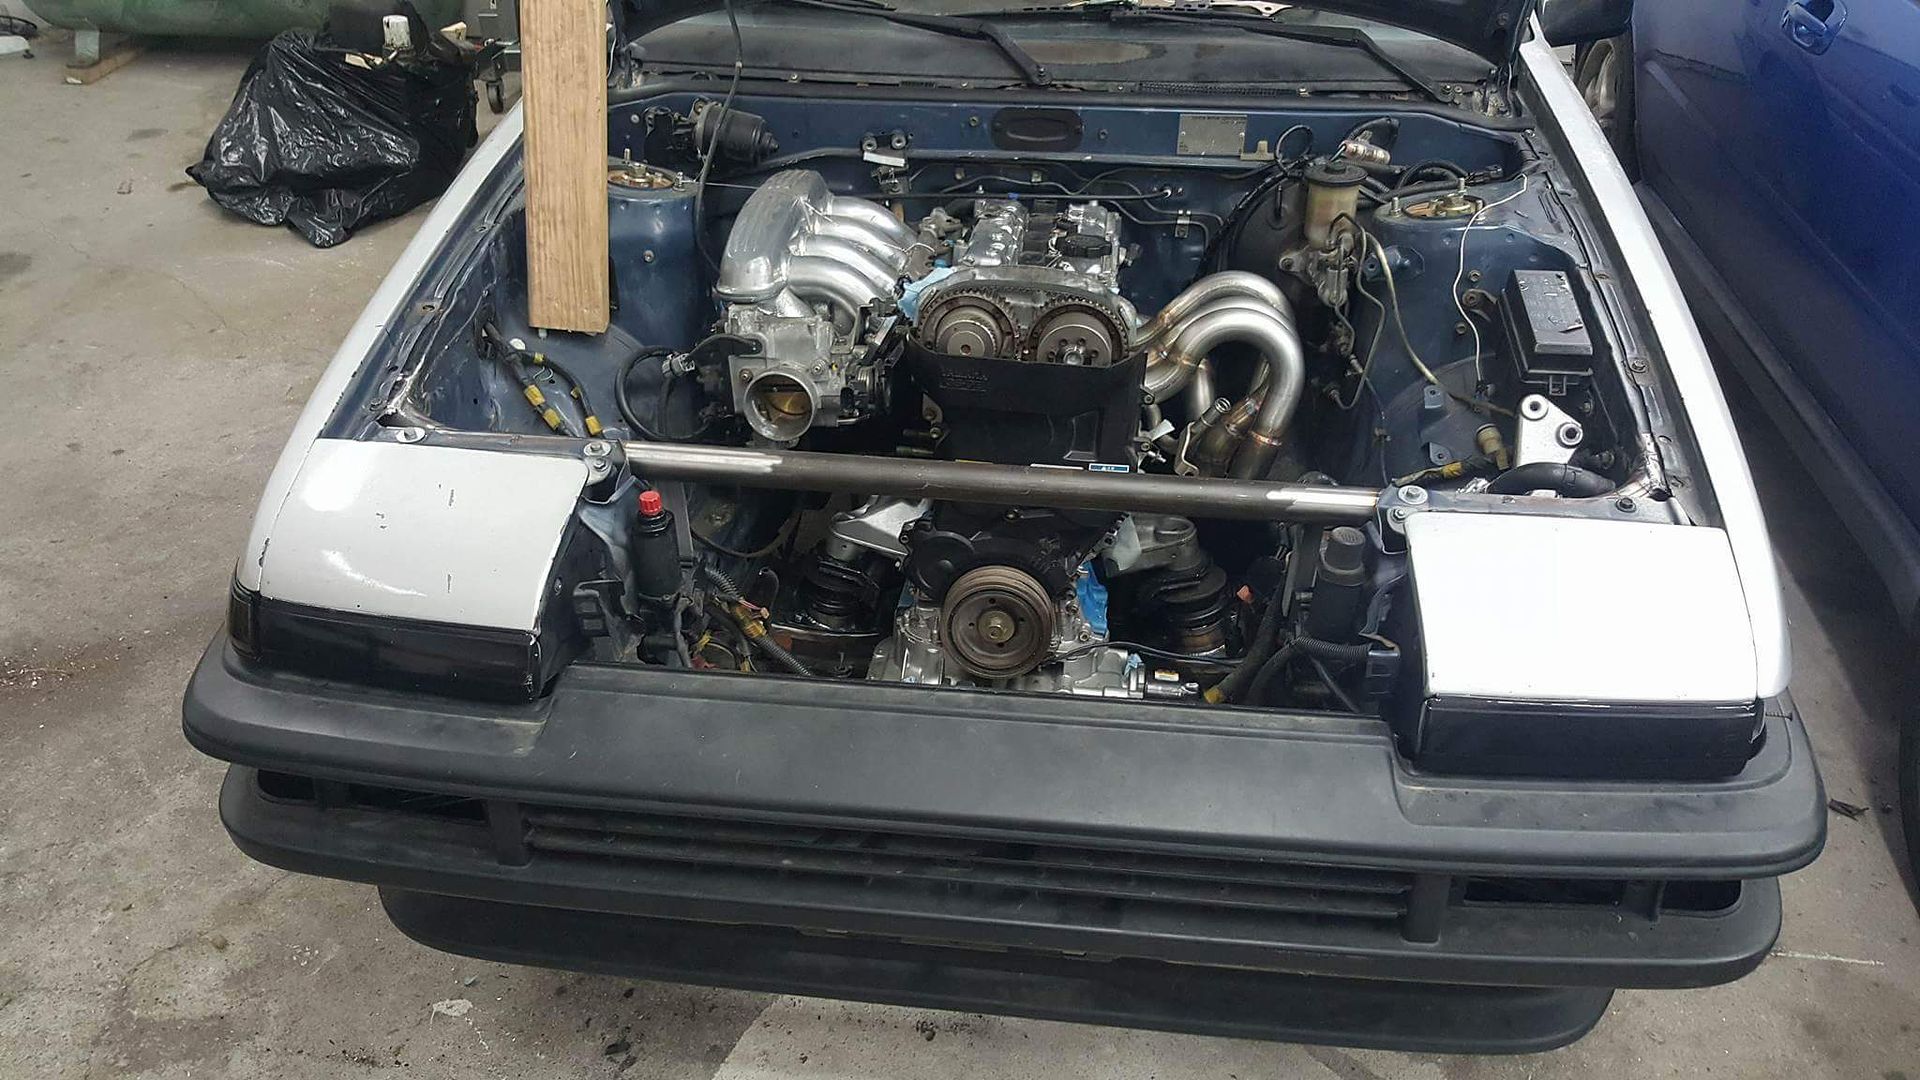
Had these headers custom made. I think he did a great job getting around the steering column.
Image
Image
if you look closely you can see the mounting solution. Nutserts are pretty cool. so it should provide easy removal of the motor
Image
Image
Image

-


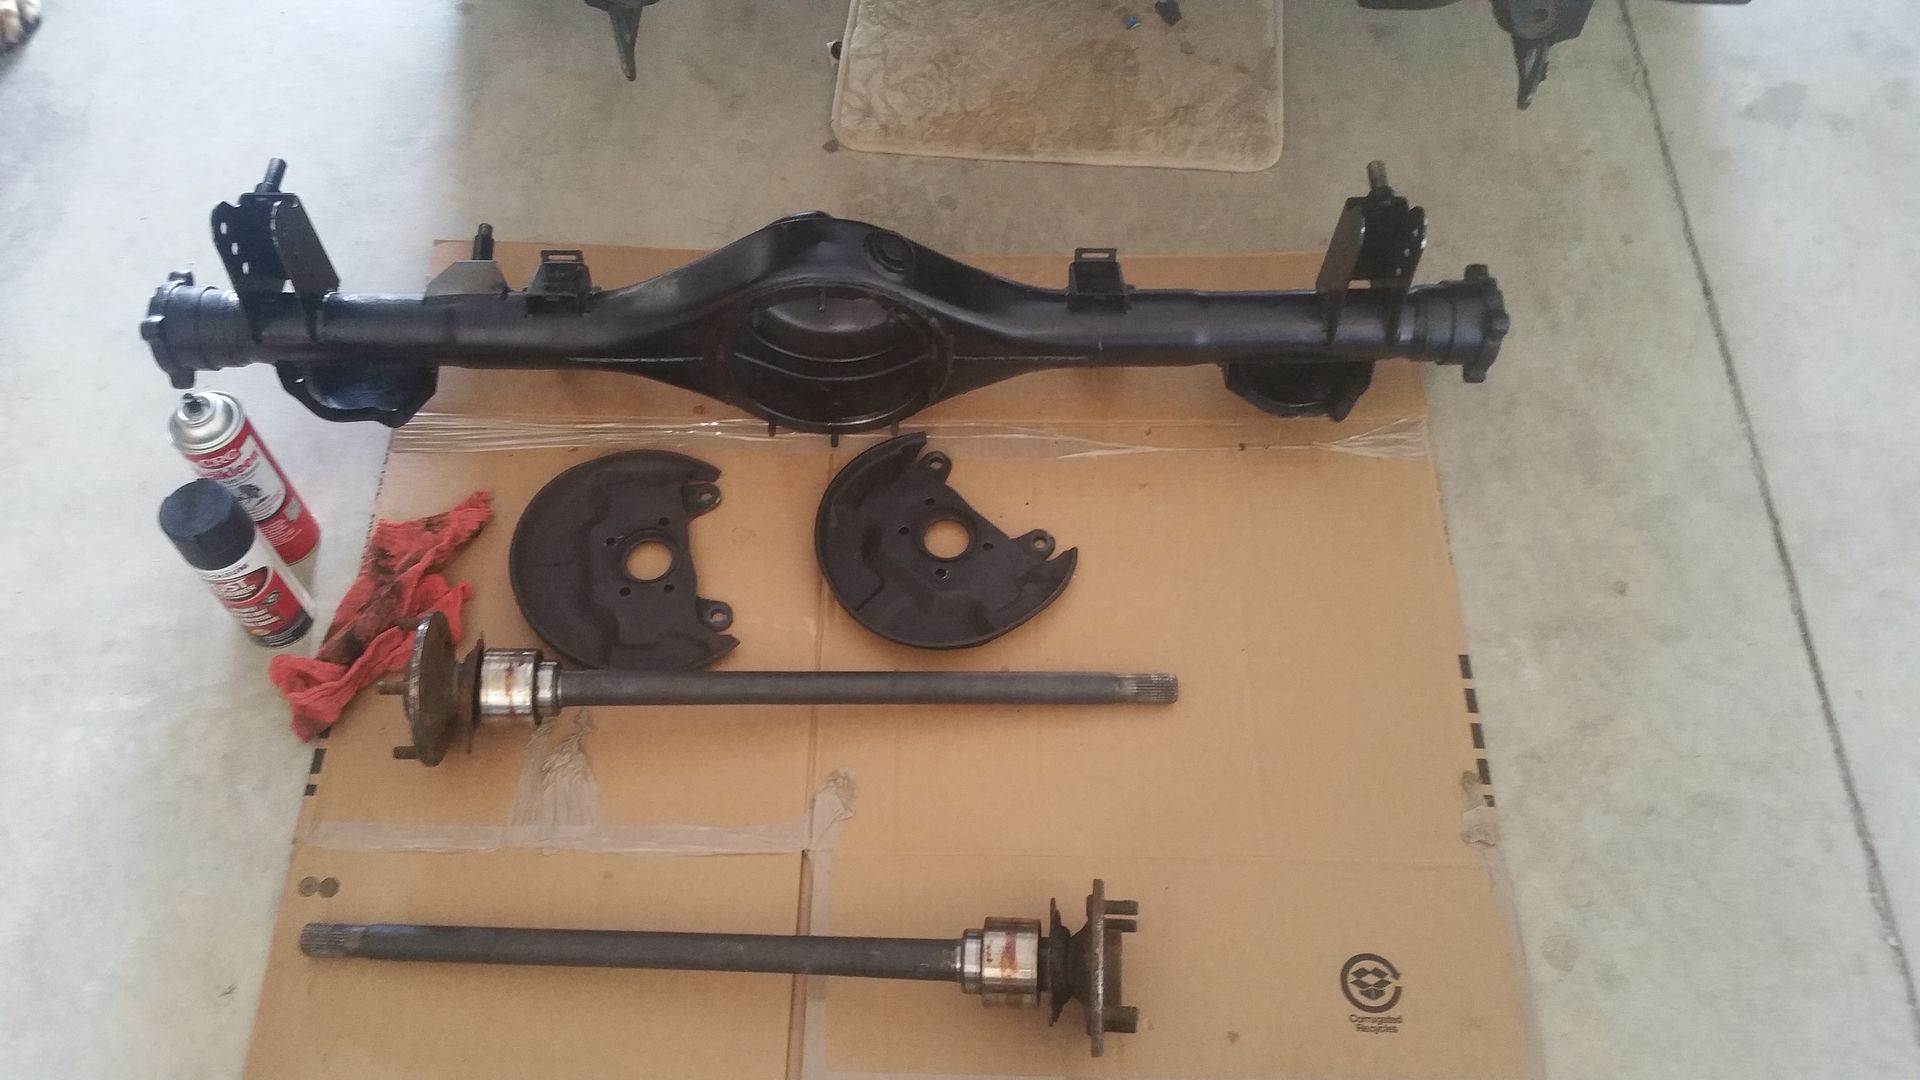
I got the Celica axles rewelded with the Xcessive mounts for the ae86, painted. Gonna clean up the hubs and reassemble the rear end. Probably going to get all new brakes and store my GTS rear on a shelf.
Image

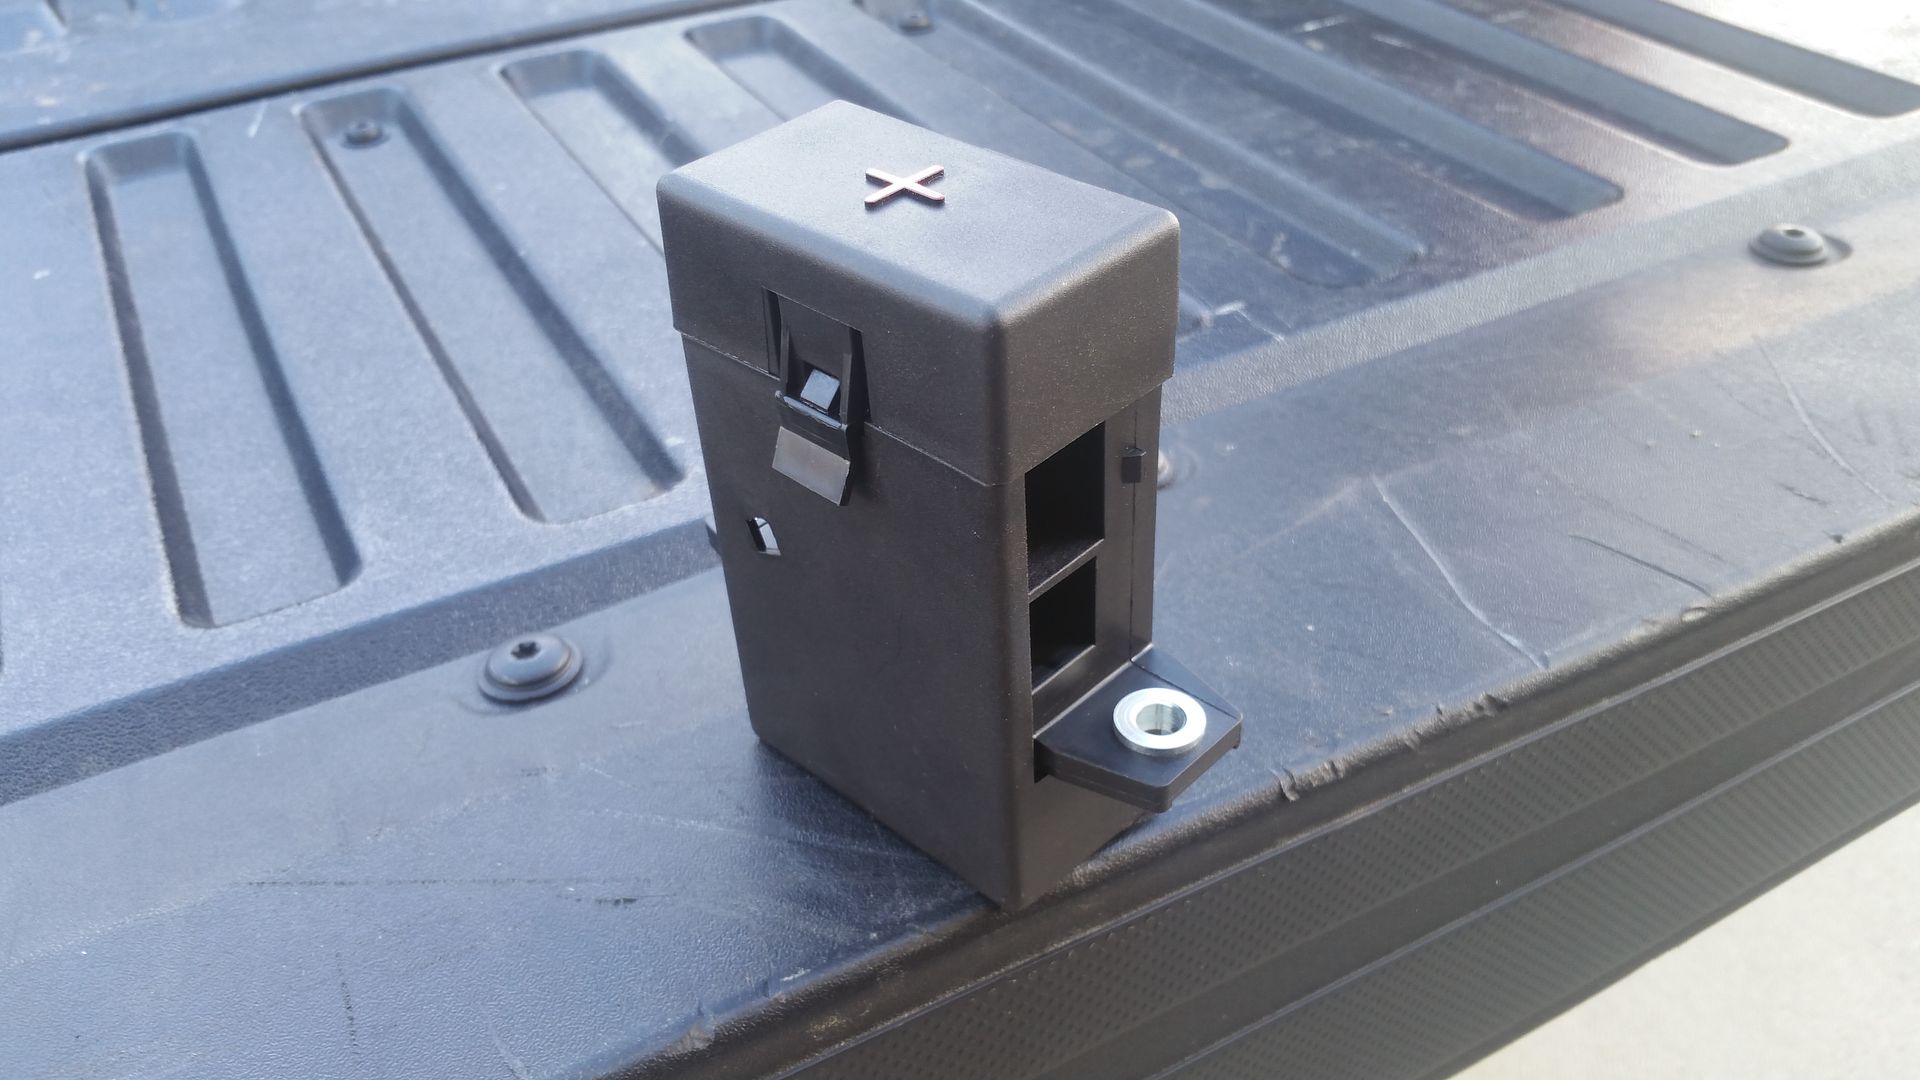
Ordered this distro box from a BMW to relocate the battery and neaten the other things.
Image
Image

Going to start the car later this week once my MRP MAF air straightener and other intake pieces come in. Still waiting on a better solution for the shifter relocation, there are a few off the shelf companies that are trying to work on this, but i think ill find a solution that ma be a bit cheaper than manufactured parts.

c4ptiv3
Member
Posts: 601
Joined: Fri Nov 27, 2009 5:10 pm
Location: The Colony
Contact:

Re: Curtis' 87 BEAMS GTS

Post by c4ptiv3 »

Those headers are sick, one day I will have a custom set.
RIP Dustin Fogarty; drift enthusiast, friend
--------------------------
84 GT-S Hatch
14 Fiesta ST

dr.occa
Hades - Site Admin
Posts: 7734
Joined: Tue Sep 04, 2007 1:49 pm
Location: On my hiney...in HOU
Contact:

Re: Curtis' 87 BEAMS GTS

Post by dr.occa »

Right on! Updates are yummy. Looking forward to hearing it start up Curtis @Grappletech. :tu:

joel26
VIP Member
Posts: 2069
Joined: Wed Jan 23, 2008 10:30 pm
Location: Spring Tx
Contact:

Re: Curtis' 87 BEAMS GTS

Post by joel26 »

the progress looks good..............
Image

Post Reply